 I’m a teacher, and I’m a laminating lover. I own two laminators, one now lives at school and the other at home. Don’t make the rookie mistake like I did and buy just an A4 laminator. Treat yourself and get an A3 one because it will do A4 easier without having to line anything up plus you can also make some larger posters. Anyhow... Back to the topic. Montessori 3 part cards. We’ve been using cards for a long time now, but I didn’t really put a lot of effort into making them beyond printing, laminating, and the cutting out. The reason for this is that A loved them a little too much. So they would end up in his mouth, in his bowl of cereal, folded up in his little clenched hand, tucked away in secret places... you get the idea. 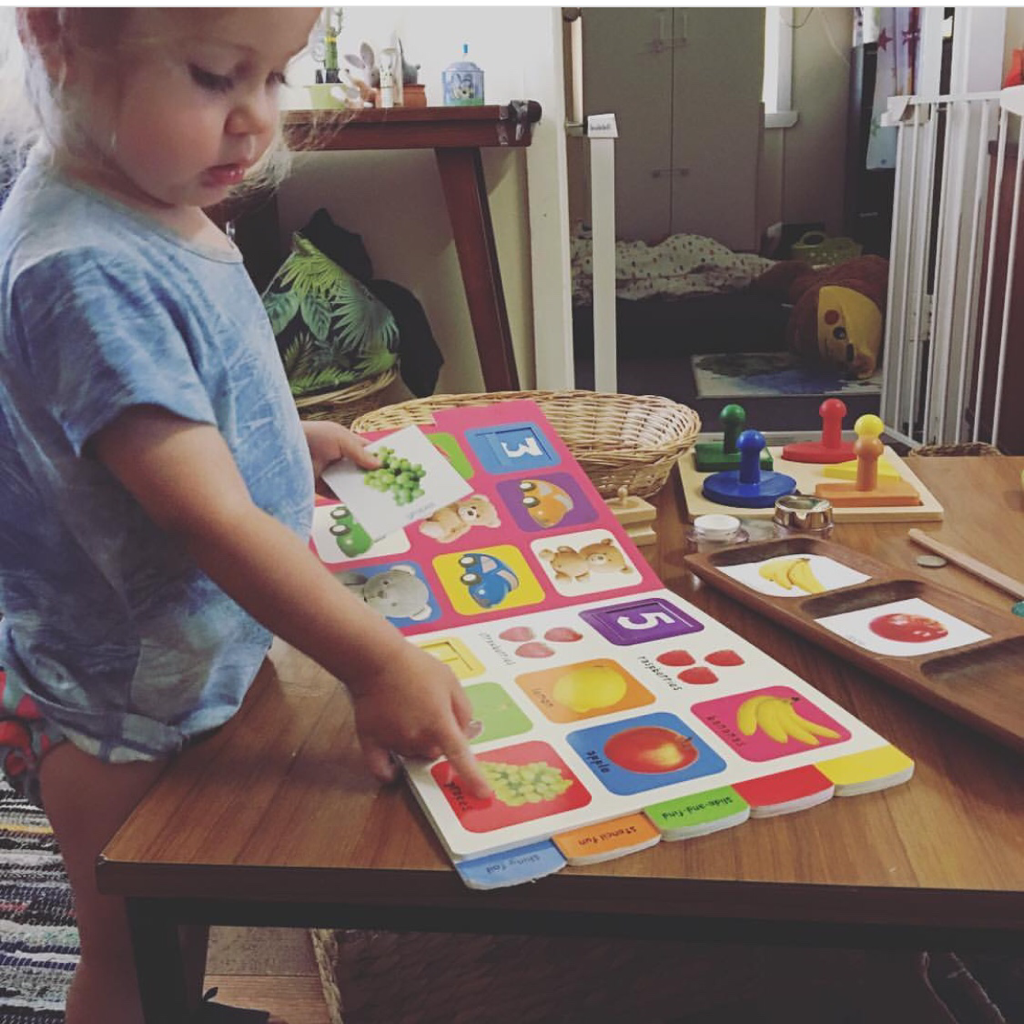 These were the first cards we used. The link to the shop where I bought them is at the bottom of this post. At the time he wanted to know all about fruit so I just followed his lead. A still loves fruit and when we can we buy unusual fruit for him to try. Today we were talking about blueberries. Back to the topic. I continue to use cards that parallel A’s interests. I prefer to use the Singapore Maths approach of concrete-pictorial-abstract. For me that means starting with realistic figurines or the real object, then moving to photographs or realistic beautiful illustrations. We haven’t gotten to abstract yet. I like to find concrete model of the items - I like Safari Toobs, Schleich, and other similar animal figurines. I usually buy mine from Minizoo. 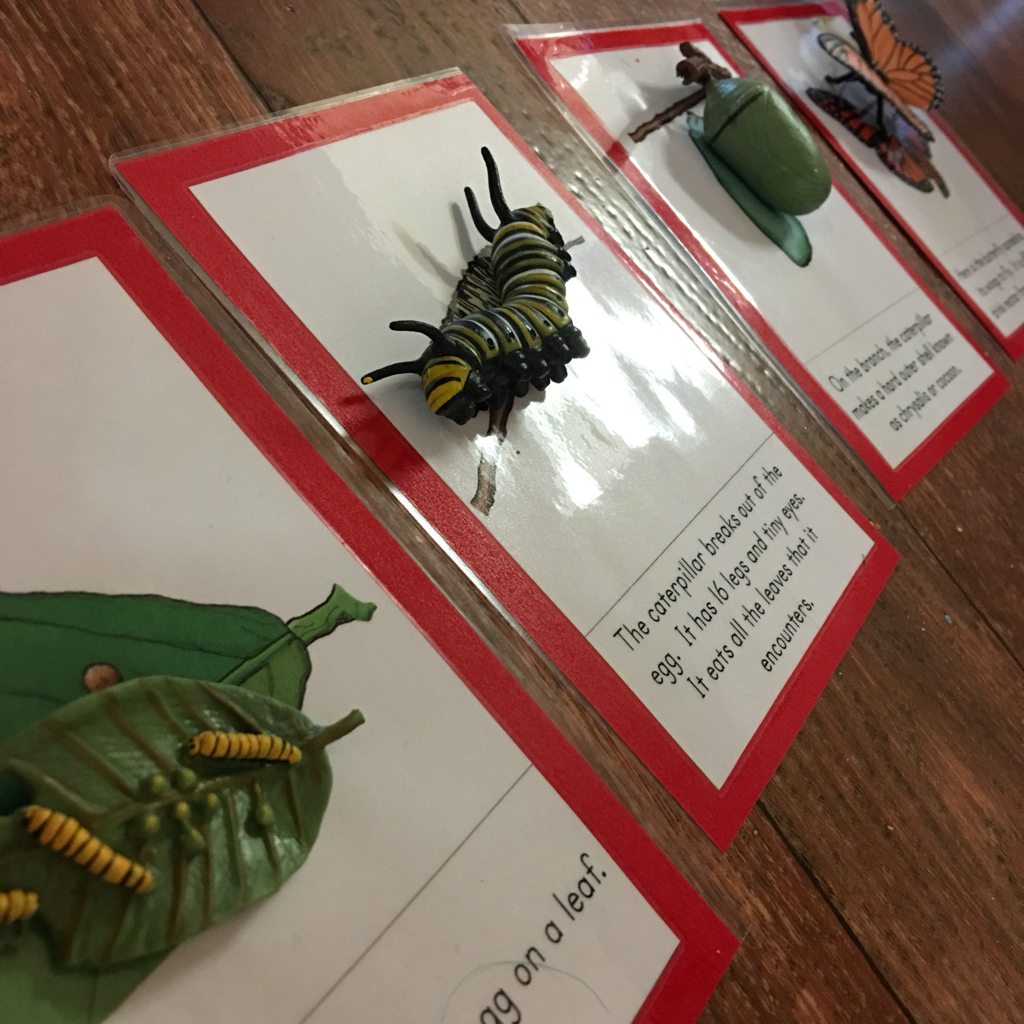 I then do a interest search for Montessori cards on the topic. There are heaps of places to find cards. I’m happy to pay cards because it saves me time. If I can’t find them I’ll make them mainly using Wikipedia photos. I’ll add some links at the end of places I buy from 😊 I own a colour laser printer, it’s getting old but it still holds up well, even though I have trouble getting it to work on the network half the time. 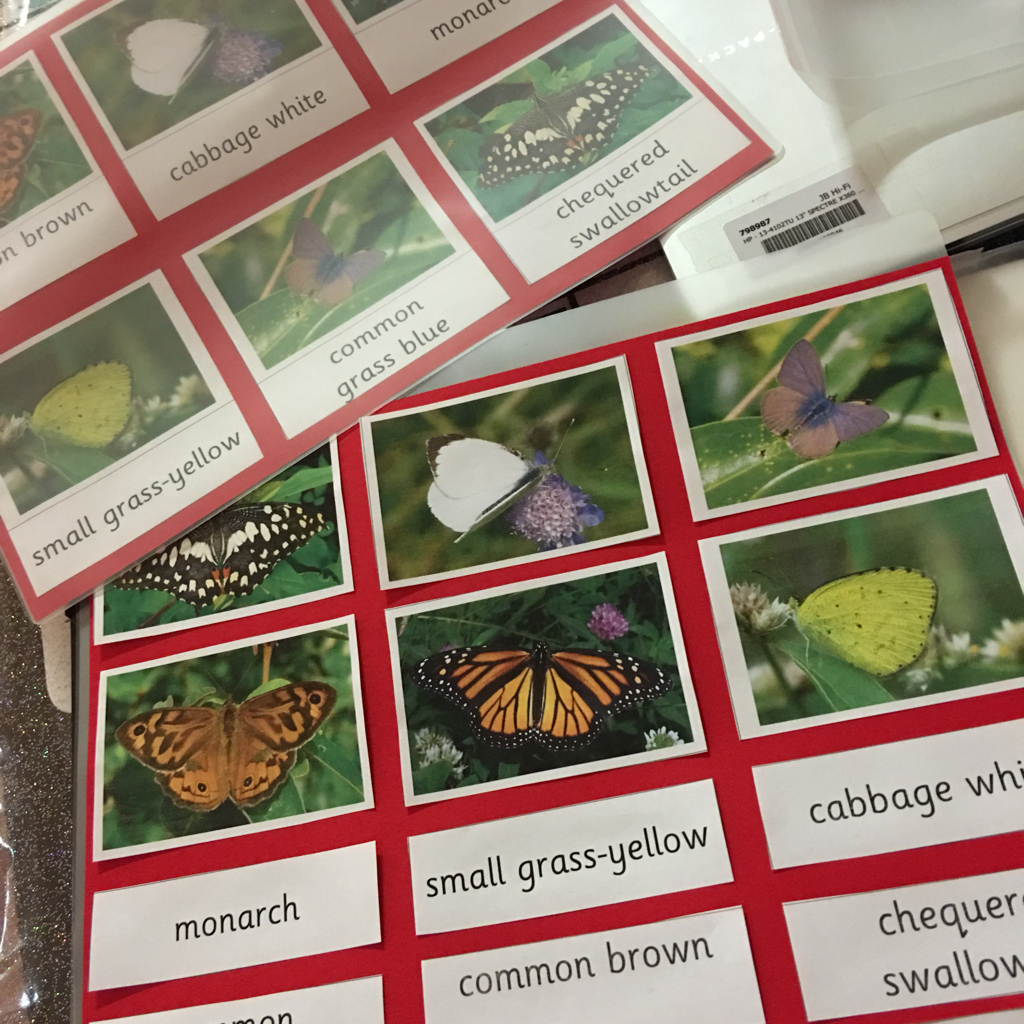 I made these cards, they are common Australia butterflies. 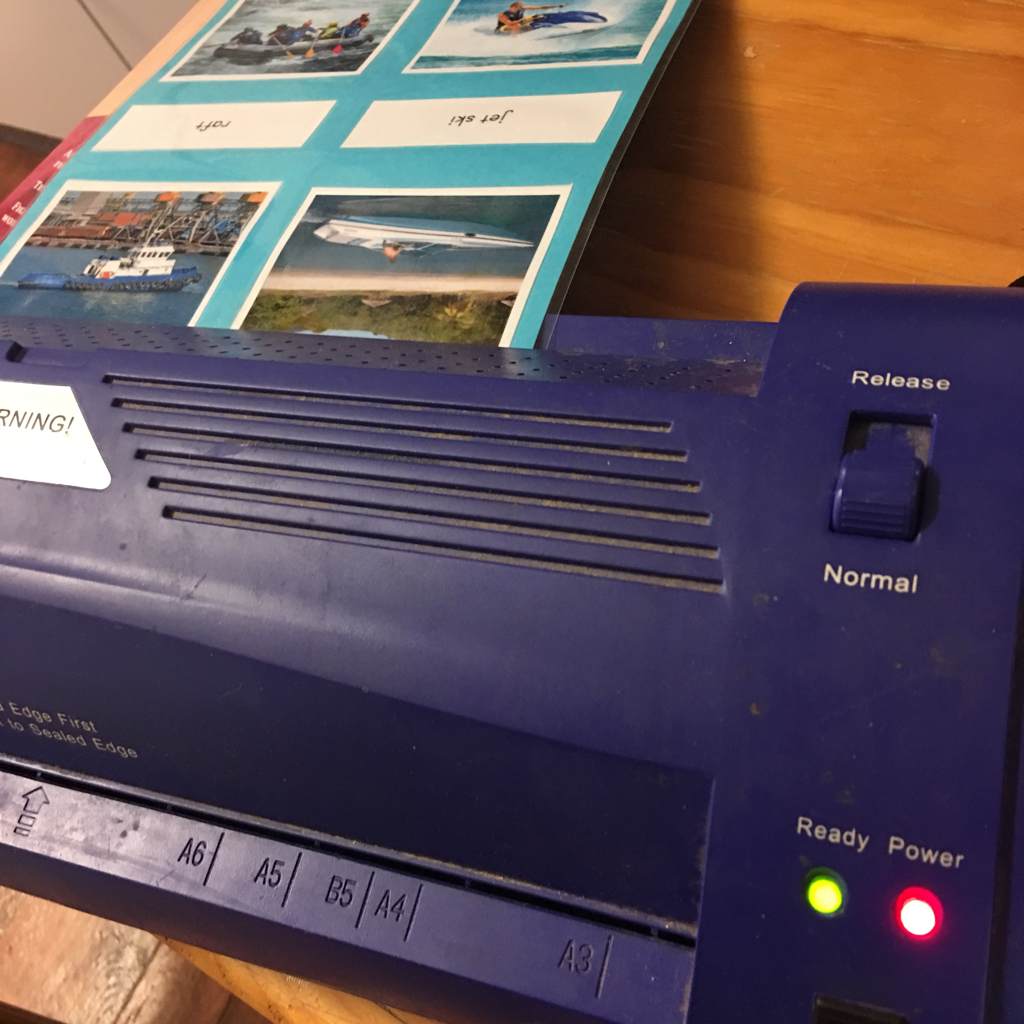 Now that we doing this Montessori thing with a little more fidelity I have started backing the cards in the correct colour and then laminating. I still cut straight from the paper and don’t leave a plastic boarder around my cards.  This is an issue because I’m so clumsy. If your cards get wet the paper will suck up the liquid under the laminating. See this is what happens you spill your drink all over them. Also be sure to glue your photos down properly onto the backing paper because your laminator can still chew it up as it goes through the rollers 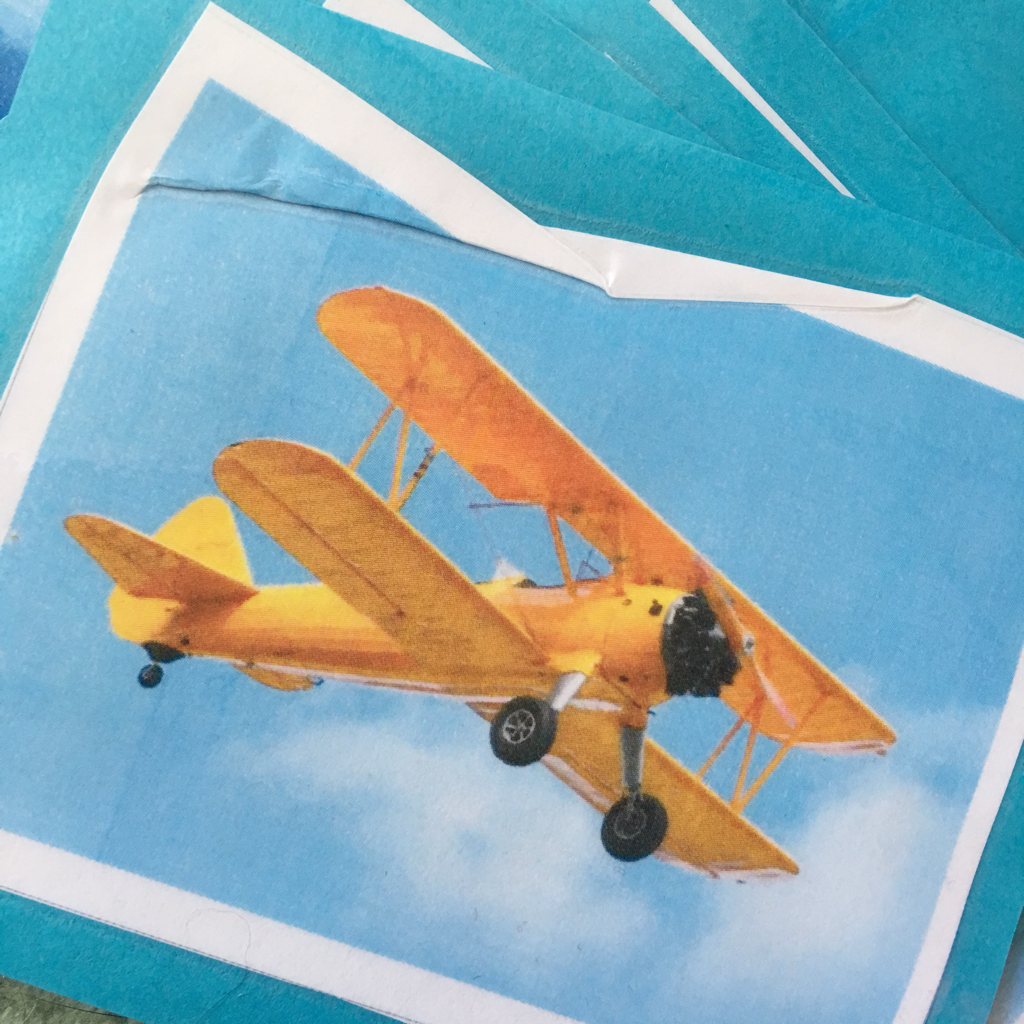 It takes me a few days to get through a card set because I do them while A is playing ‘independently’. He can get to see the cards and takes an interest in them, but it’s not until I get out the models that it really captures his attention. 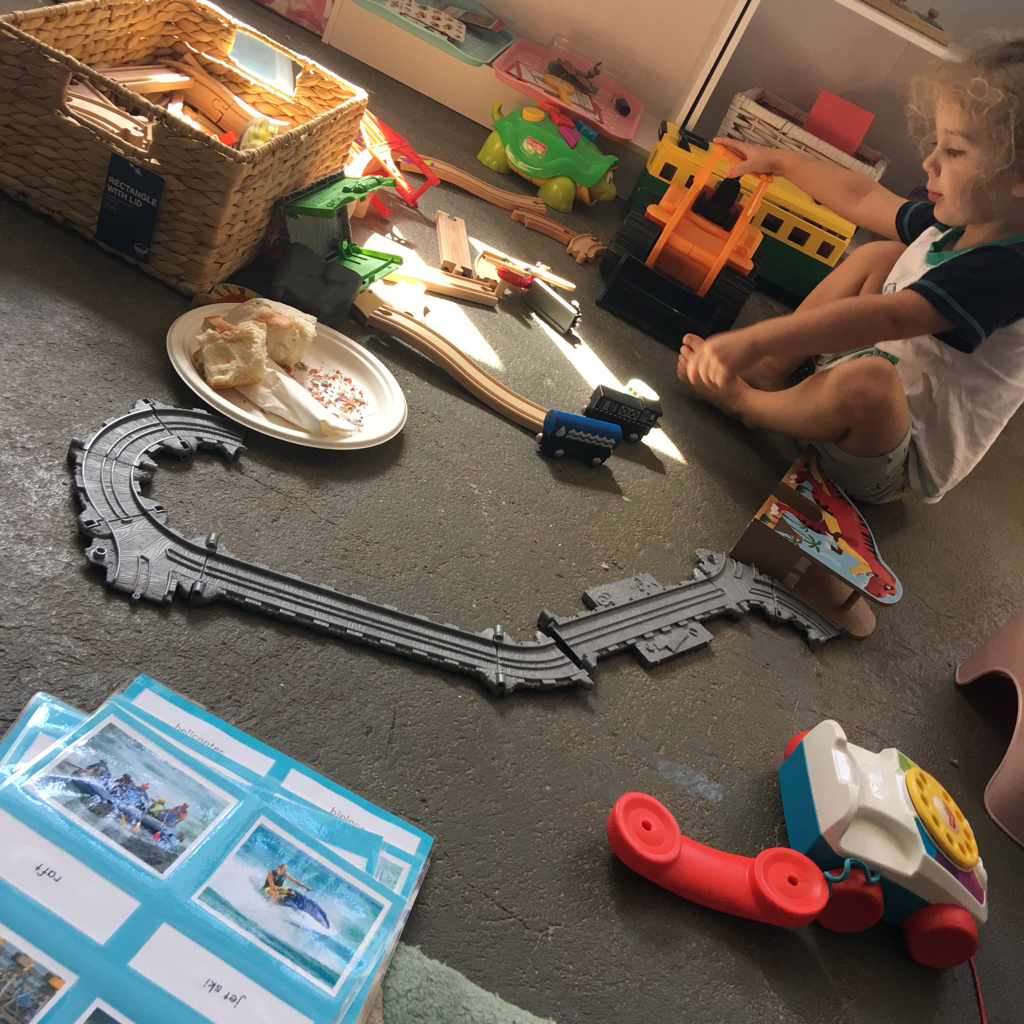 Links:
Pinay Homeschooler Shop Montessori for Everyone Montessori Printshop The fruit cards came from Montessori for Everyone The water transport cards and butterfly life cycle cards came from Pinay Homeschooler Shop
0 Comments
Your comment will be posted after it is approved.
Leave a Reply. |
AuthorHi, I'm Pamela. A nail crazy lady with green hair. I live in outback Queensland with my toddler and my husband. I love books, writing and crafting. For more info about me go to my 'About' page. Archives
March 2018
Categories
All
|

 RSS Feed
