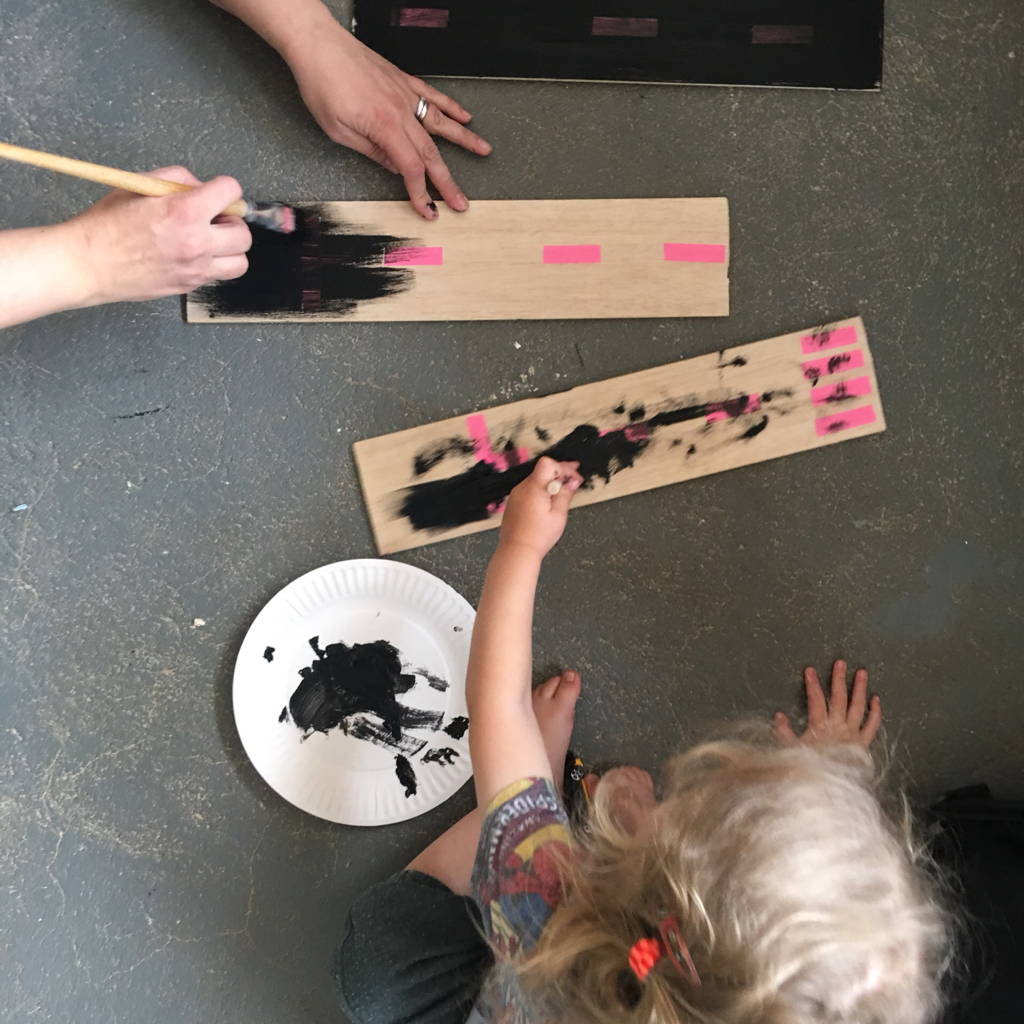
 2 years 2 months I stole this idea from my friend Ang, who also has a truck crazy kid. I used two long strips of bulsa wood. It was fairly thick - possibly 7mm. I used a pair of sharp but long scissors and cut the planks in half. I then used washi tape to makes lines and zebra crossings. A helped with some of these, The especially crooked ones. We then slapped some black acrylic paint on them. I used a hair dryer to speed up the drying time, and then we gave it a quick coat of Mod Podge. I used the dryer again. A actually used one of the roads before I got to dry it, so it has slid tracks on it. Adds to the realism 😆 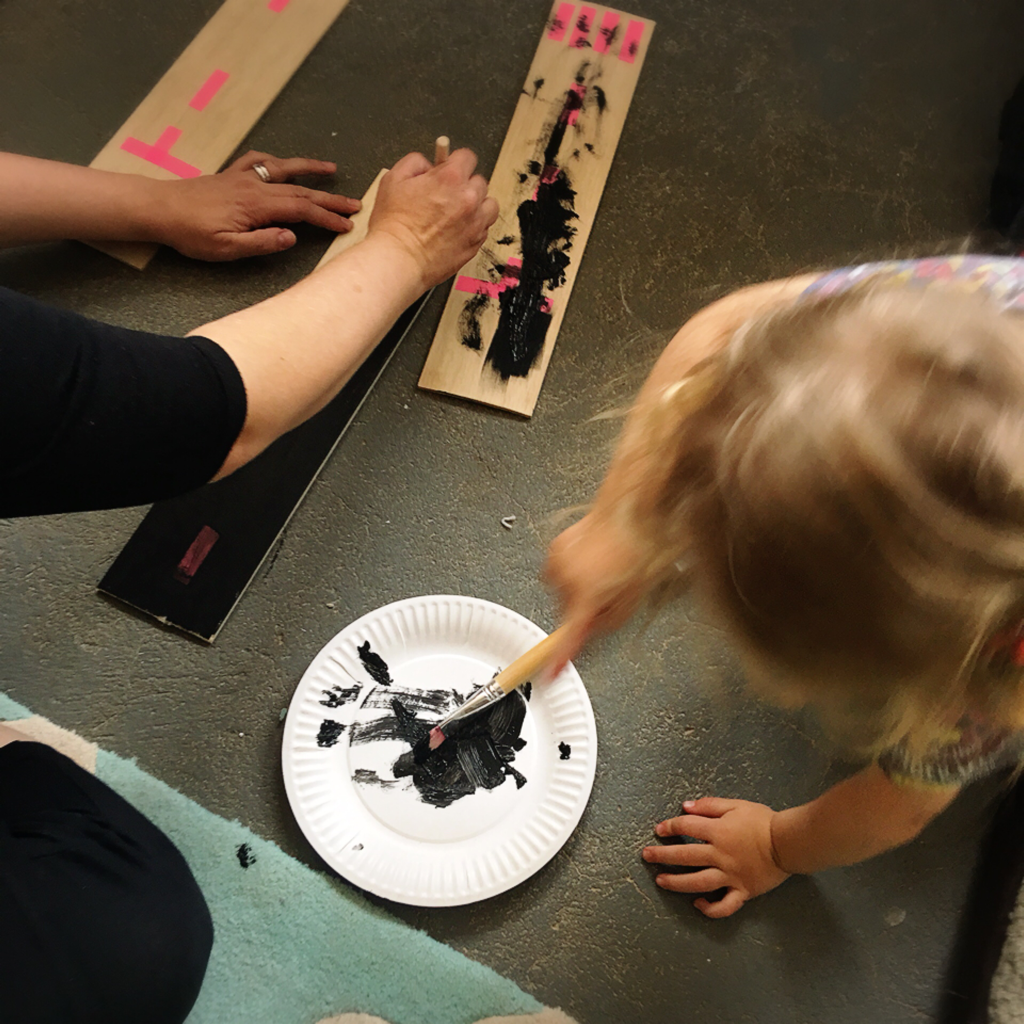 I then used washi tape to makes lines and zebra crossings. A helped with some of these, The especially crooked ones. We then slapped some black acrylic paint on them. I used a hair dryer to speed up the drying time, and then we gave it a quick coat of Mod Podge. I used the dryer again. 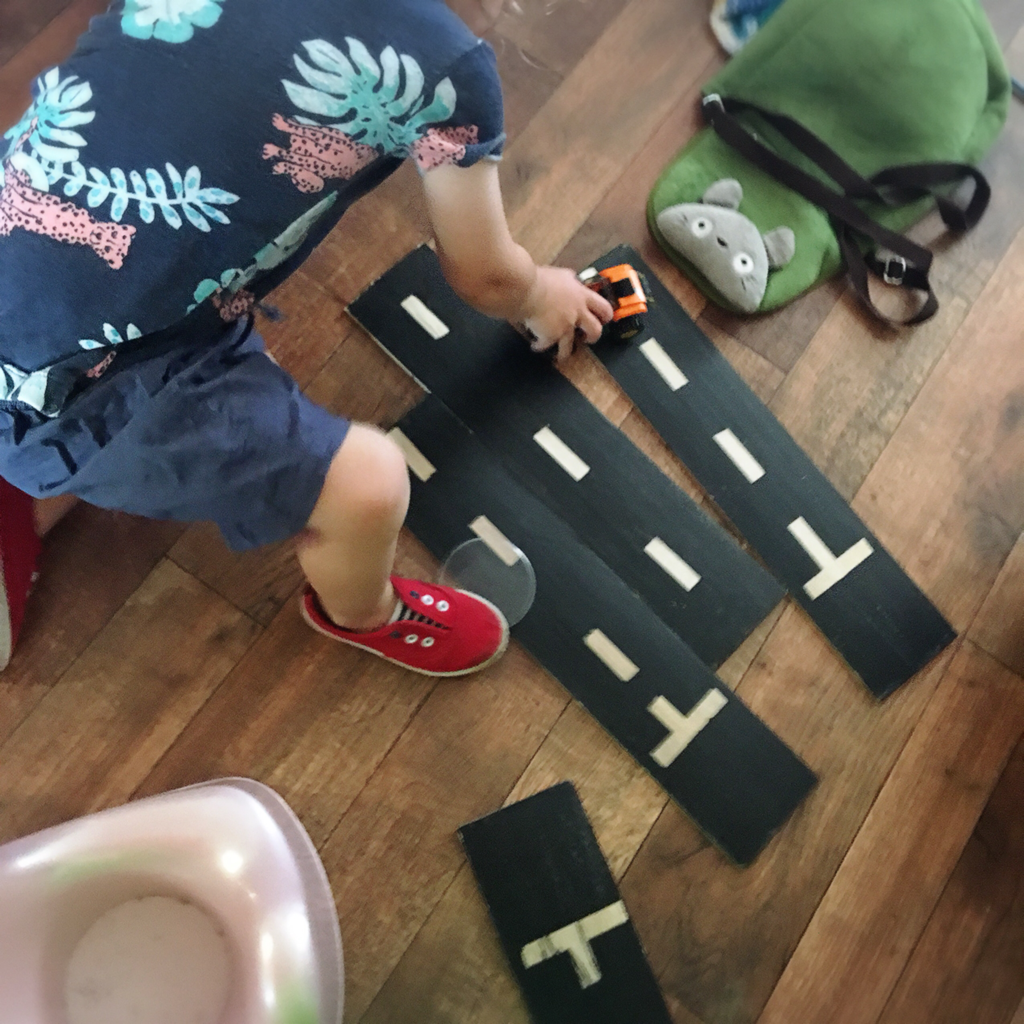 A actually used one of the roads before I got to dry it, so it has slid tracks on it. Adds to the realism 😆 This has been a really successful activity and is used several times a week. Although currently A lines them up so he has a very short 8 lane highway 😊 rather then a long road with corners like I would have done. 
0 Comments
 2 years 3 months A really likes this activity. We squirted some paint out - naming the colours, opened up his art book, and used the car to paint with. We talked about how blue and yellow made green. We talked about the tracks the car made. We talked about the ‘farting’ noise the car made as it rolled along 😅 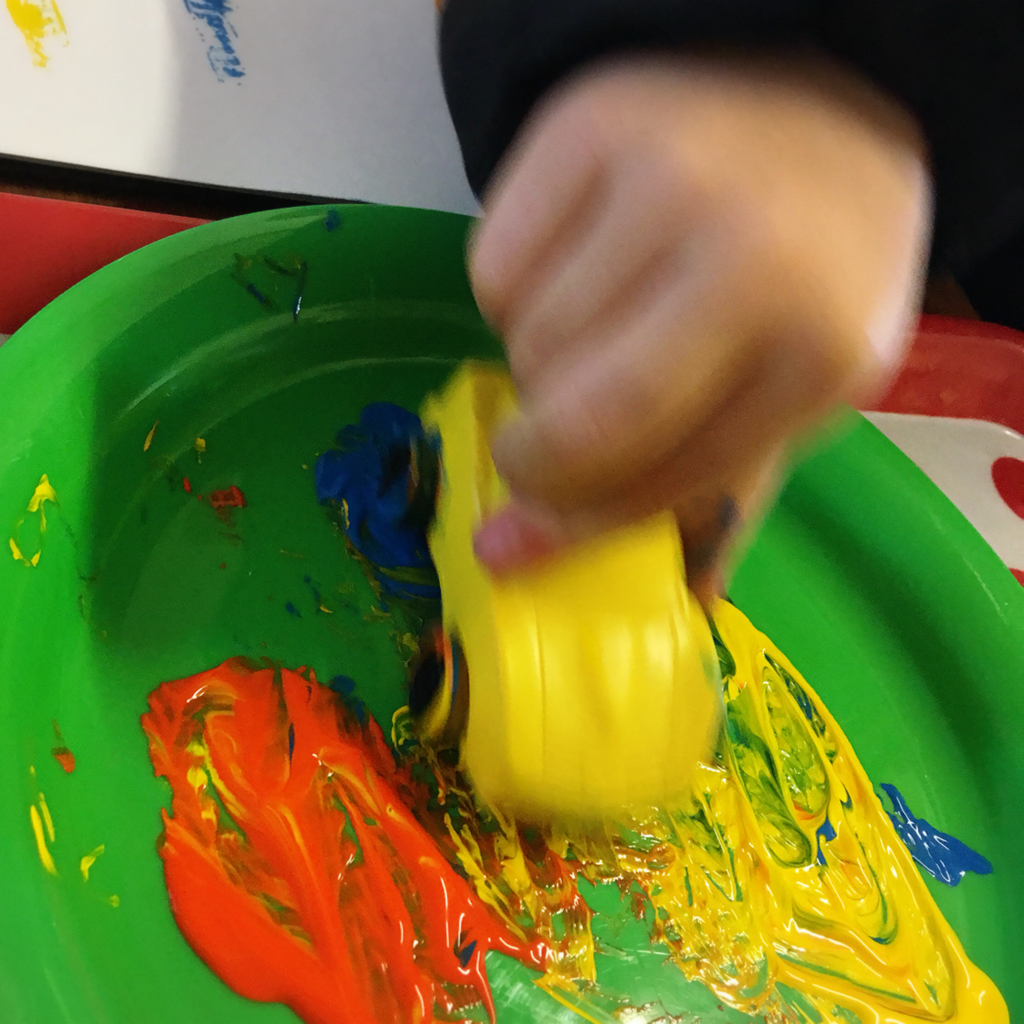 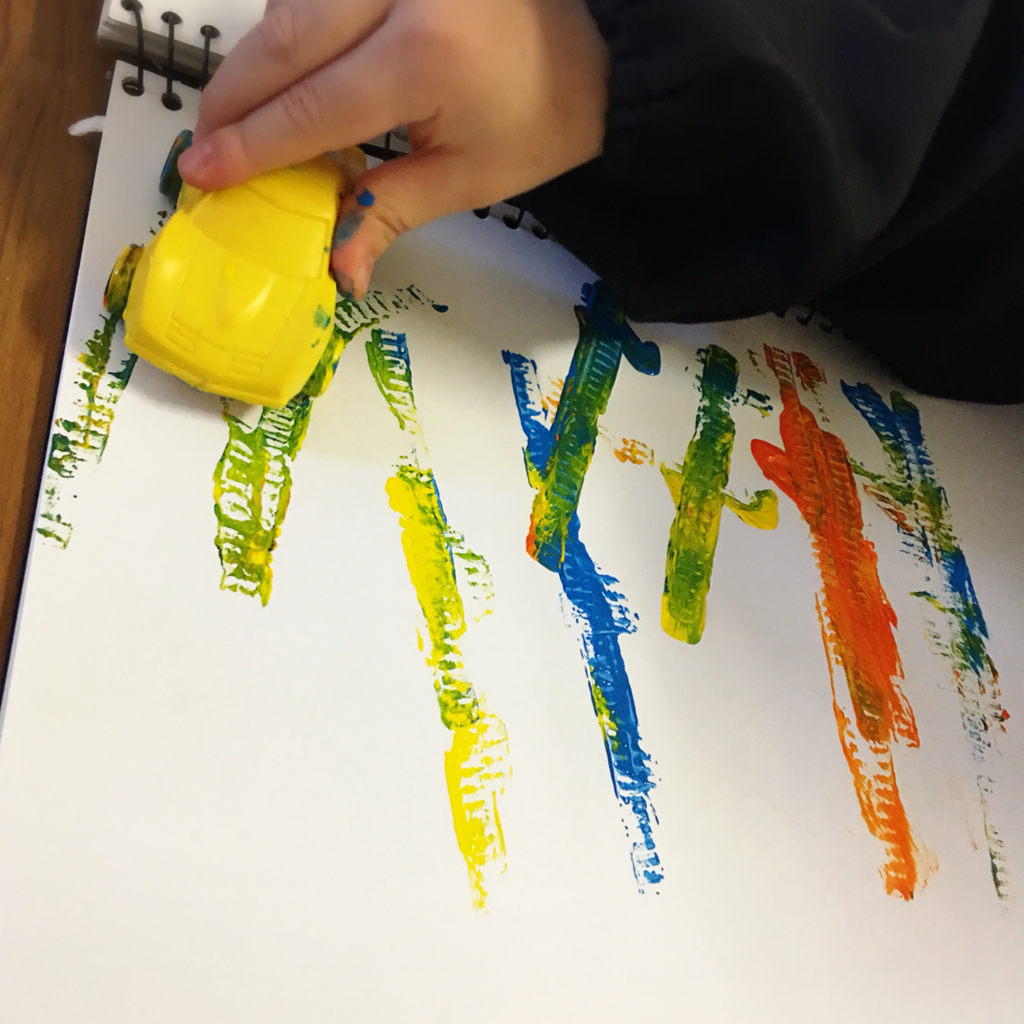 I saw this idea from Play to Learn Preschool. Click the link to go to the original post. 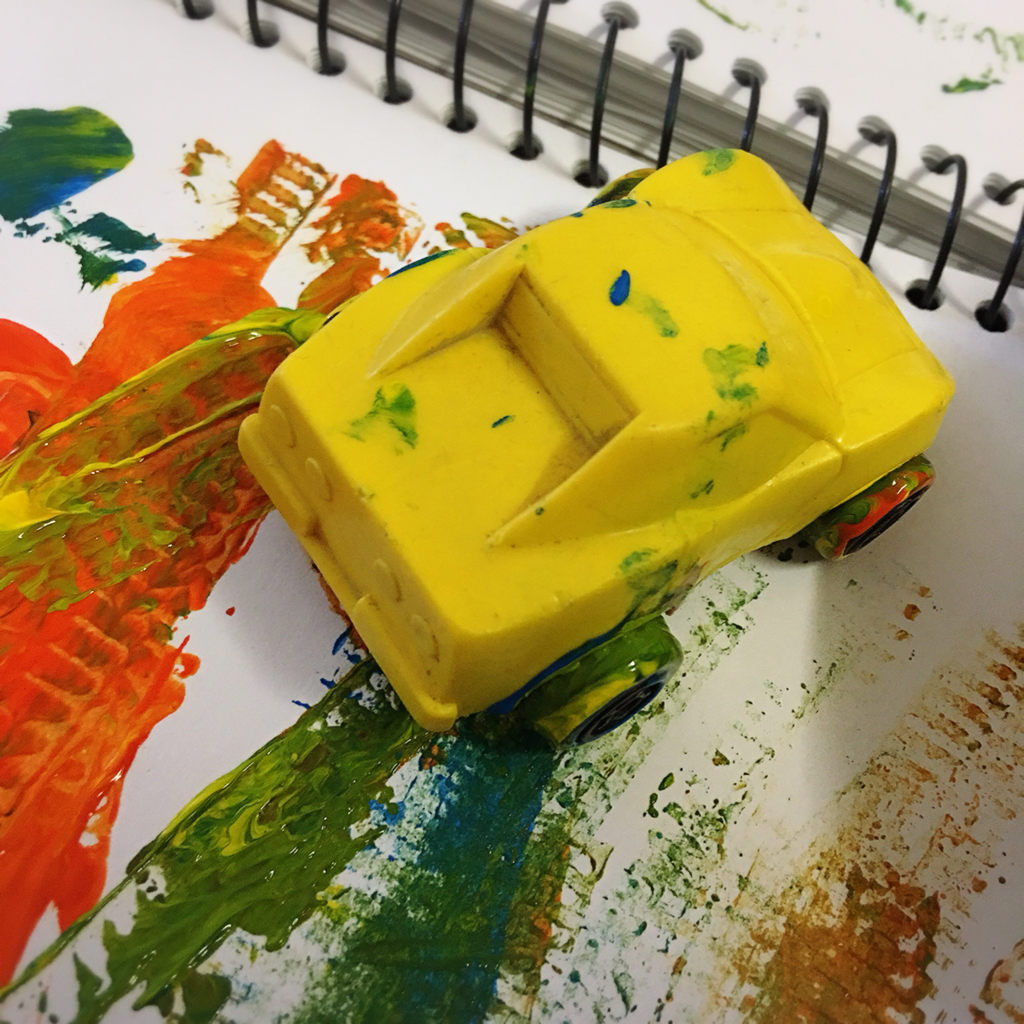 The last step was ‘clean up’ which I feel most mummy bloggers don’t talk about 😊 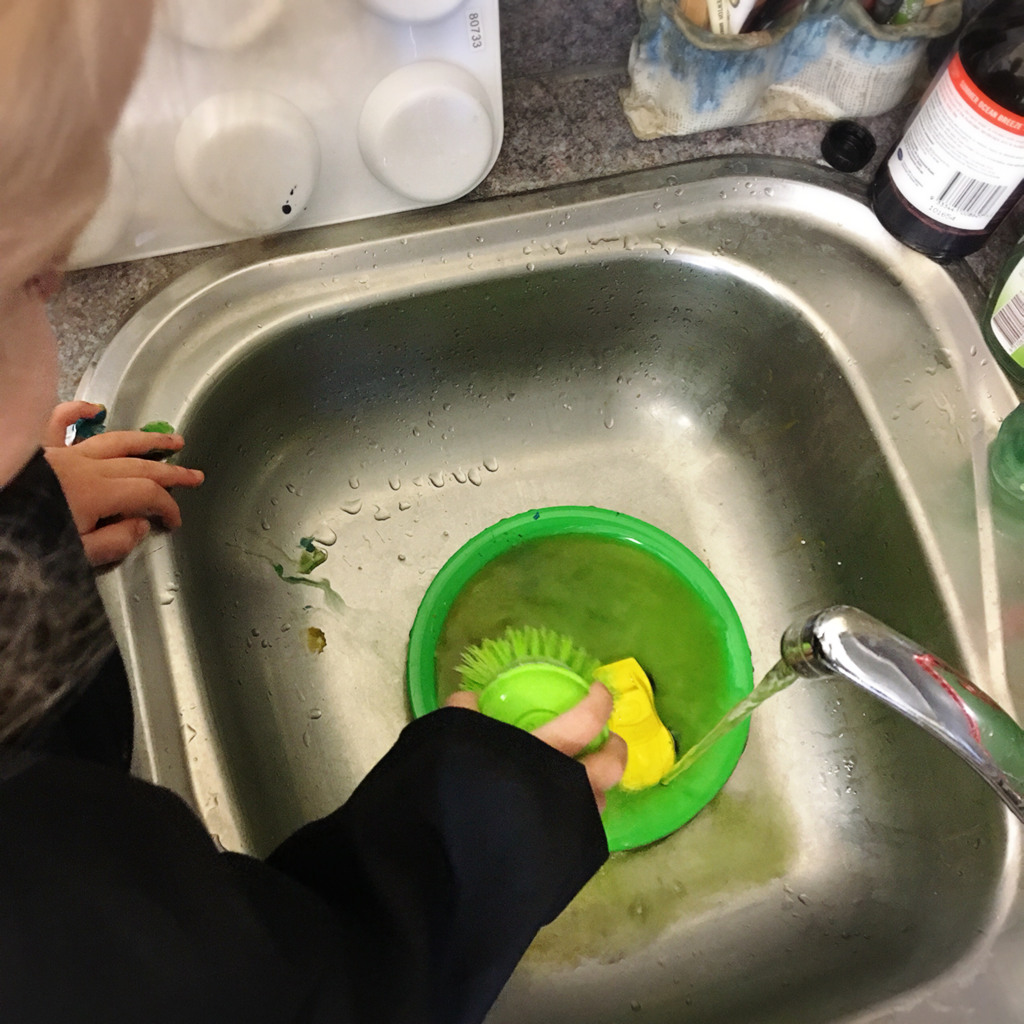 |
AuthorHi, I'm Pamela. A nail crazy lady with green hair. I live in outback Queensland with my toddler and my husband. I love books, writing and crafting. For more info about me go to my 'About' page. Archives
March 2018
Categories
All
|

 RSS Feed
