 This is over a week old now but we’ve been using scissors around here. I have a little bowl of pretty card pieces with a pair of scissors.  The pair in the bowl is a pair of safety toddler scissors which does okay but doesn’t chop as well as real ones. 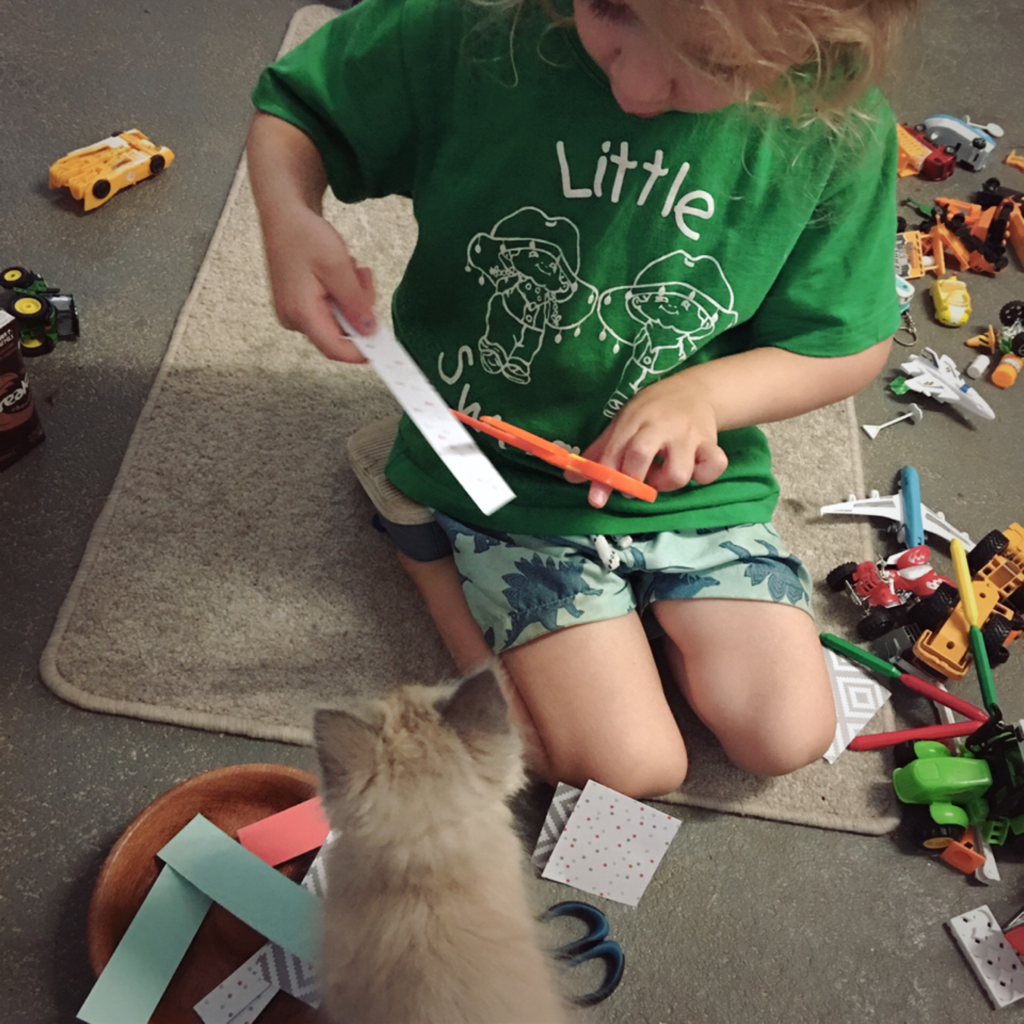 A wanted to try with his other hand but seriously dude - you are right handed. 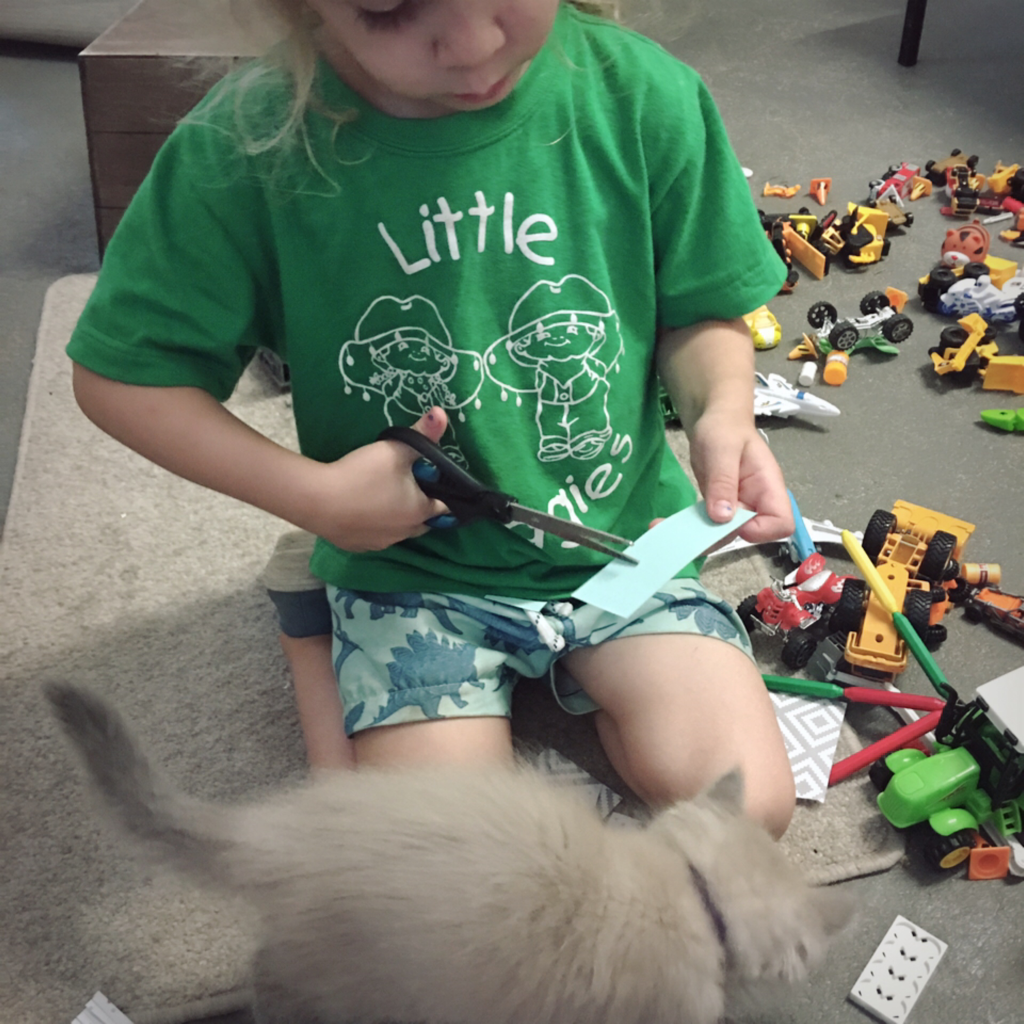 Then I busted out a proper pair of scissors and much mess was made, which he picked up, packed up and put back on the shelf... pity about the rest of the house!
Also meet our rag doll kitten named Fish and Chips. In our house my husband gets to name the animals. They other cat is called Squish. 😂
0 Comments
 I bought a proper shelf for our geography puzzles. We have the continents and the Australia/Oceania puzzles and I would like the oceans one as well. The two we already have and use didn’t really have a home, sometimes they were on the coffee table, or the ironing board, or just in the way.
I’ve put the smaller Montessori puzzle shelf underneath the geography puzzles. We have been filling this up and I have two hidden away. Unfortunately another shelf won’t fit beside this one 😩 but for now this is making my storage obsessed self very happy.  A has been keen to cook lately, as he is trying to be more and more independent. When he grabbed his usual ‘knife’ I remembered that I had bought a small knife from Daiso. 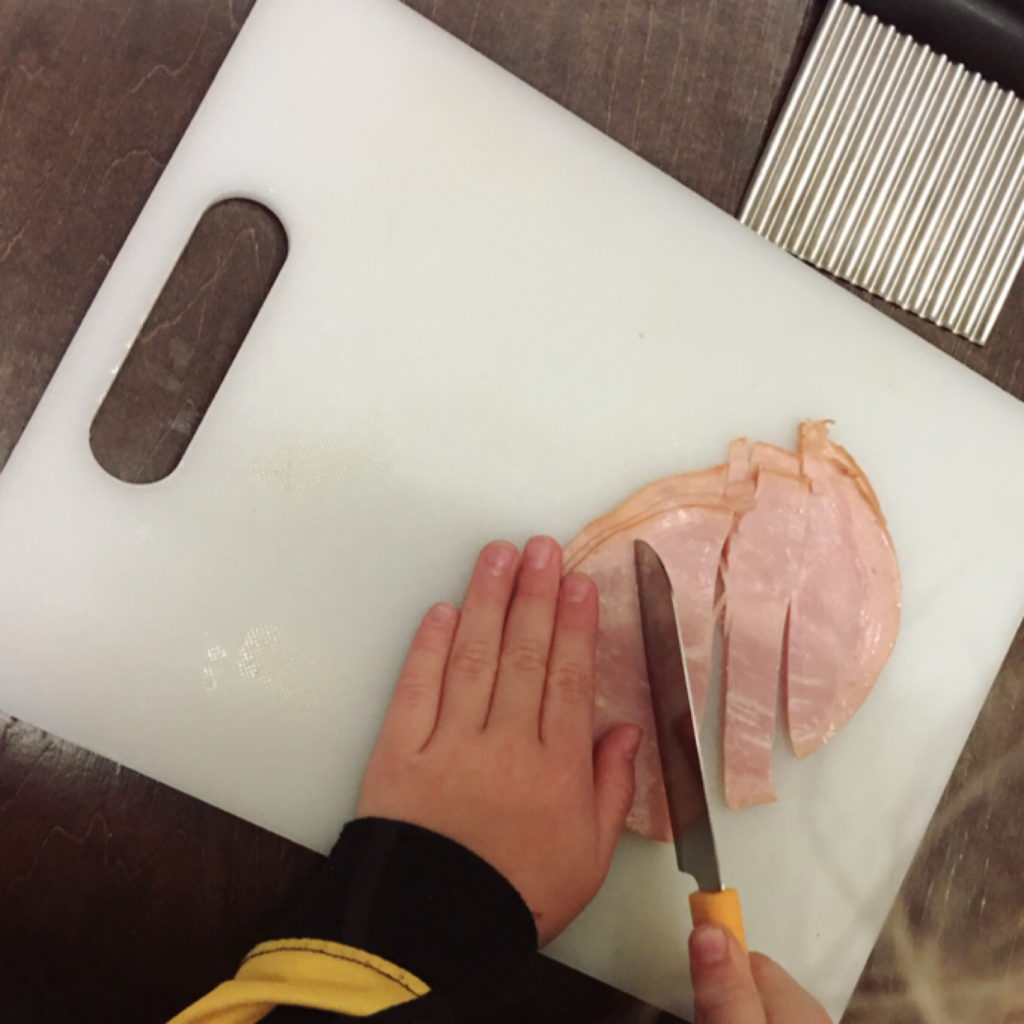 I showed him how to use it and how to hold his other hand. He didn’t get it though. It’s a little tricky to co-ordinate both hands! I’m scared for his thumb!!! 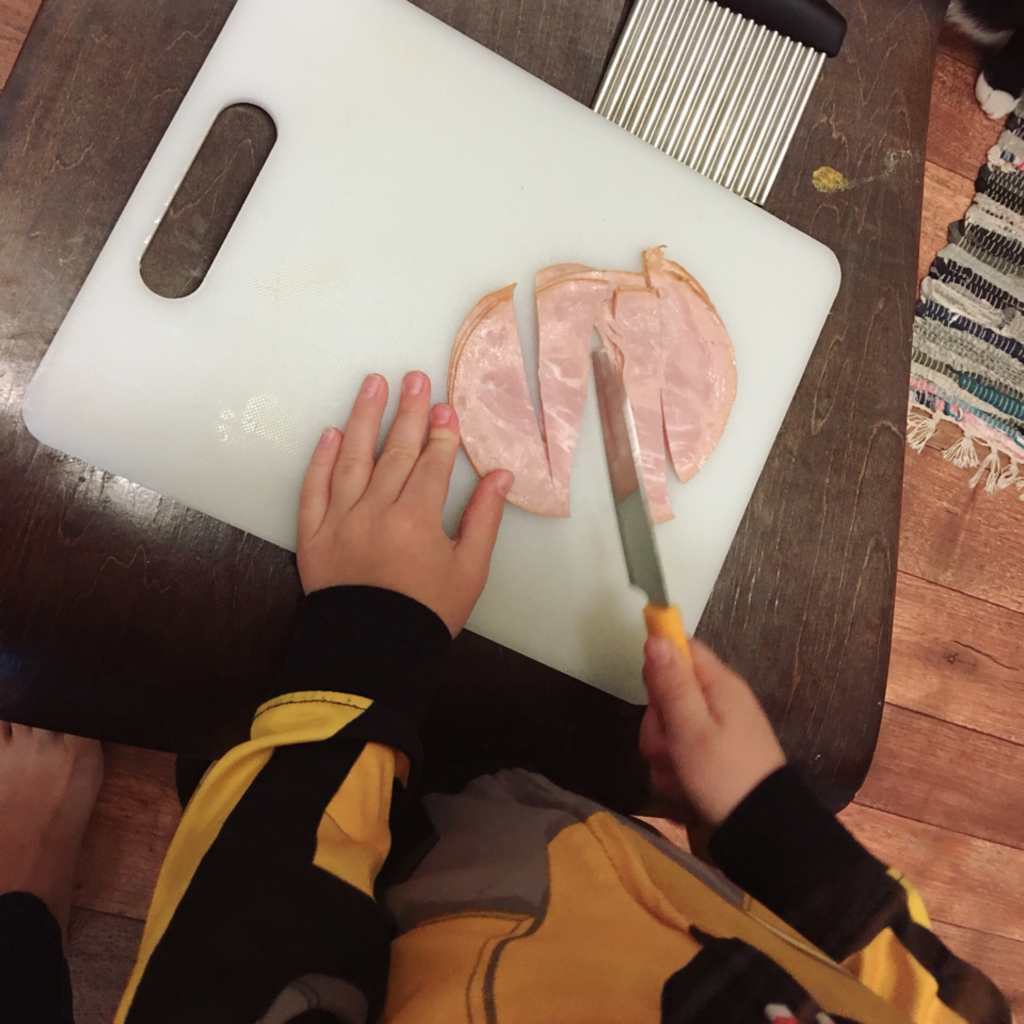 But he didn’t cut himself. He was so chuffed that he prepared the filling of our filo triangles by himself! 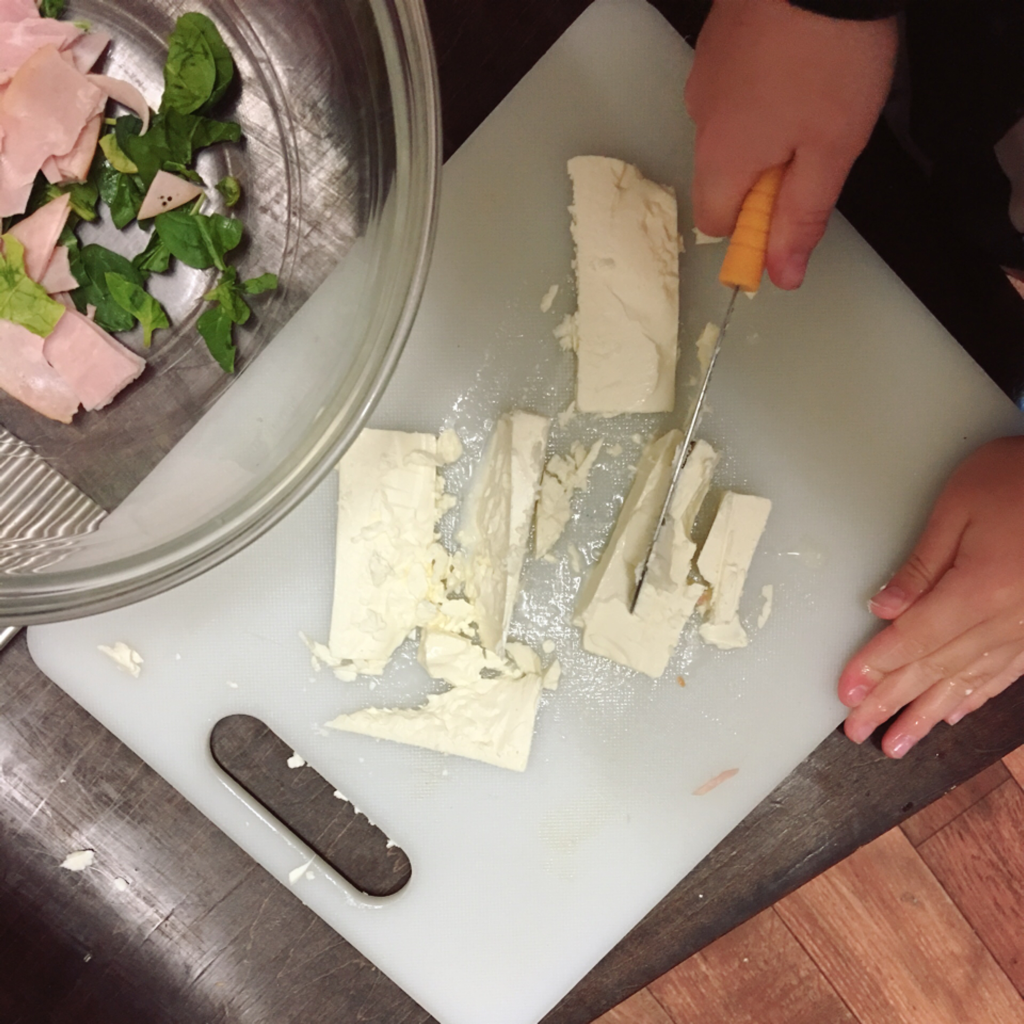 Scariest moment though was when he lifted the knife to his mouth to like the feta cheese off!
Side note - the baby spinach came from our own garden!  3 years old I was a puzzling morning! 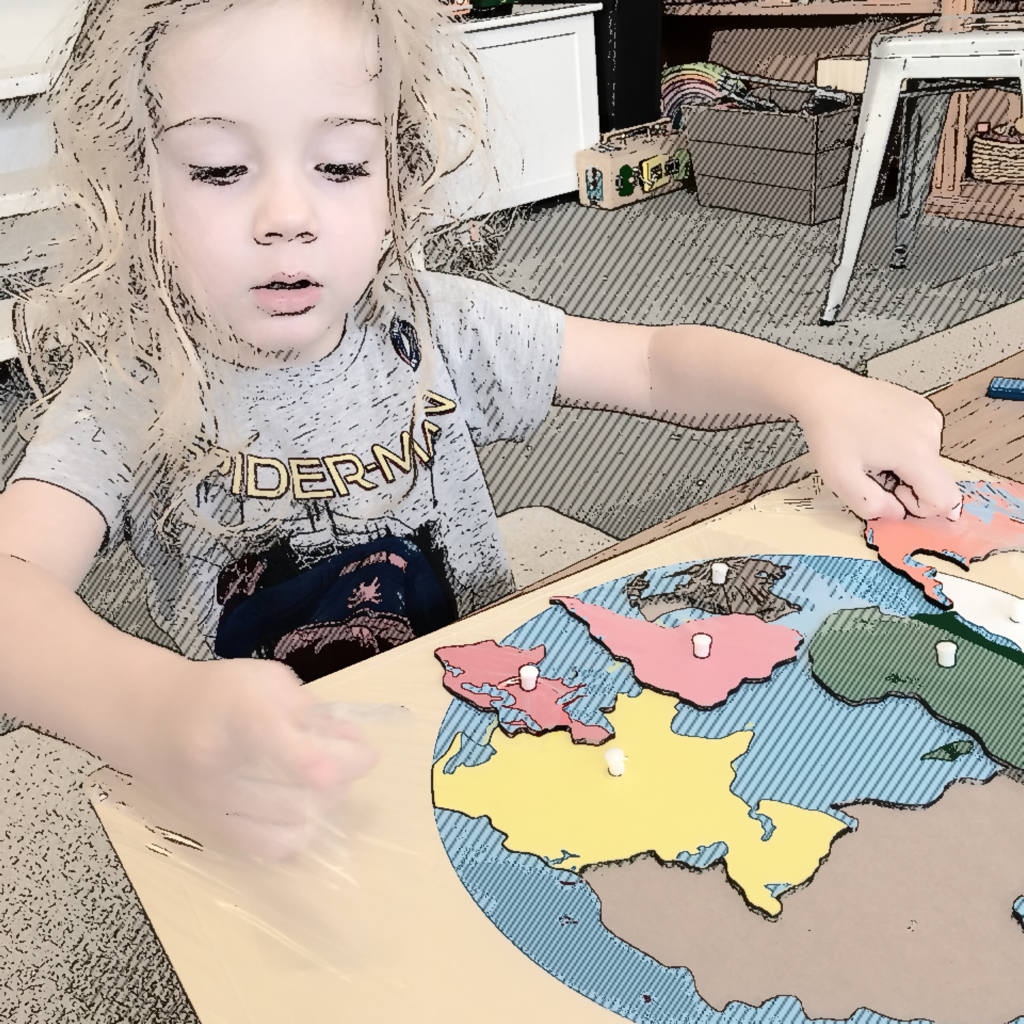 We cracked open our puzzle of the world parts. I sang the song as I demonstrated the continents. You can find the Continents song easily on YouTube 😊. Pretty soon A asked me to stop singing 😂 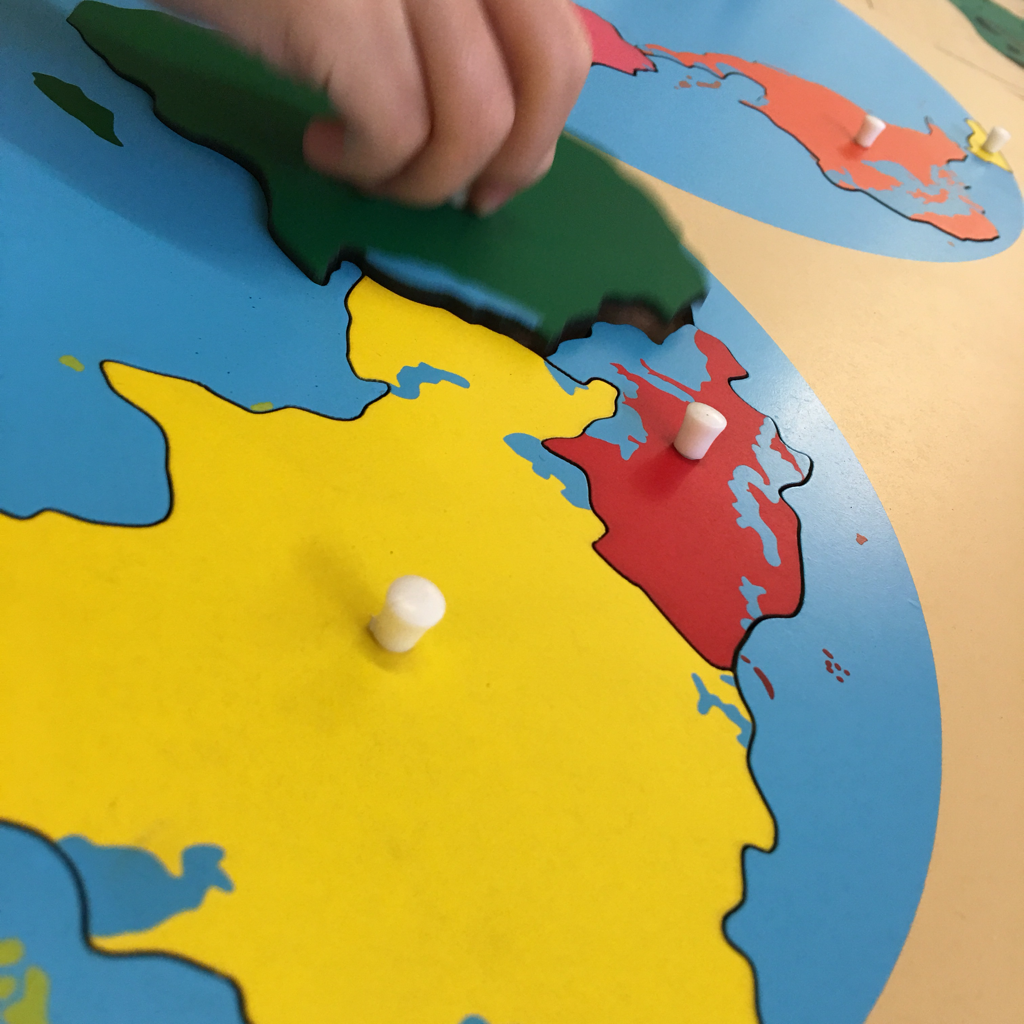 So away he went and did the puzzle. 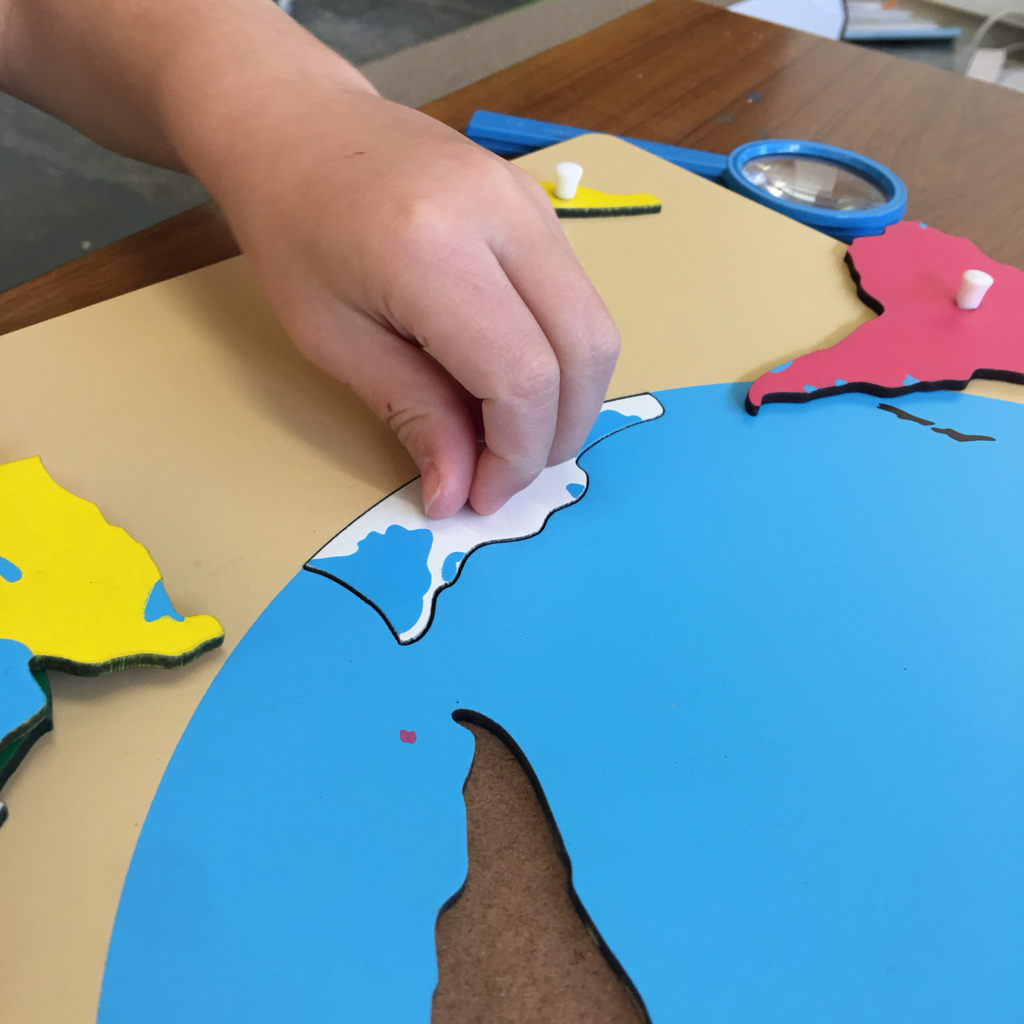 And then he did another, and another. I didn’t photograph him doing the frog puzzle though. 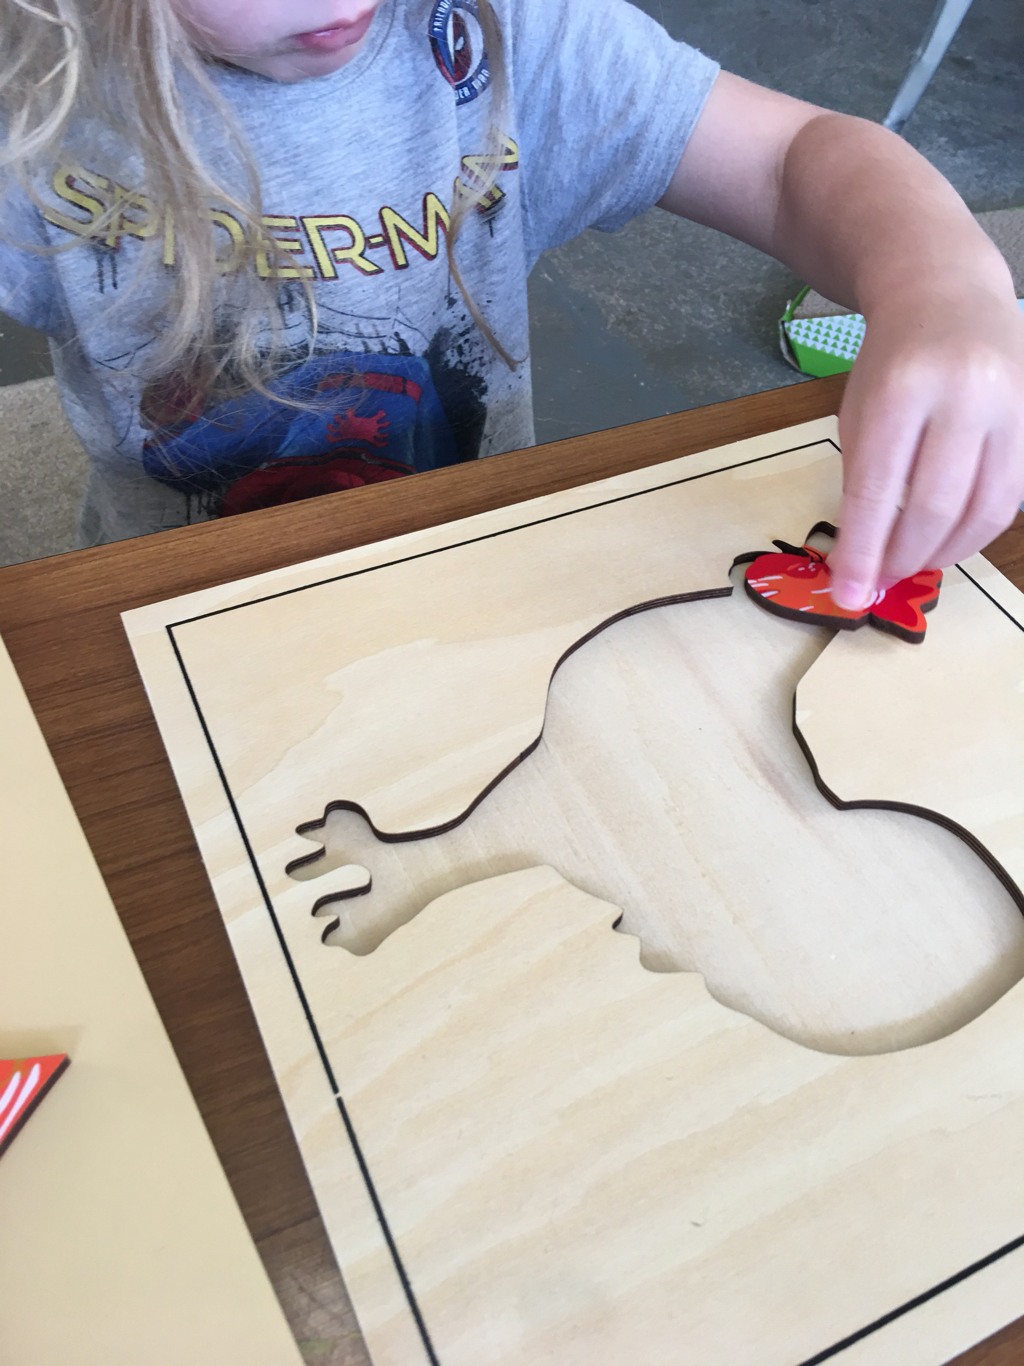 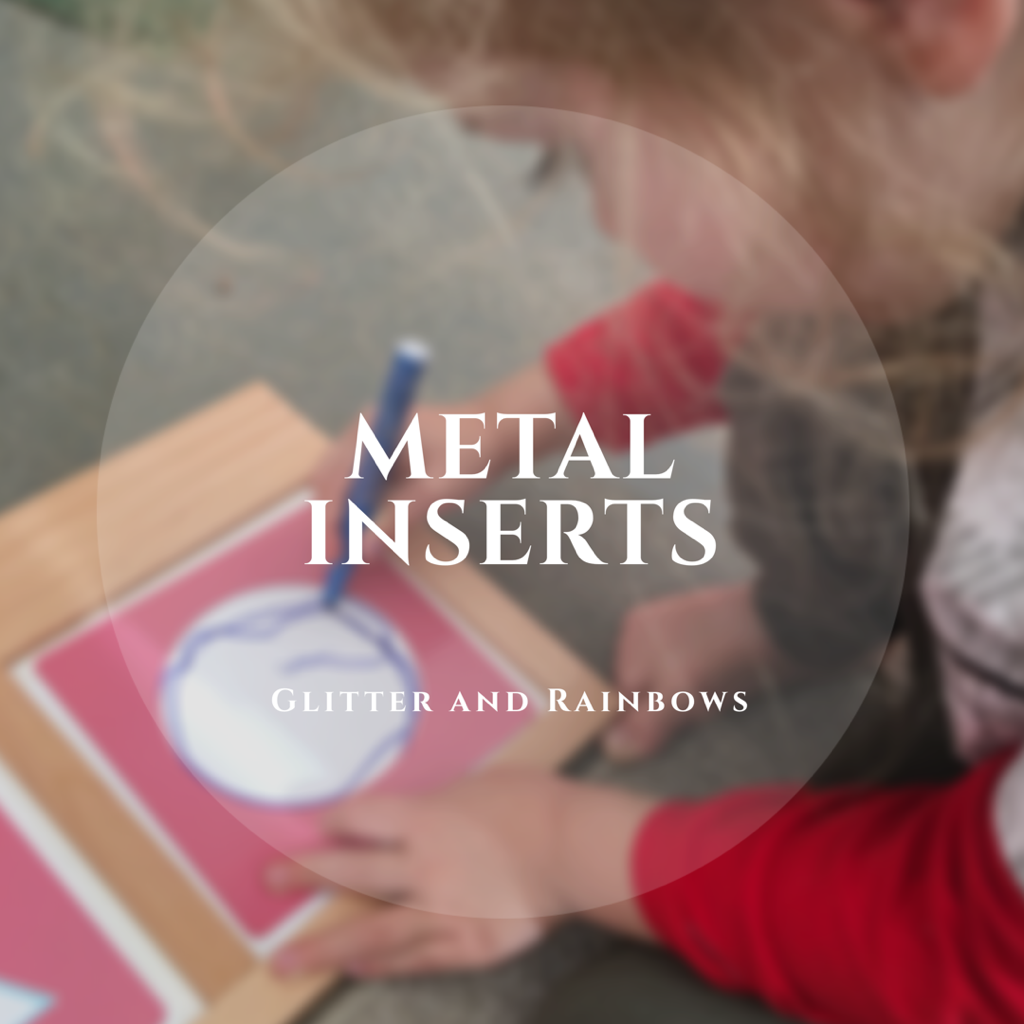 Today was a sick day for A. So we cuddled on the couch and watched ABC kids. I’ll admin we watched YouTube too. I was pretty tired. A said, ‘We’re busted Mum.’ Yep. We did play some and did some ‘shelf games’ which is what we call the stuff on our Montessori shelves, but most importantly I introduced the metal inserts.  Our set arrived last Friday with some of the other Montessori materials we had ordered. I set out one of the shelves, but I was unsure if we should start using it yet. A was attracted to the shapes as a puzzle so I left it at that. I have been watching ‘Alison’s Montessori Writing Workshop’ pr wanted by Susan Scheibenzuner on YouTube and among other great tips, she spoke about children using the metal inserts at their level - having their own experience - and using felt pens. 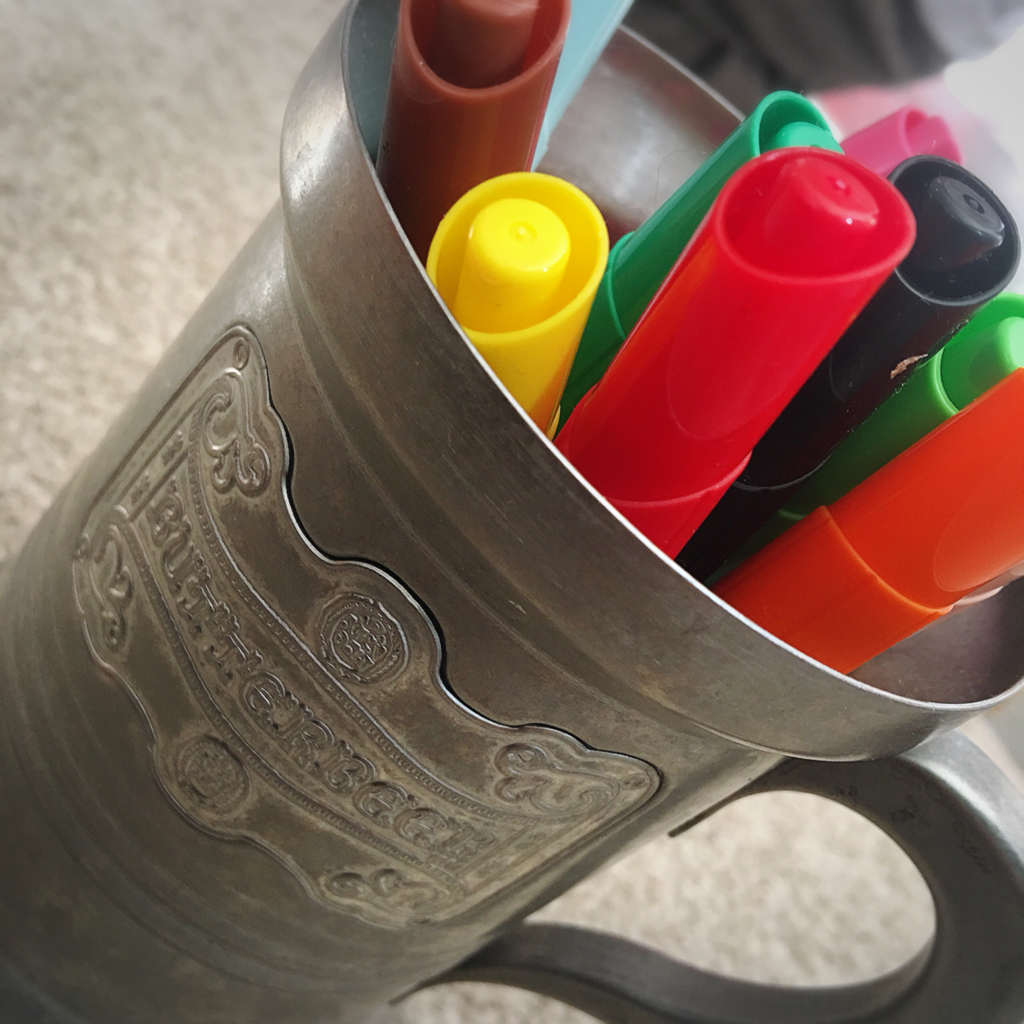 So I got out the tray, the paper box and presented our new pens in my butterbeer mug that I got from Japan’s The Wizarding World if Harry Potter. 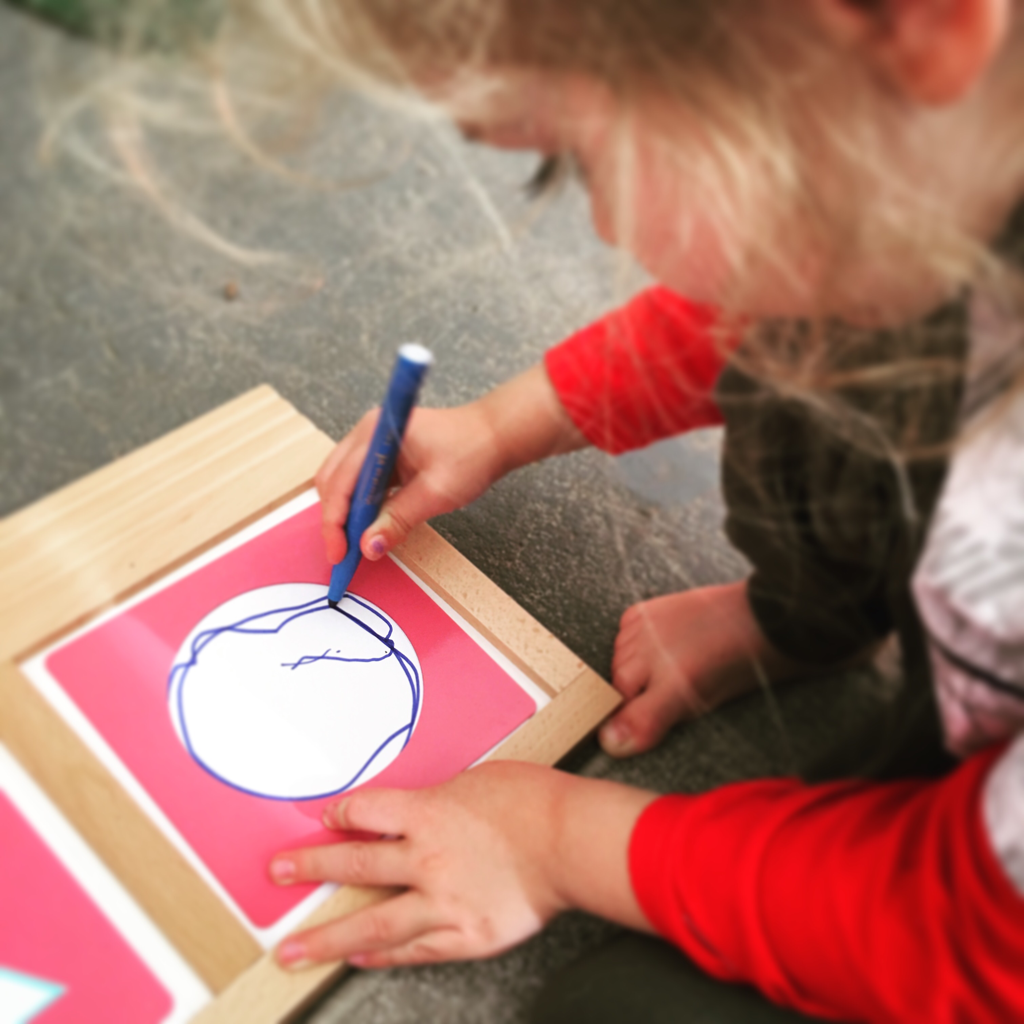 I showed him how to place paper in the tray, then select a shape frame. We took it over to a mat and then I showed him how to use the pen to draw within the frame. Then he went to town! 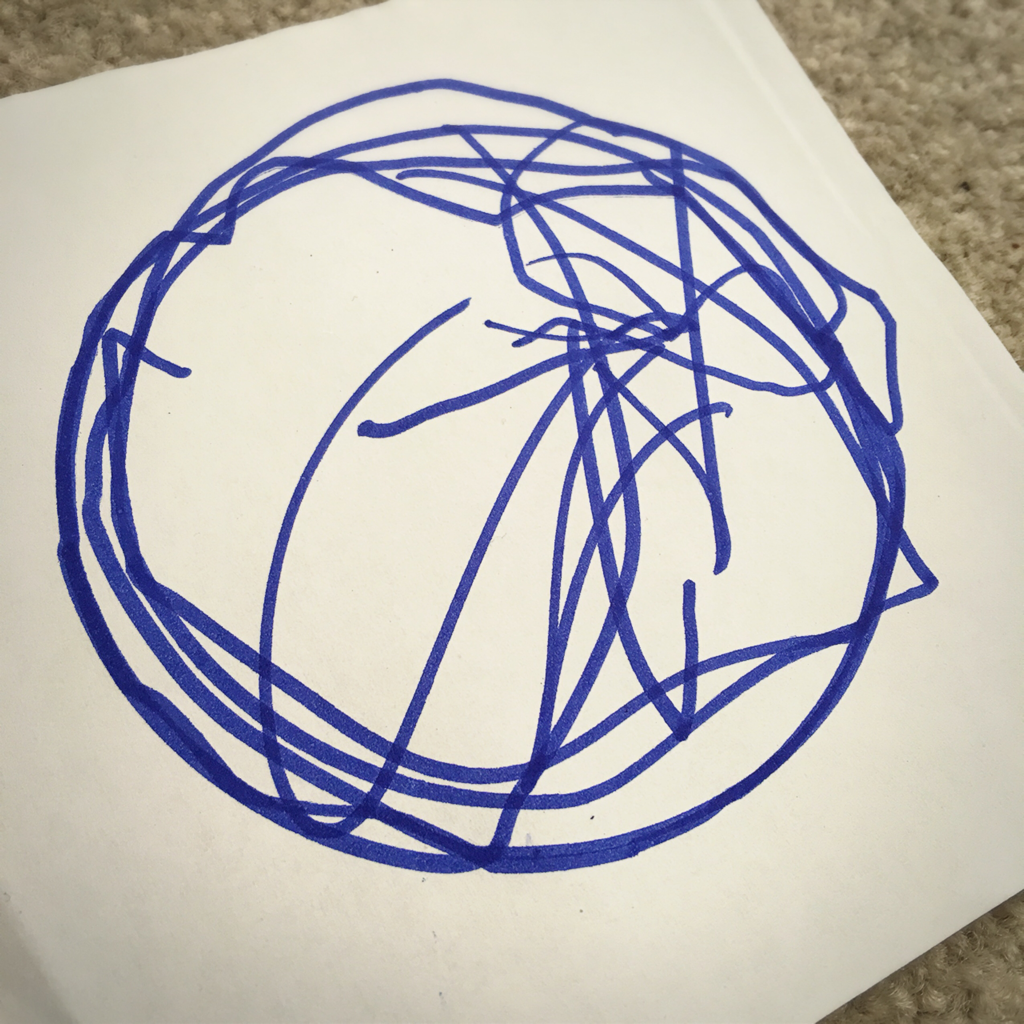 We have sticky taped the shapes up above our new metal insert area. I’m hoping he will want to go back to this work because it is pretty awesome! 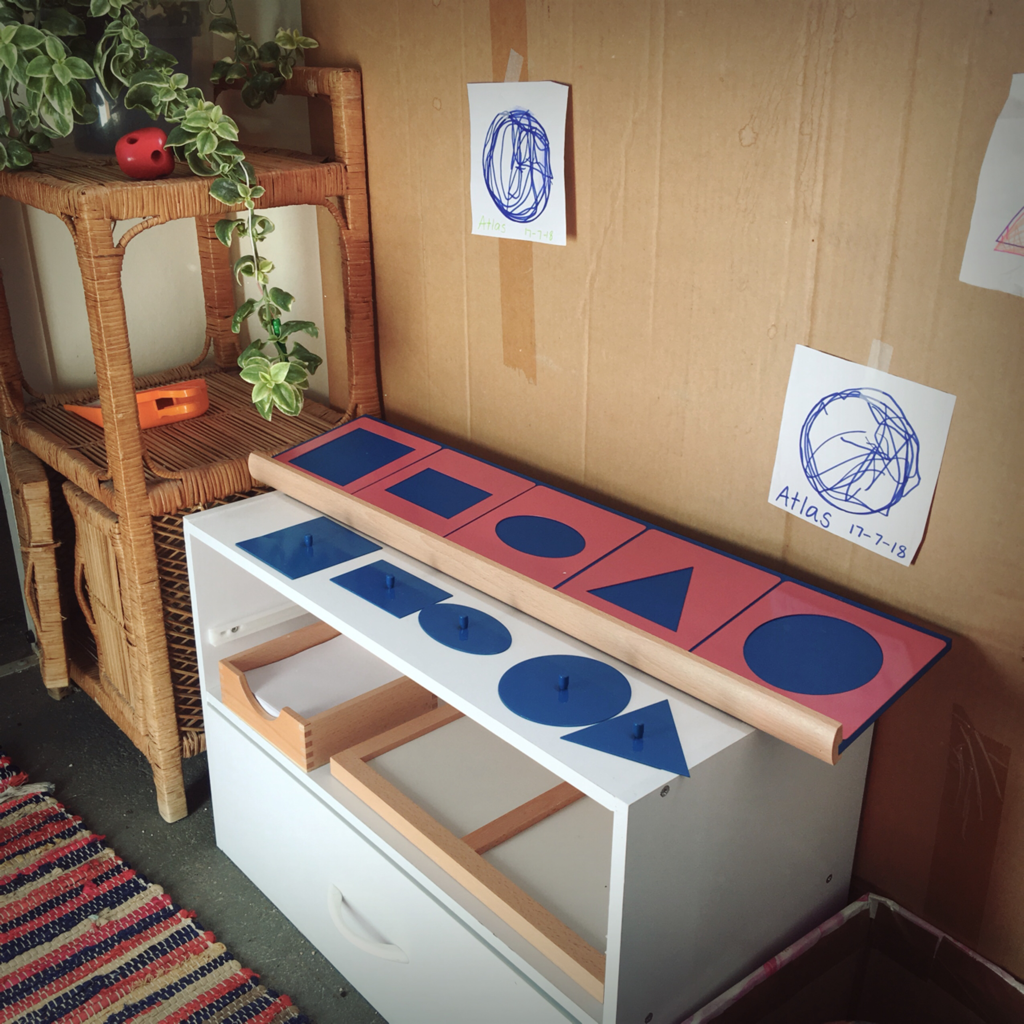 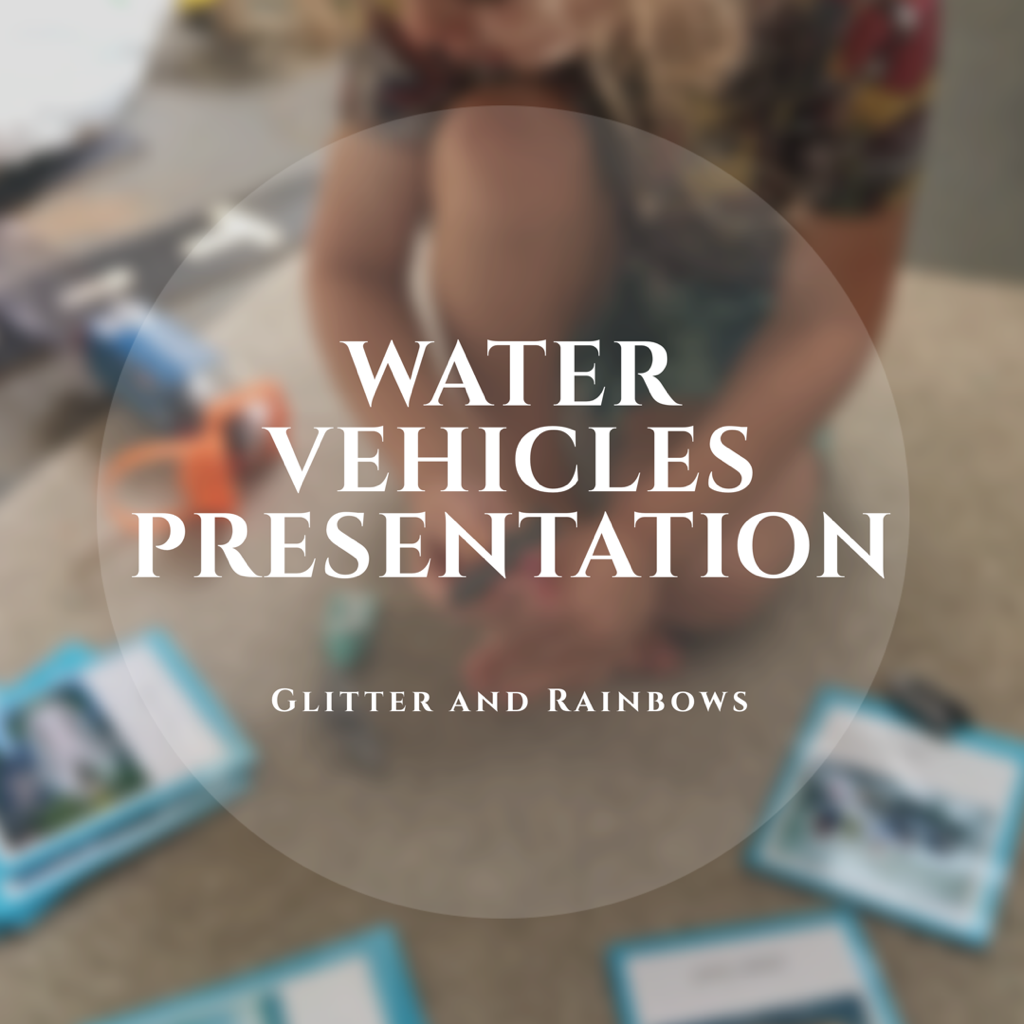 This was a fairly unstructured presentation. I let him loose with the cards and the models, when he didn’t know the name of the vehicle I told him what it was, there were a couple of tough ones there like a wind surfer.  He matched them up with the photos, I read the labels to him.  He has since taken the models into the bath with him to play, so I’ve been able to help him name them while he has played. 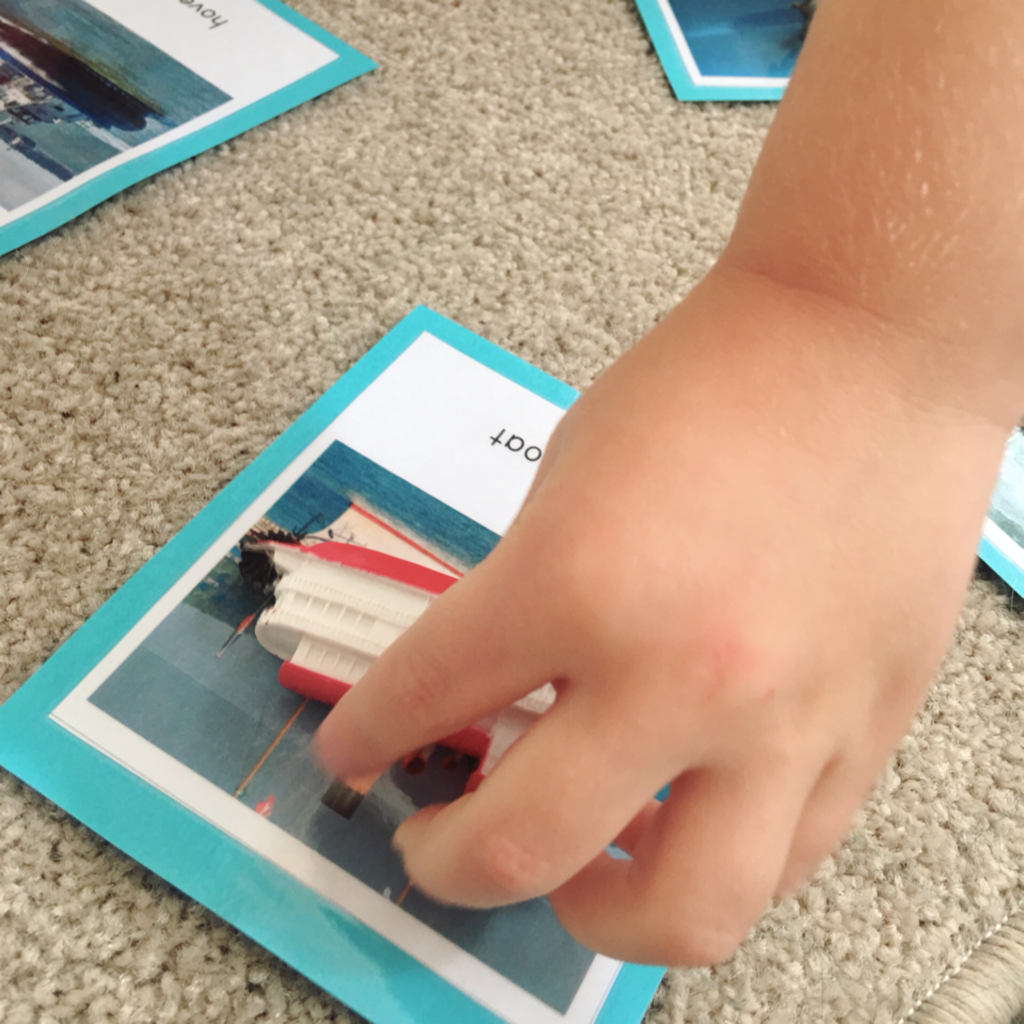 I got this idea from Pinay Homeschooler, please check out this link to see her original post. I also bought her cards from here. 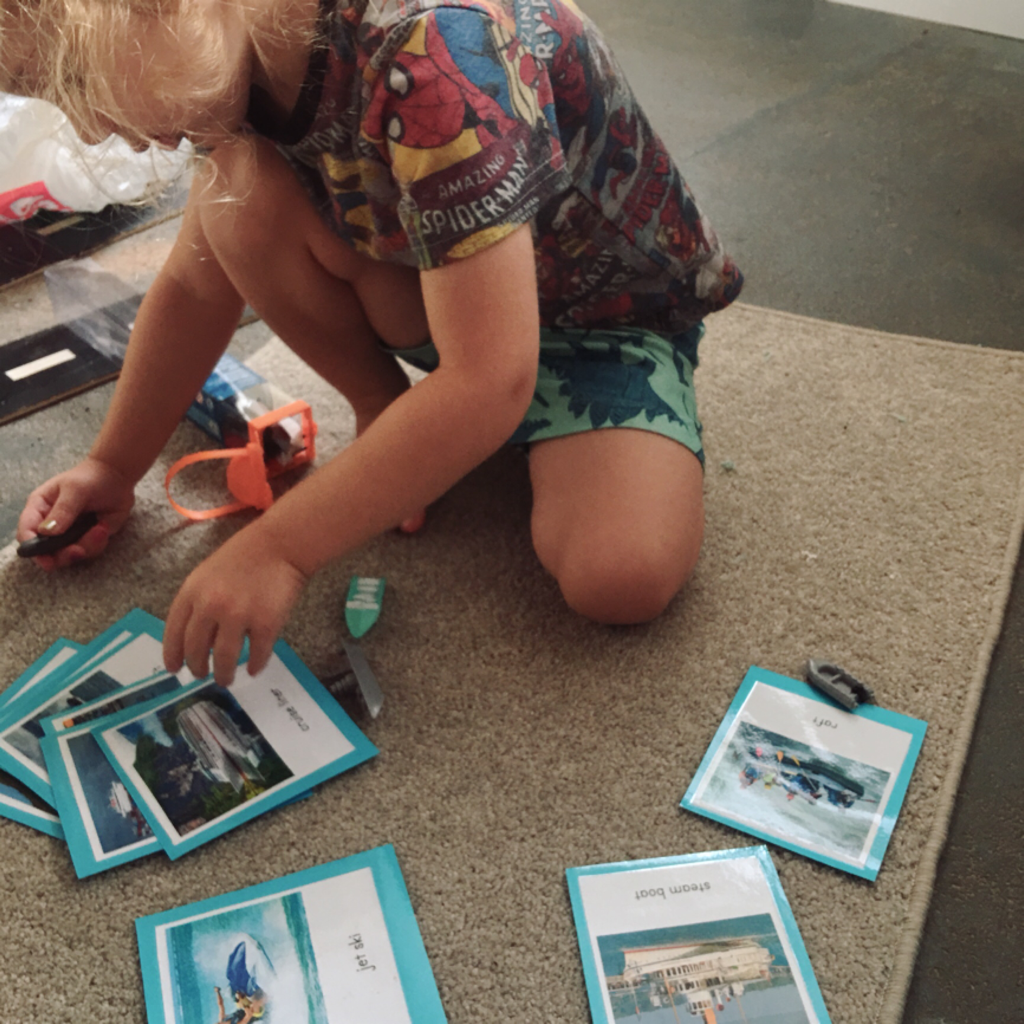 Note that the new editions of the Toobs have vehicles missing, I know that there were left over cards that didn’t match up with our sets. Sorry, I can’t for the life of me remember what they were!
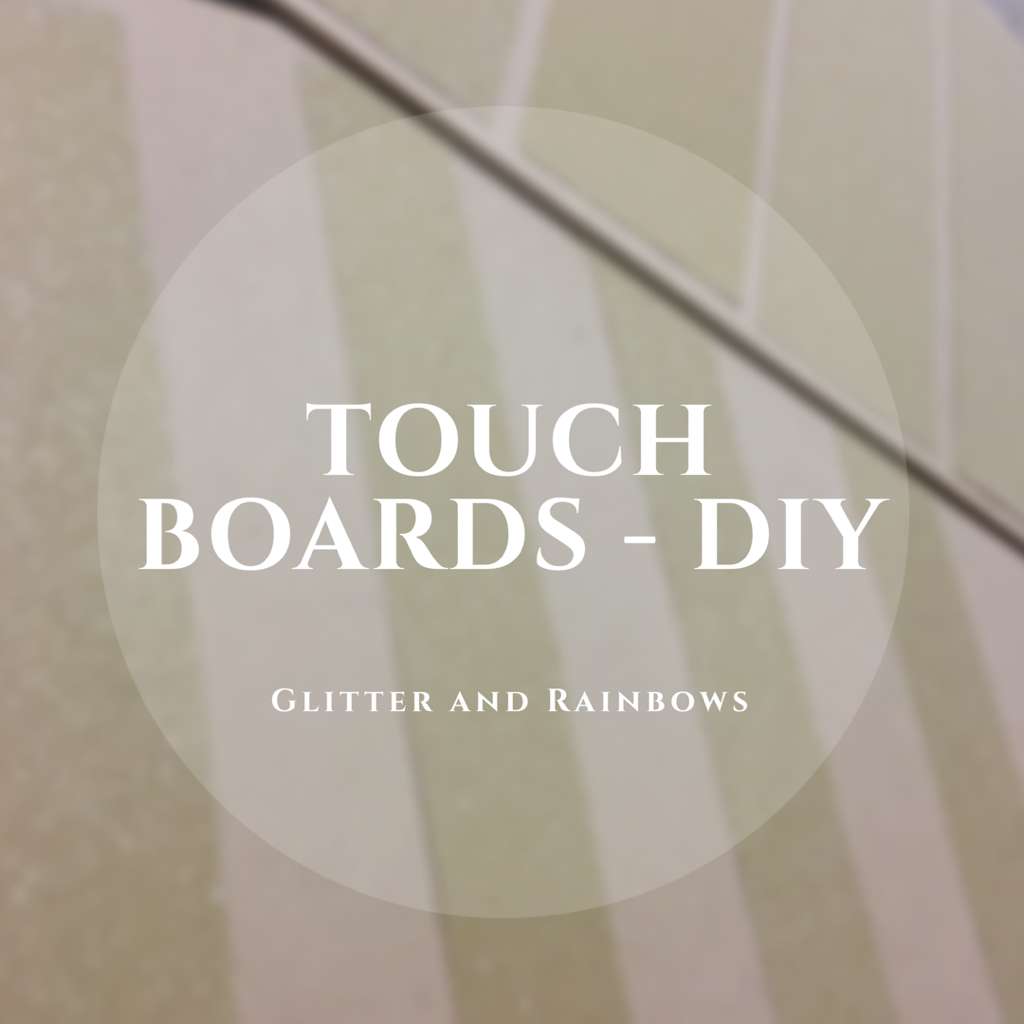 Making a set of touch boards have been in my to do list for a while. I should have had them done ages ago so that when A was keen about touching surfaces I could have had them ready to go. Oh well, I’m sure he’ll still be interested in it just for the newness factor, and as he is still a very tactile person I think he will like them.  To make these I bought a pack of various grade sandpaper for less then $5. It came with a few sheets of each grit, but since I had used the sandpaper for school projects, I was missing a few. In the end I only had enough for four levels of grit rather then the five in a real set. I wanted to make sure I also had enough for the next step in this materials, the touch tablets. 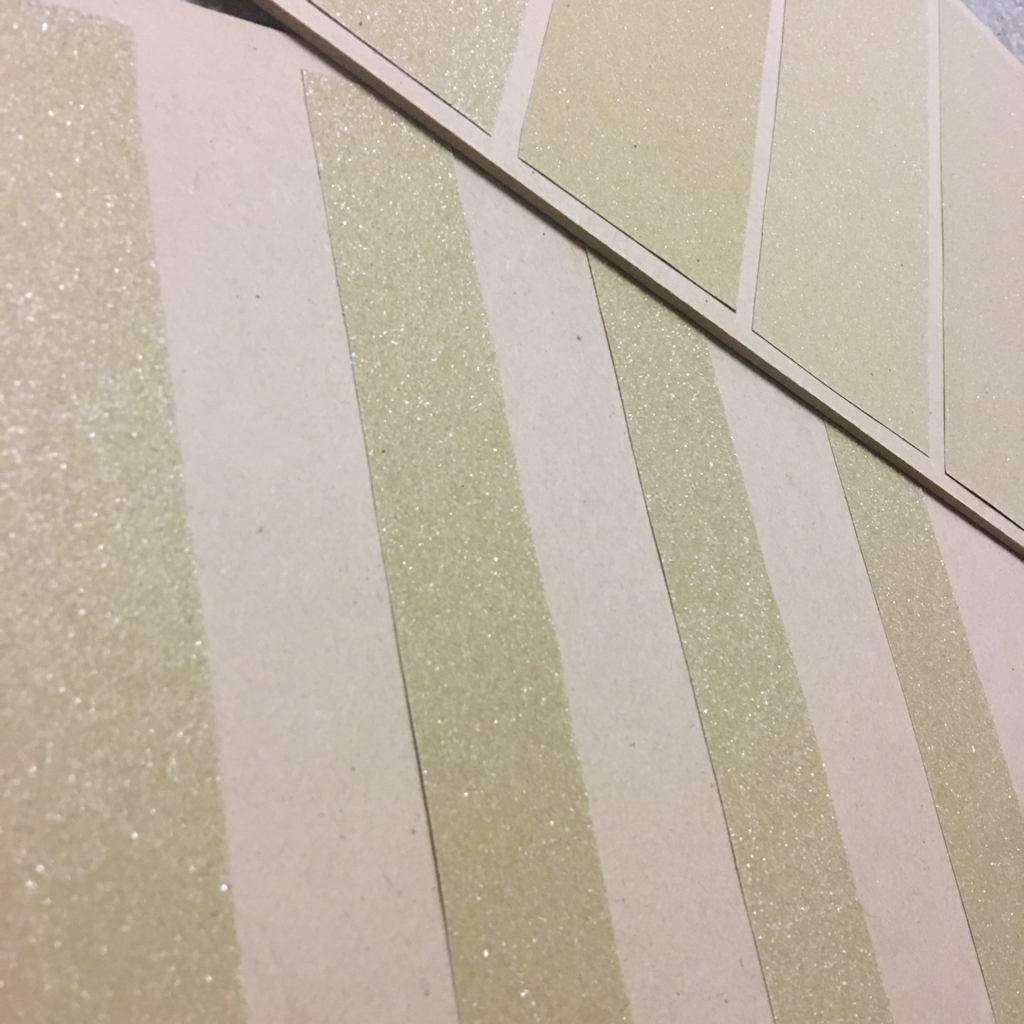 Since I live in the middle of nowhere I relied on eBay for some MDF craft boards - these are placemats. They are a little larger then the actual touch boards you can buy, but for $6.89 total I am not complaining. 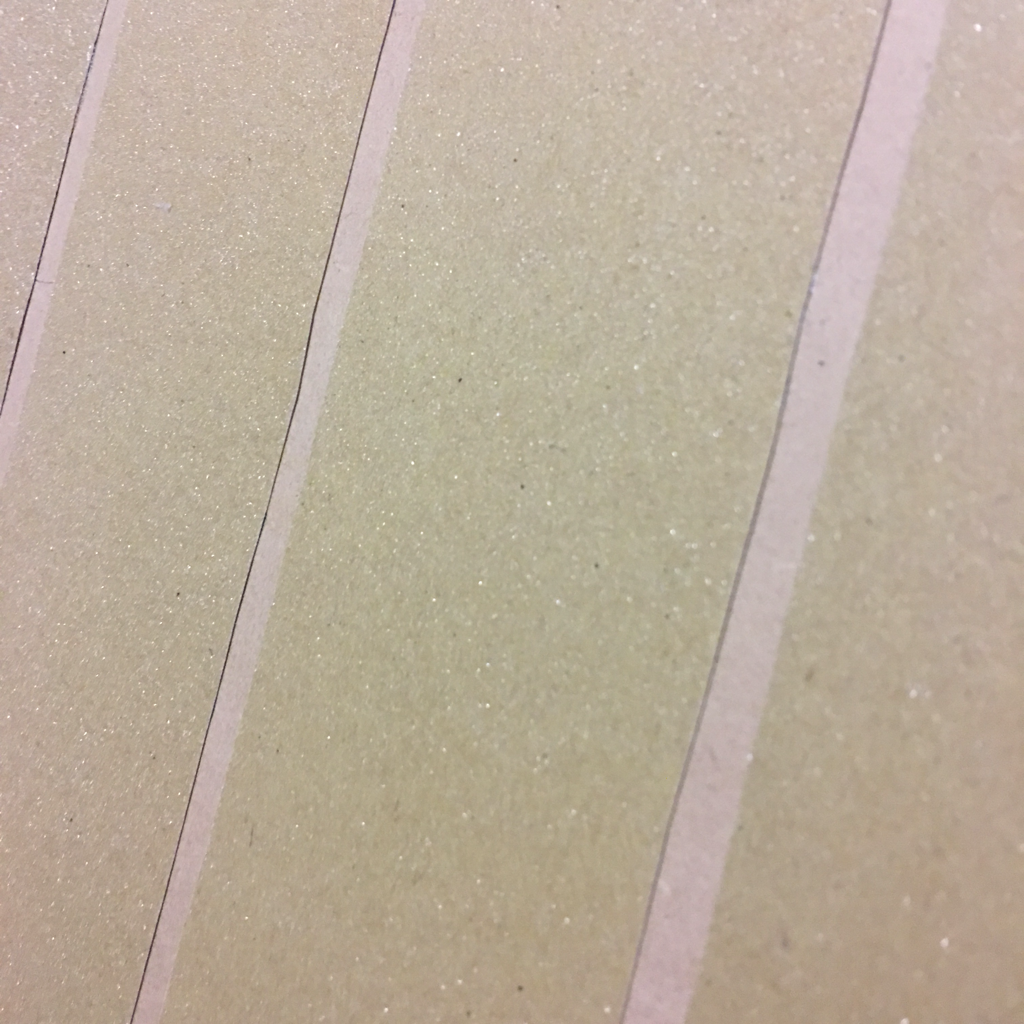 I looked at some photos of various touch boards and used this page from Info Montessori to help me plan mine out. In all honesty it took me longer to find a pair of scissors (seriously we have a brownie who hides scissors and crochet hooks in our house) than it took to work out how to make these. 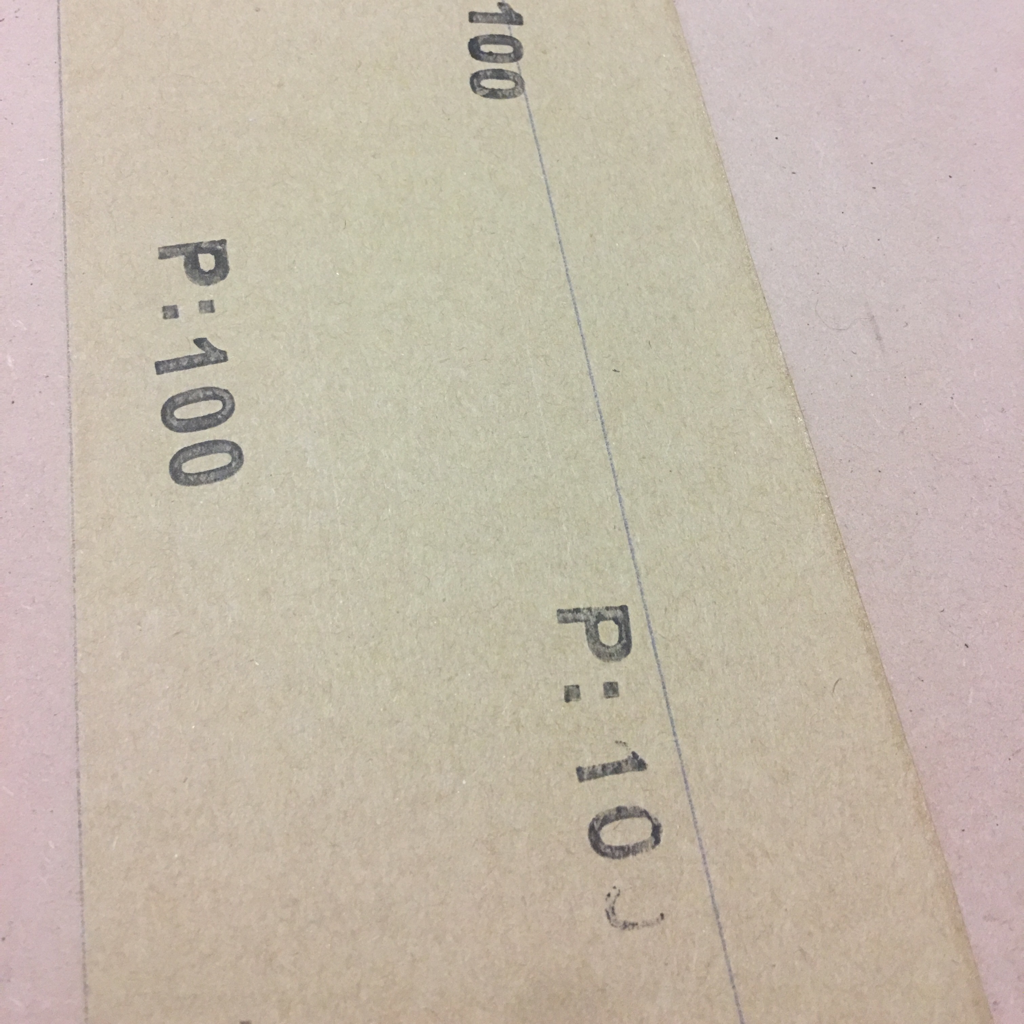 For the first board, I divided the board’s length in half and cut a piece of sandpaper to match. This was from my toughest grit. For the second board, I cut strips of sandpaper the width of my ruler. I trimmed the strips down to size to fit the width of the board. This was all out of my toughest grit. For the third board, I cut strips of sandpaper twice the width of my ruler, one of each grit. I then trimmed a little bit off one side and an end so that they could fit better. 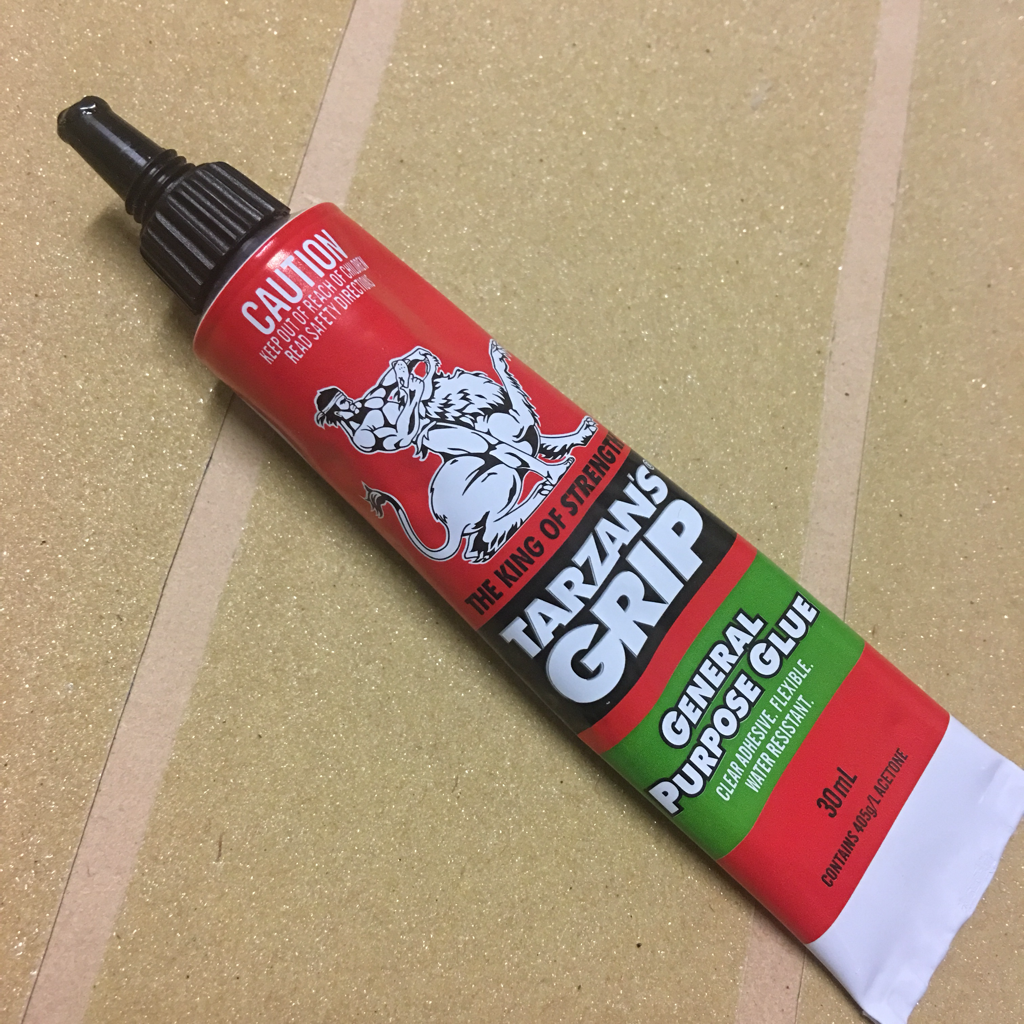 To glue it in I used my favourite glue, ‘Tarzan’s Grip’. I tried to run it along the edges so that the edges wouldn’t peel up when used by little fingers.
I think they look great! 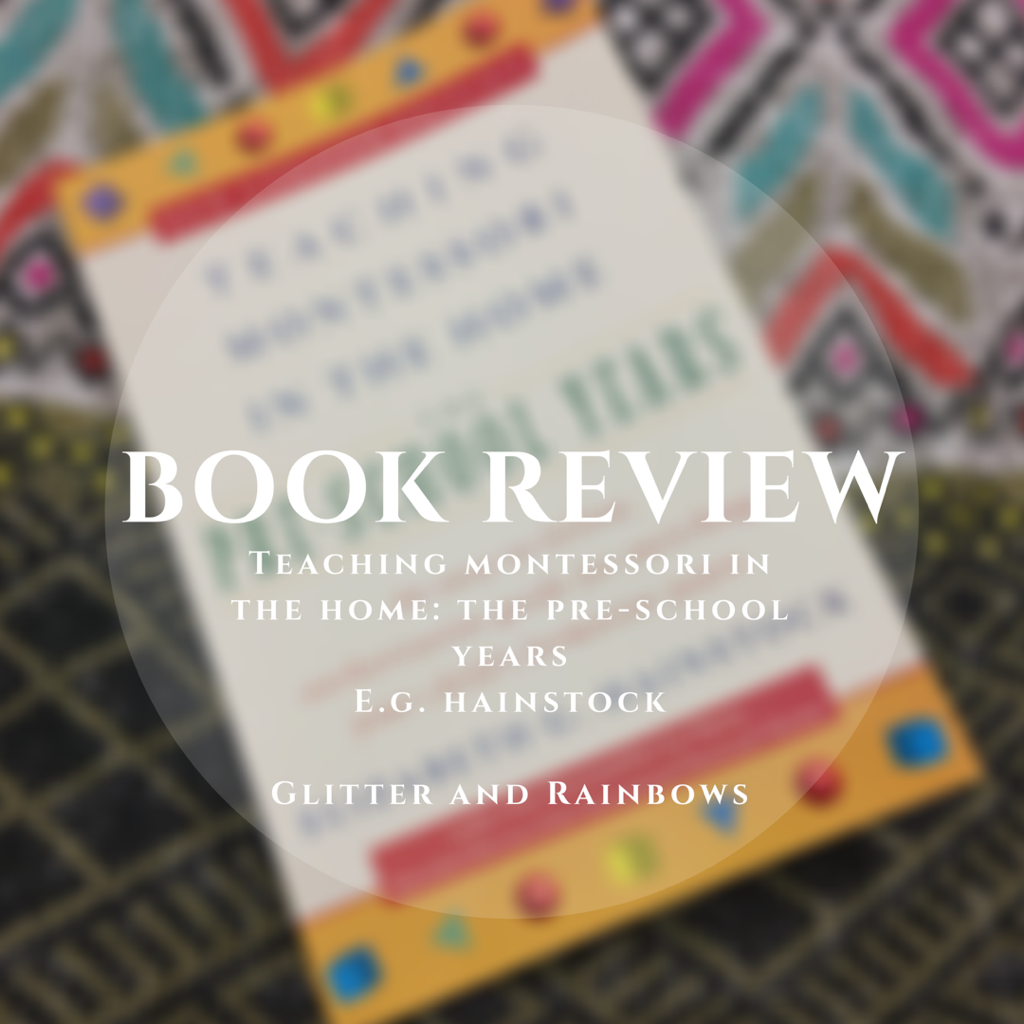 Teaching Montessori in the Home: The Pre-School Years. An easy-to-follow, authoritative guide for enriching your child formative years. By Elizabeth G. Hainstock. So this book is suggested everywhere and by everyone. I don’t know why it took me so long to get it. I guess I have been relying on Pinterest and Blog posts for ideas about Montessori. Even though originally I had read some of Maria Montessori’s books before we had decided to start our family, and have a couple of other books that I read as well.  I’ve been wanting to create a folder of our homeschool philosophies with sample curriculum and lessons. I wanted some book lists. I wanted to have a few scope and sequences to give me some guidelines as I am so used to working within a curriculum as a teacher. My first thought was that it’s smaller then I thought it was going be. The first quarter of the book is introductory information and then you get to good stuff.  It covers exercises for practical-life, early sensorial, reading and writing, and arithmetic. Then there is a section on how to DIY a heap of the stuff you need for the exercises. You can get all of this stuff online. But having an actual book that has been around since the late 60s actually lets me feel confident that this is how it is done. 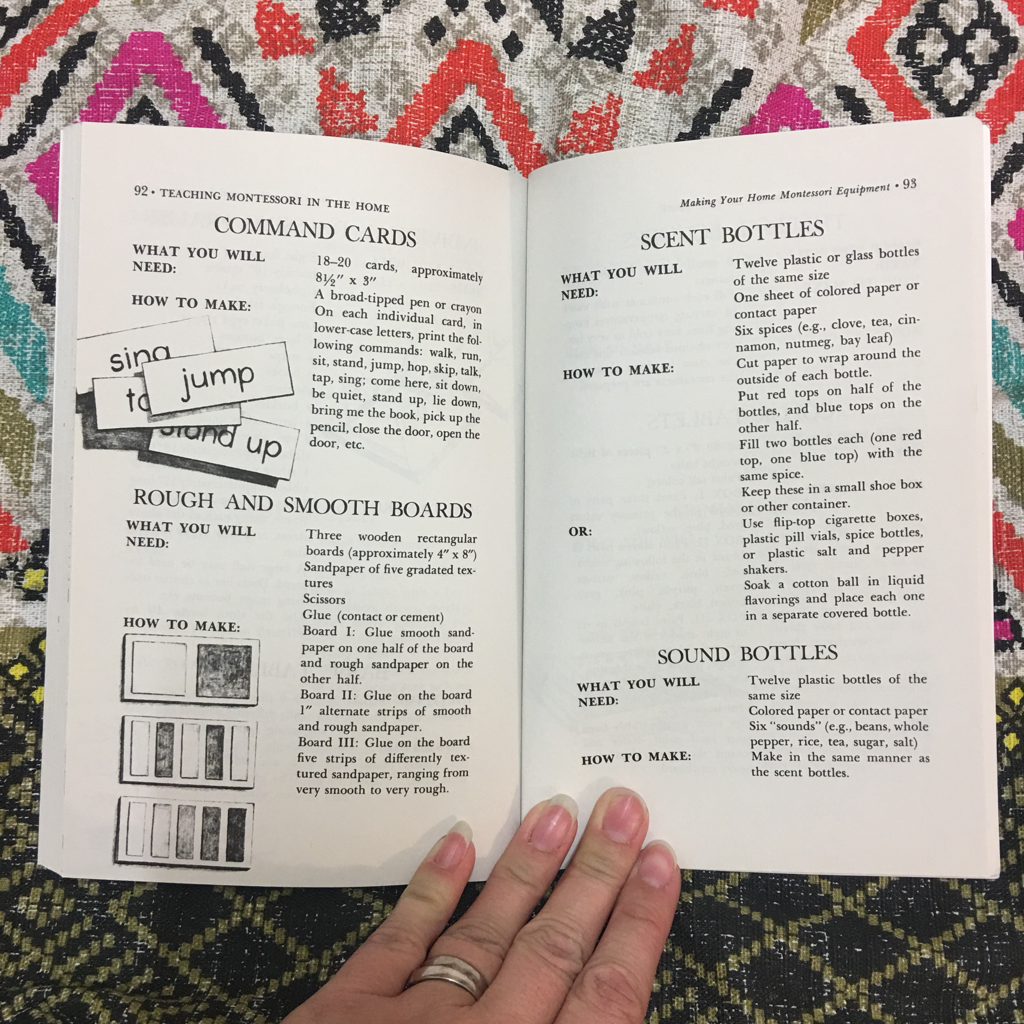  I’m a teacher, and I’m a laminating lover. I own two laminators, one now lives at school and the other at home. Don’t make the rookie mistake like I did and buy just an A4 laminator. Treat yourself and get an A3 one because it will do A4 easier without having to line anything up plus you can also make some larger posters. Anyhow... Back to the topic. Montessori 3 part cards. We’ve been using cards for a long time now, but I didn’t really put a lot of effort into making them beyond printing, laminating, and the cutting out. The reason for this is that A loved them a little too much. So they would end up in his mouth, in his bowl of cereal, folded up in his little clenched hand, tucked away in secret places... you get the idea.  These were the first cards we used. The link to the shop where I bought them is at the bottom of this post. At the time he wanted to know all about fruit so I just followed his lead. A still loves fruit and when we can we buy unusual fruit for him to try. Today we were talking about blueberries. Back to the topic. I continue to use cards that parallel A’s interests. I prefer to use the Singapore Maths approach of concrete-pictorial-abstract. For me that means starting with realistic figurines or the real object, then moving to photographs or realistic beautiful illustrations. We haven’t gotten to abstract yet. I like to find concrete model of the items - I like Safari Toobs, Schleich, and other similar animal figurines. I usually buy mine from Minizoo. 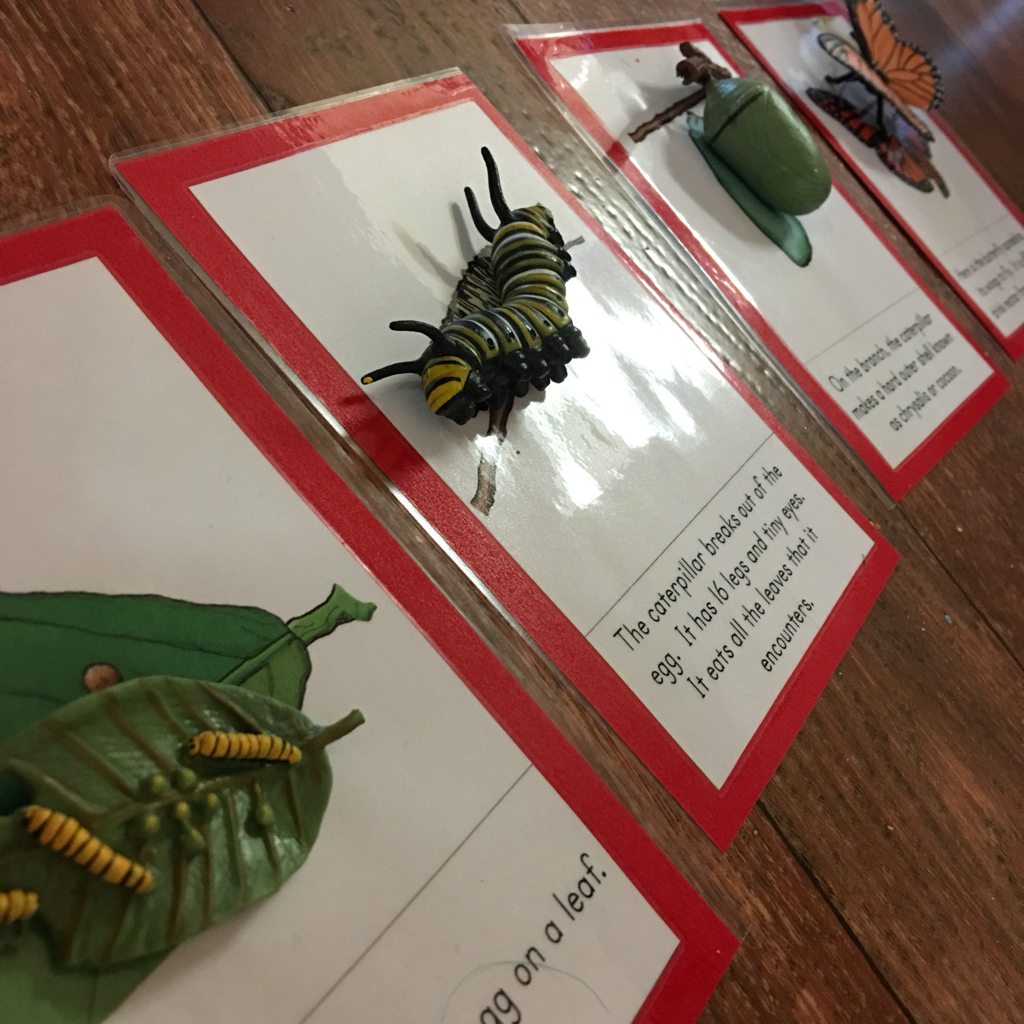 I then do a interest search for Montessori cards on the topic. There are heaps of places to find cards. I’m happy to pay cards because it saves me time. If I can’t find them I’ll make them mainly using Wikipedia photos. I’ll add some links at the end of places I buy from 😊 I own a colour laser printer, it’s getting old but it still holds up well, even though I have trouble getting it to work on the network half the time. 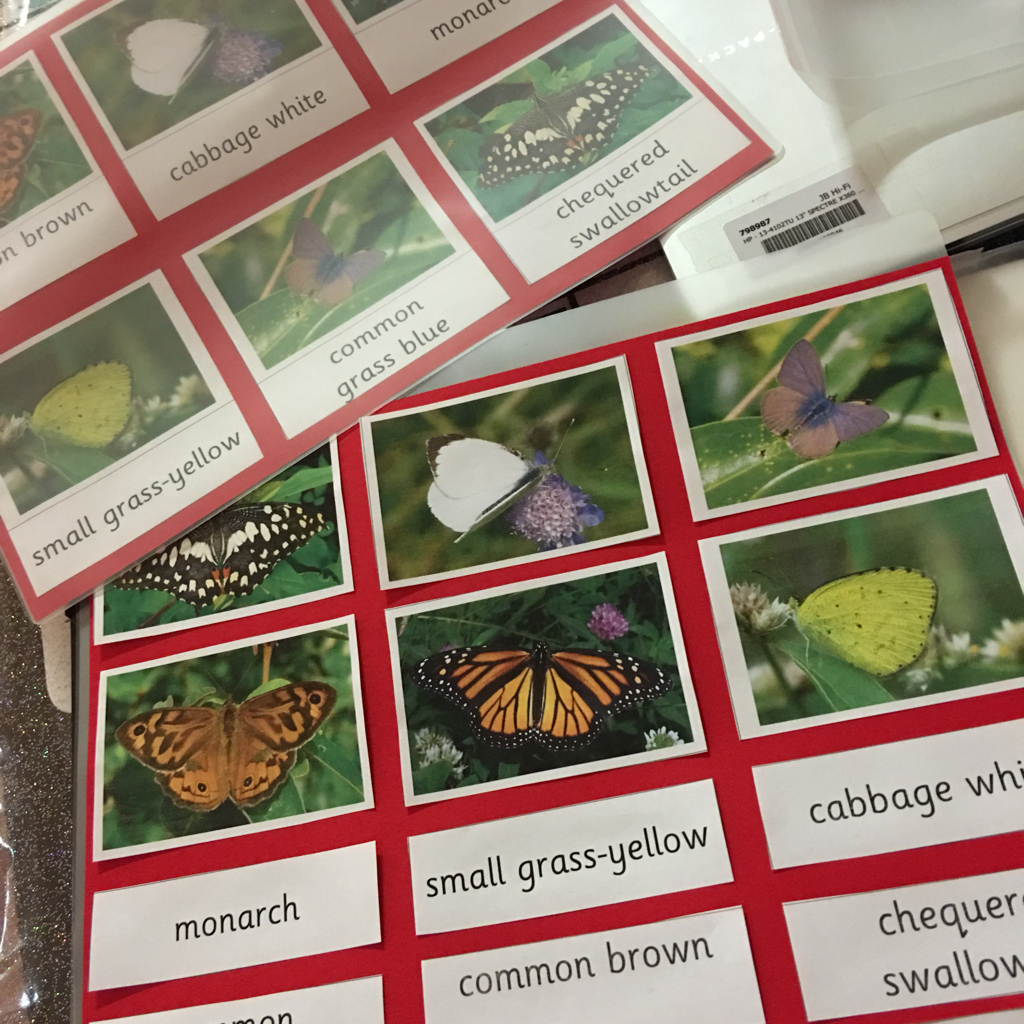 I made these cards, they are common Australia butterflies. 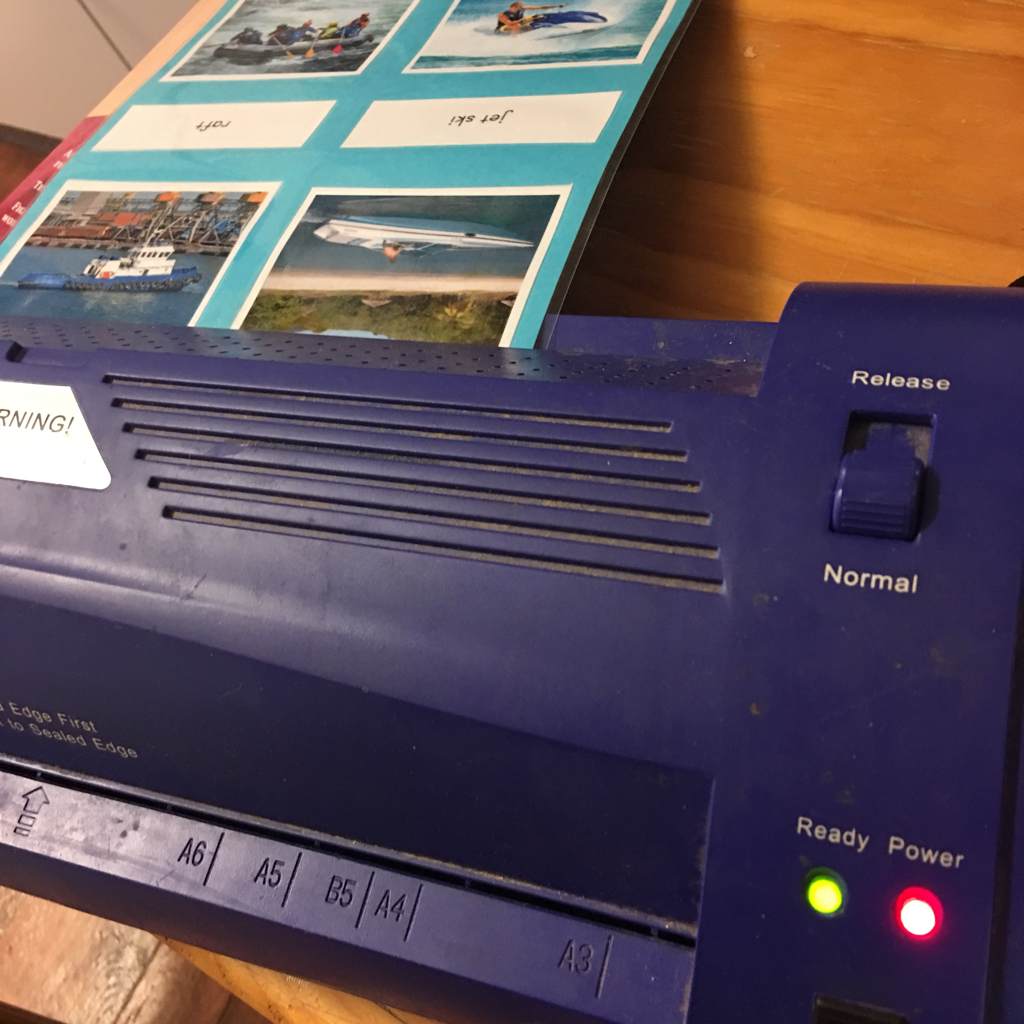 Now that we doing this Montessori thing with a little more fidelity I have started backing the cards in the correct colour and then laminating. I still cut straight from the paper and don’t leave a plastic boarder around my cards.  This is an issue because I’m so clumsy. If your cards get wet the paper will suck up the liquid under the laminating. See this is what happens you spill your drink all over them. Also be sure to glue your photos down properly onto the backing paper because your laminator can still chew it up as it goes through the rollers 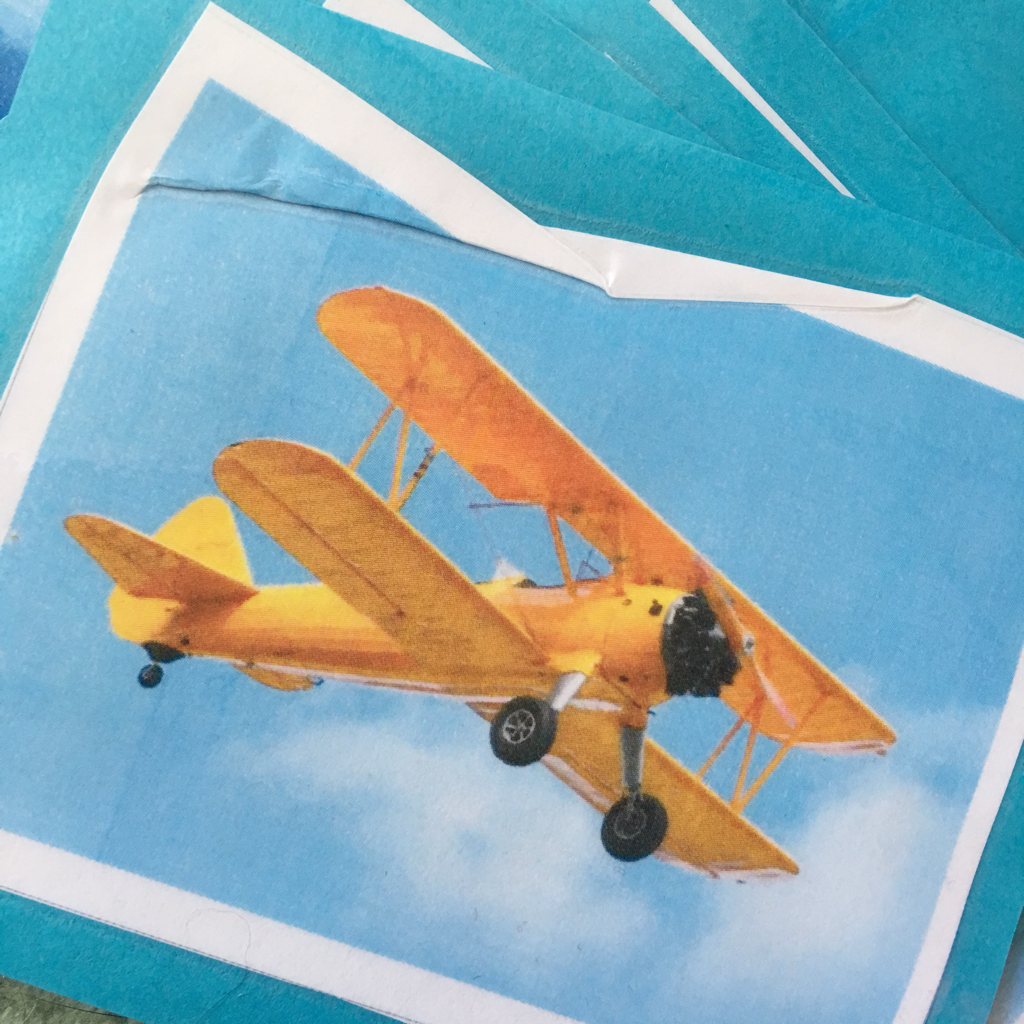 It takes me a few days to get through a card set because I do them while A is playing ‘independently’. He can get to see the cards and takes an interest in them, but it’s not until I get out the models that it really captures his attention.  Links:
Pinay Homeschooler Shop Montessori for Everyone Montessori Printshop The fruit cards came from Montessori for Everyone The water transport cards and butterfly life cycle cards came from Pinay Homeschooler Shop  2 years 11 months Before going to bed we let A play something with us, usually a board game but tonight he wanted to play the ‘whale game’.  The ‘whale game’, as he calls, it is actually some three part cards I created featuring some big sea creatures. I’ll talk about them in another post I promise! 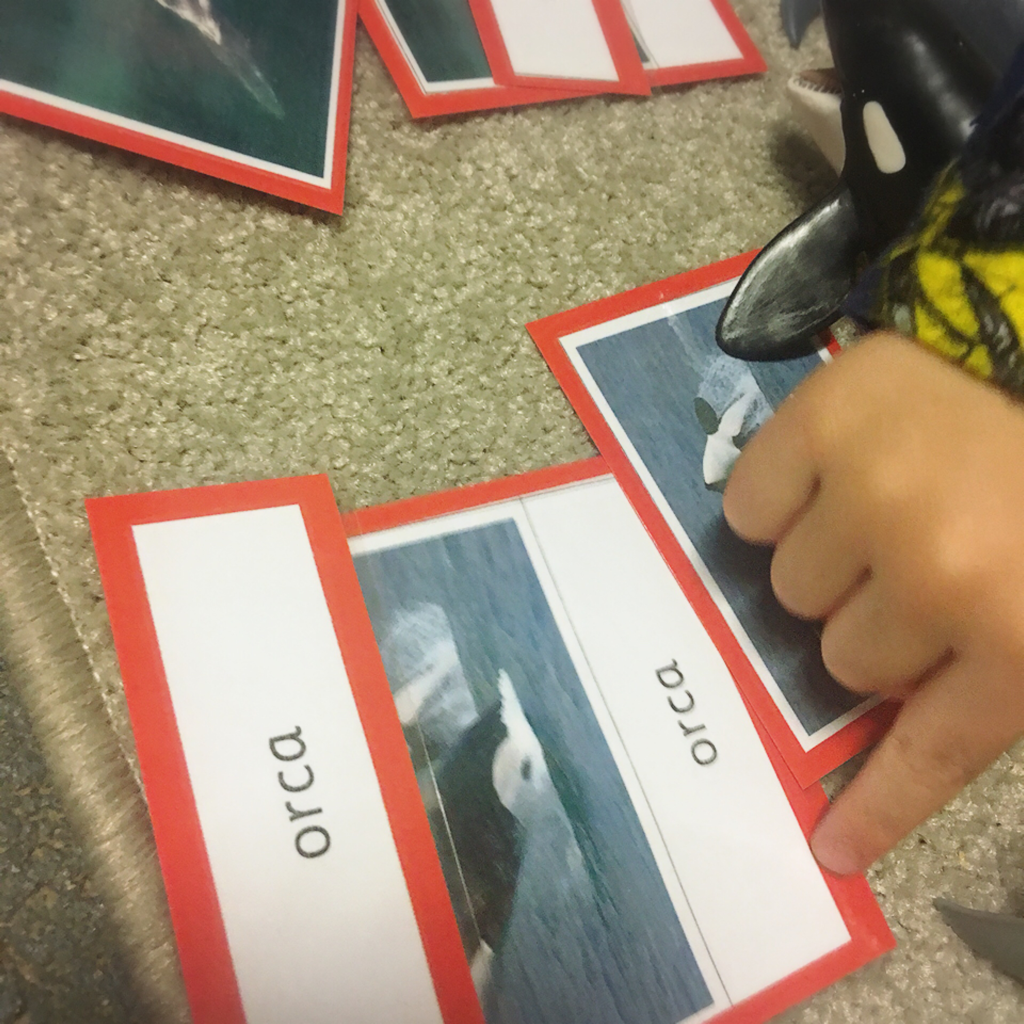 After he played the ‘whale game’ and packed it up with some prompting as to what goes where, he then got out the pink tower. Ignore the toilet rolls in the background 😂 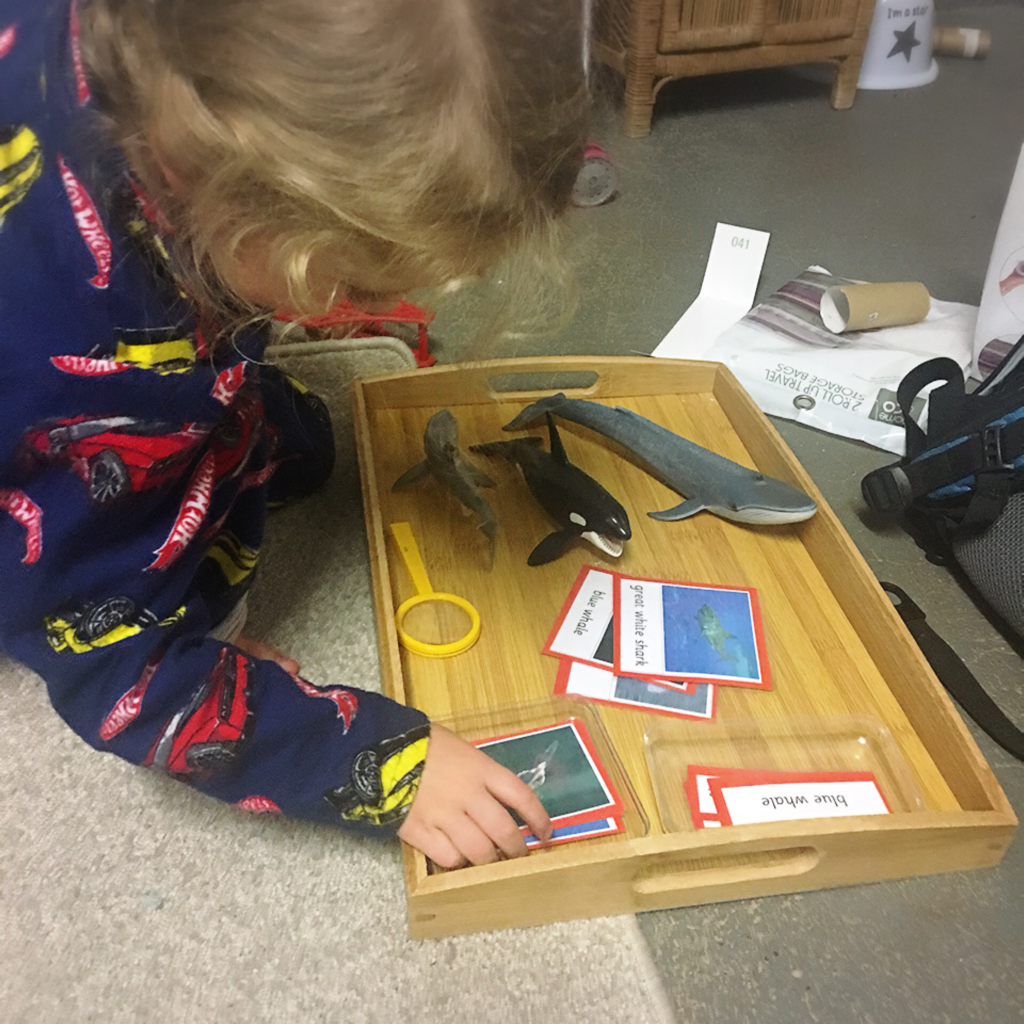 It has been a few weeks since he tried this, so I was interested to see how he went. He was awesome. He even tried to ‘trick’ me with a few fake block choices😆. Although he’s still not so good at packing it away gently. 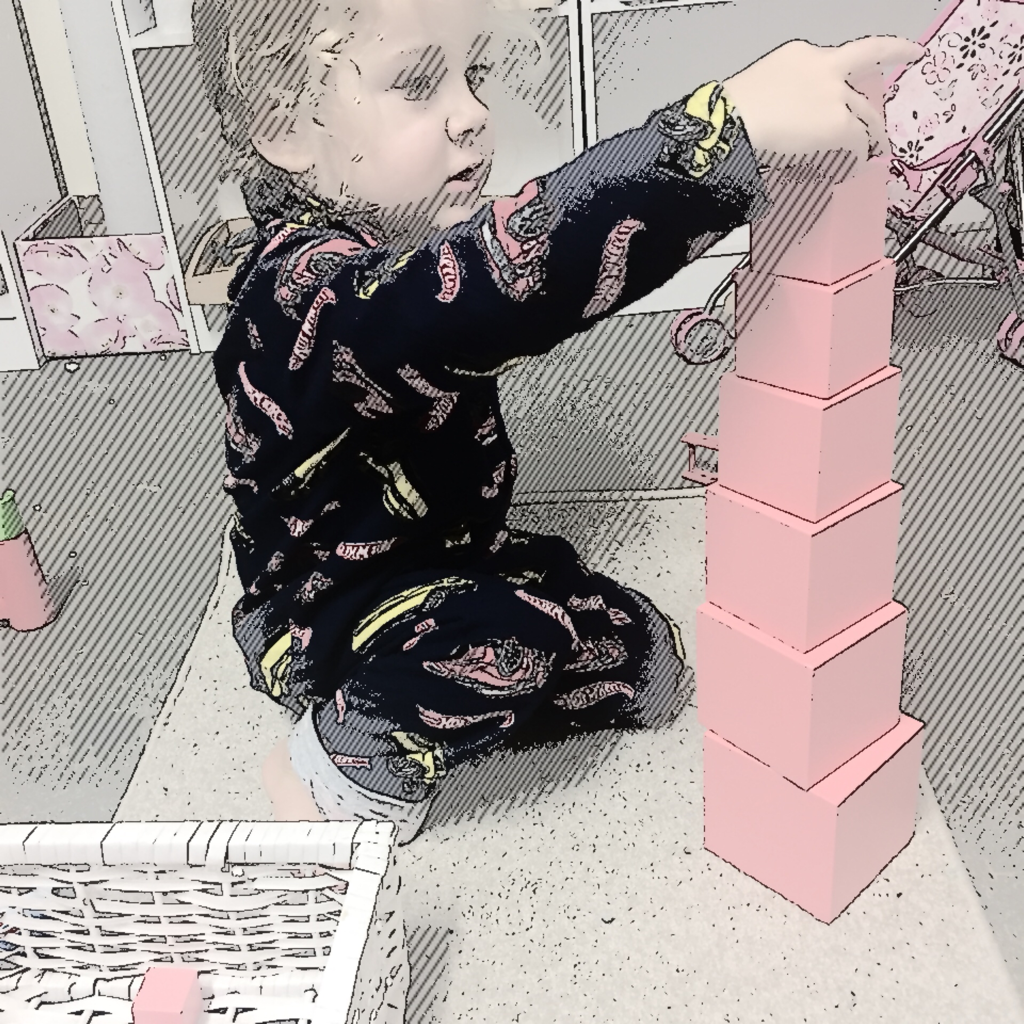 I didn’t get a photo of him jumping up and down so excited that he built it 😞 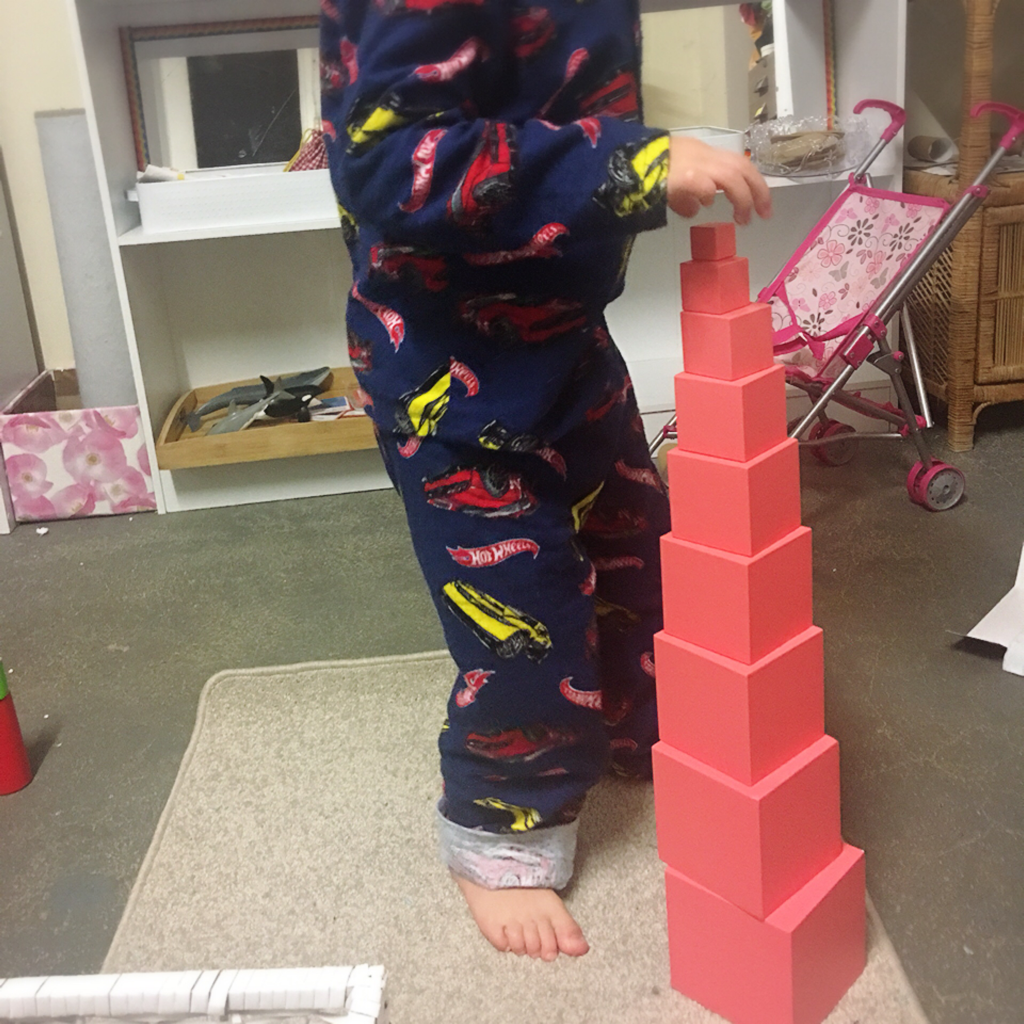 He then put the pink tower basket away, rolled up his mat, and put it away, all the while telling me how he liked the grey mat. He then brushed his teeth with a little bit of assistance, gave me a hug and a kiss, and toddled off into his bedroom with an arm full of cars and his dad.
Gosh I love Montessori and Dad’s turn for bed time duty. |
AuthorHi, I'm Pamela. A nail crazy lady with green hair. I live in outback Queensland with my toddler and my husband. I love books, writing and crafting. For more info about me go to my 'About' page. Archives
March 2018
Categories
All
|

 RSS Feed
