 A while ago I saw an image on Pinterest (that didn’t seem to go anywhere) of a beautiful set of wooden disks. The disks had a number written in them and jewels stuck around the number. I knew I had to make them myself. 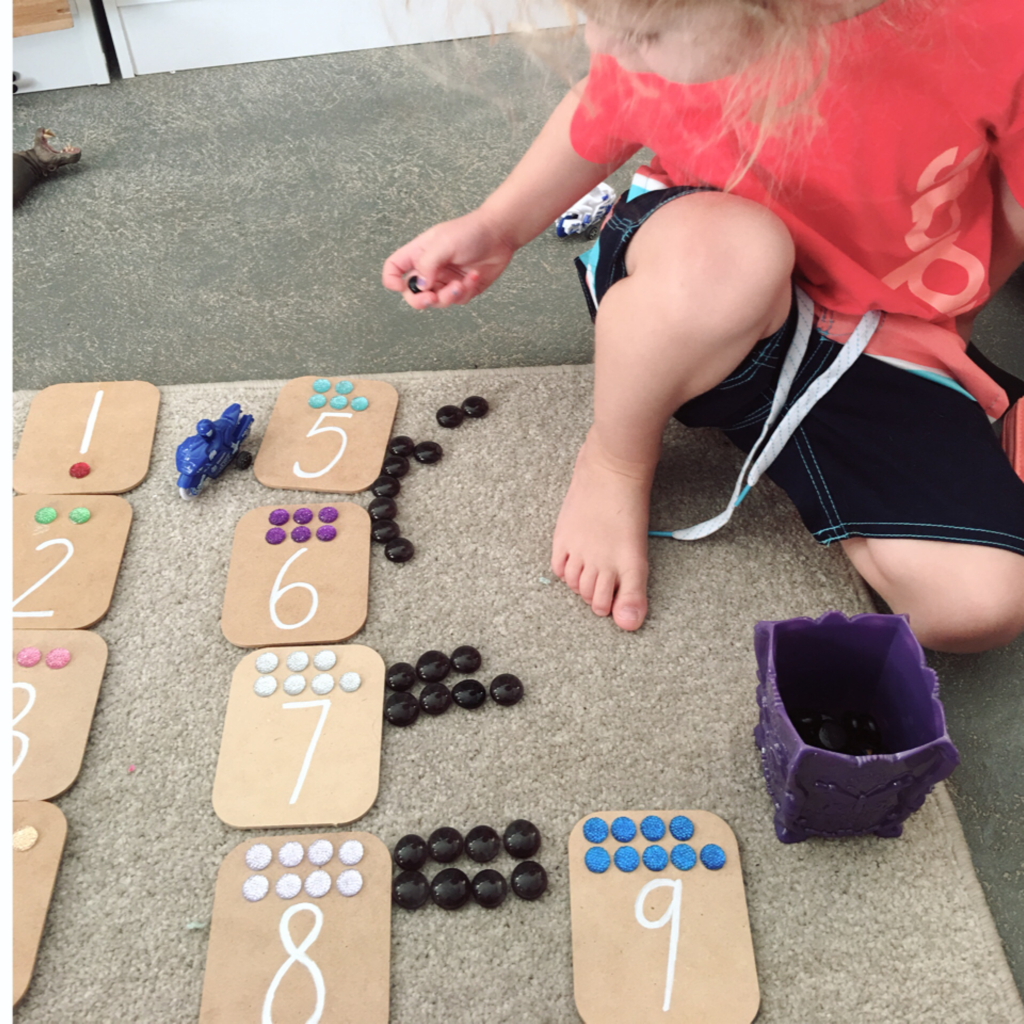 I used these coasters from Spotlight. Man I need to stock up on more of those! I keep finding ways to use them. I drew in the numbers with a paint pen. 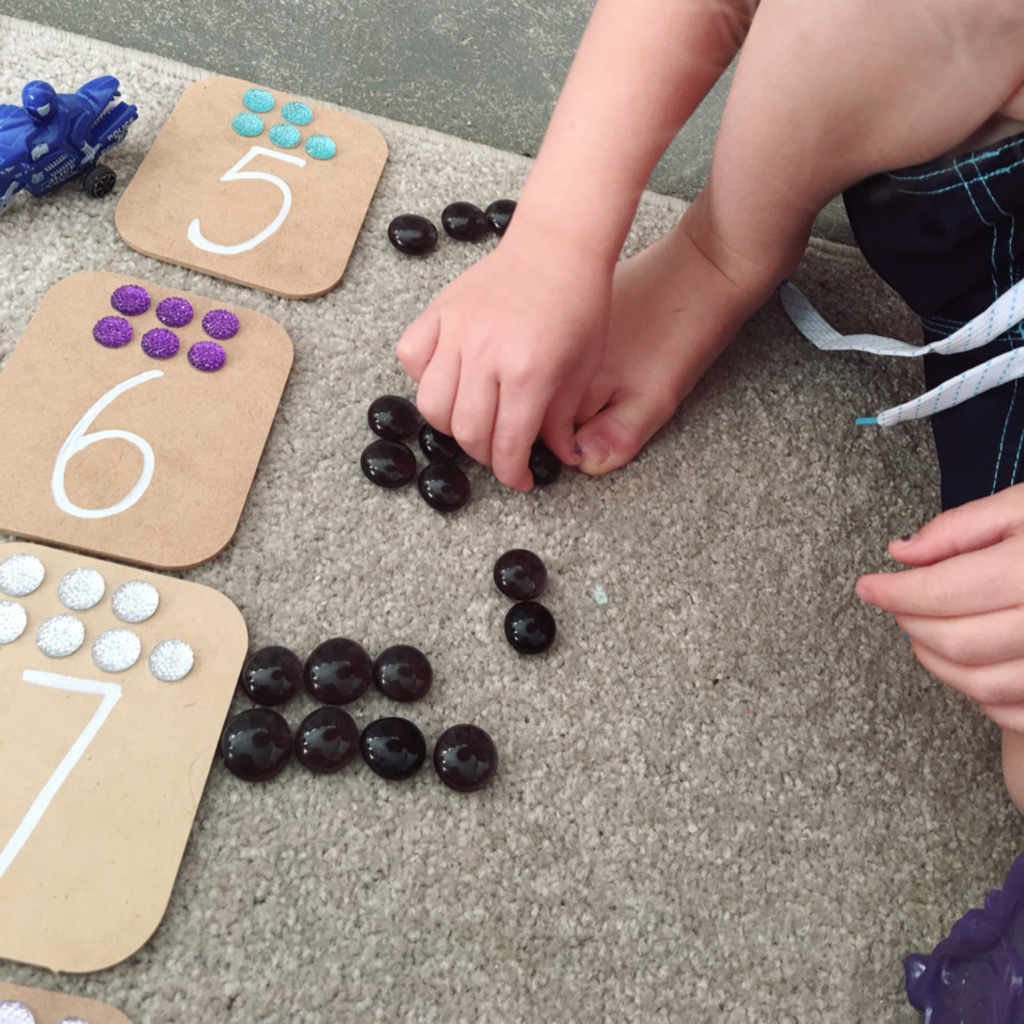 Then I glued in the jewels. I tried to stick to the Montessori colours for each number except for the number 8. There weren’t any brown jewels. I was thinking about using a brown Sharpie pen and colouring them in but I want to test it first. 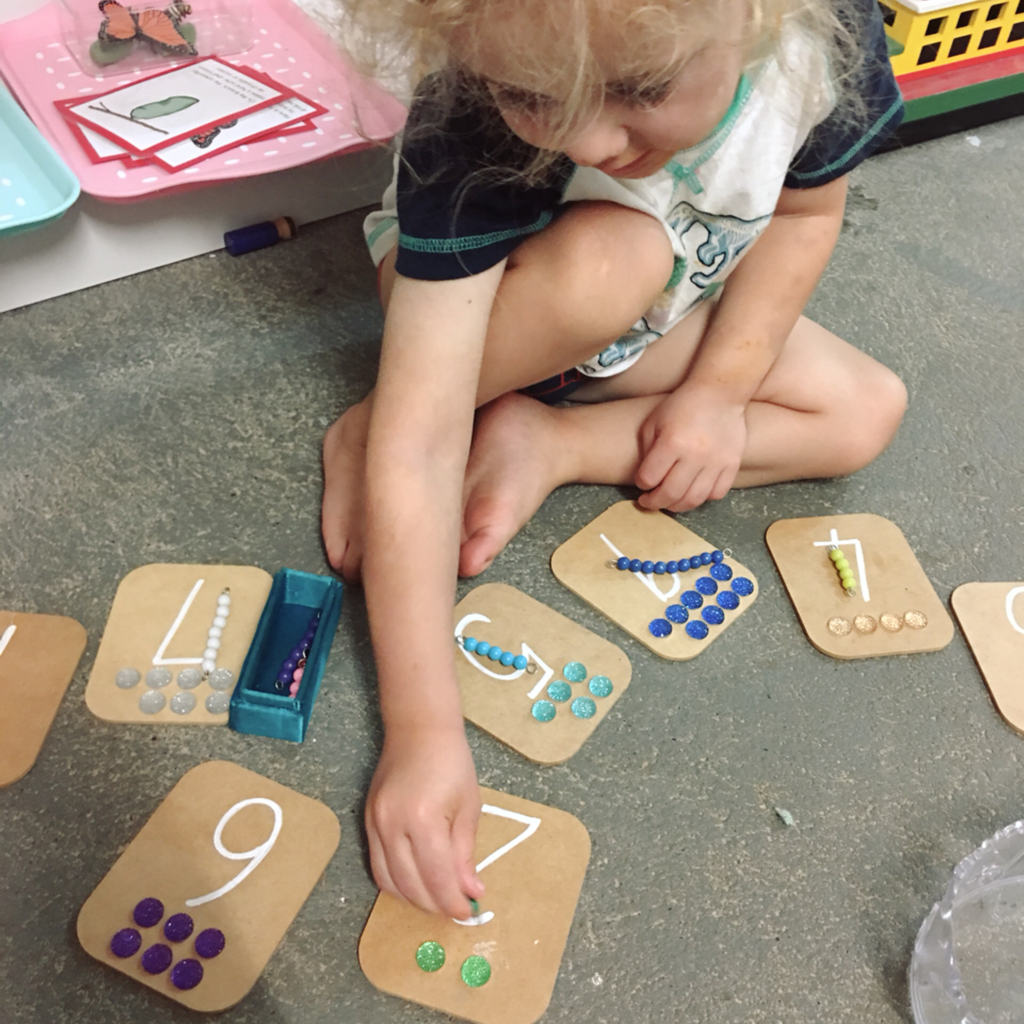 Another regret was that I didn’t really think about how I was glueing them on and really want to redo the first few. The later boards line the jewels up so that you can see if the number is odd or even. I like that. I also wanted to use some glitter glue on top of the numbers for a little more bling and texture but when I tried it, it looked terrible, so I wiped it off. I think it was because I used gold glitter which looked too yellow against the white number. 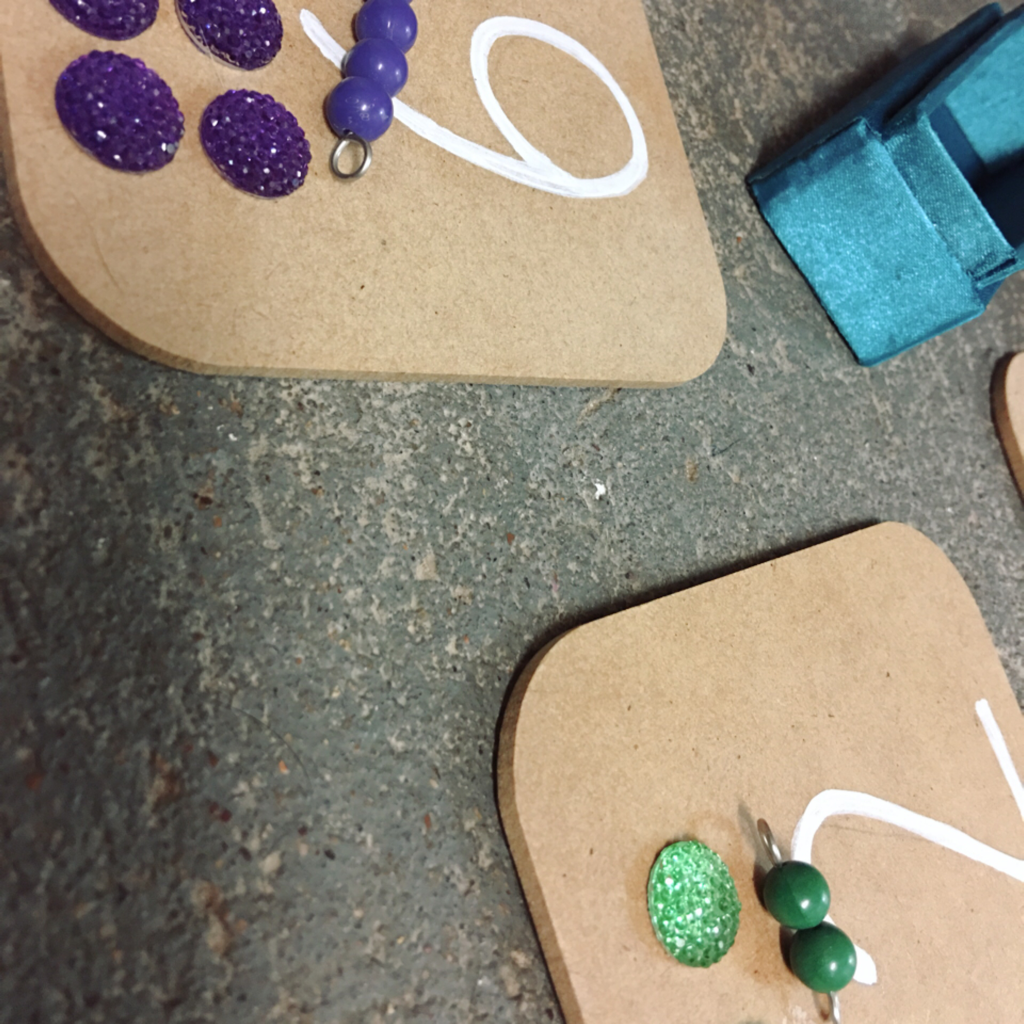 A has played with these a few times now. They are very pretty and tactile. He has paired them up with the Montessori bead stair in the past, but at the moment we have been using a heap of glass pebbles. 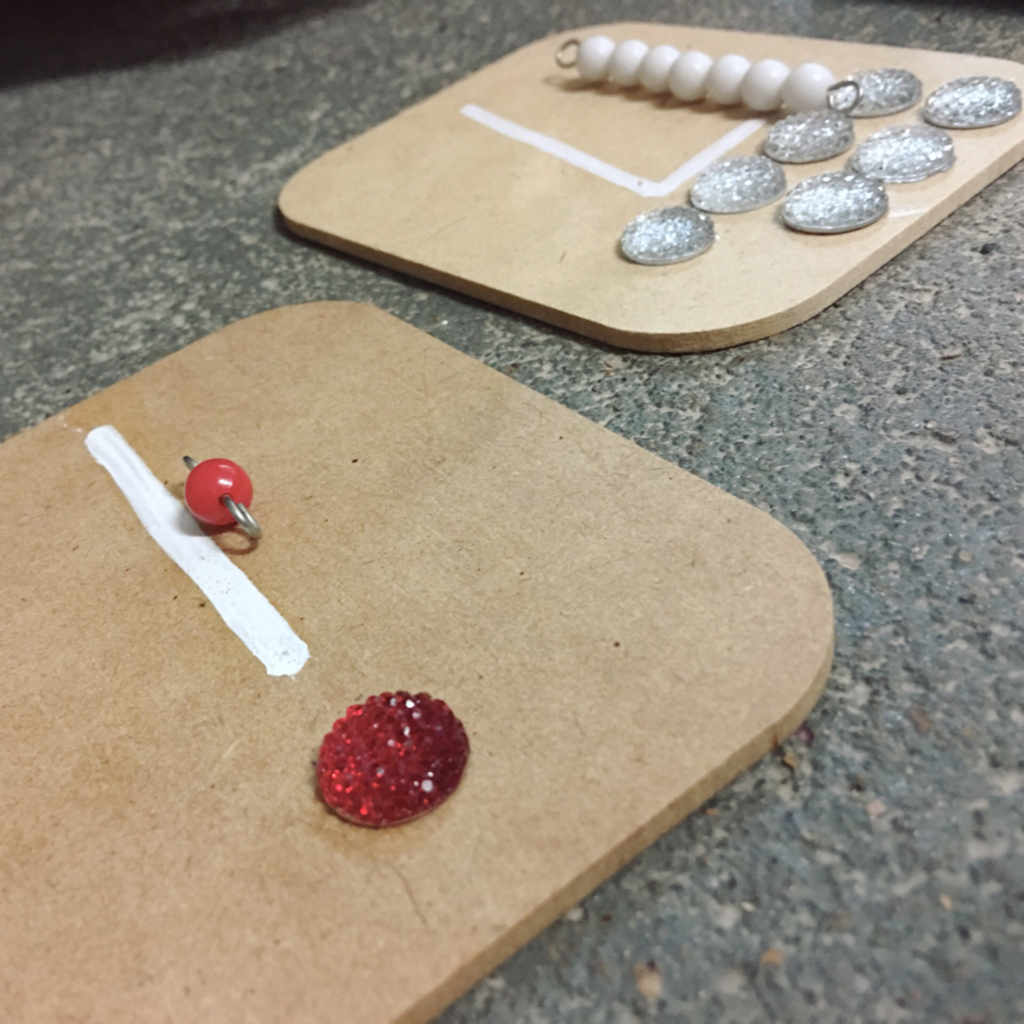 At the moment I have been counting out the bead and recreating the shapes on the card, whereas A likes to line up the pebbles and count them. I think it’s pretty cool that A is hearing counting and seeing the numbers along side their amounts. 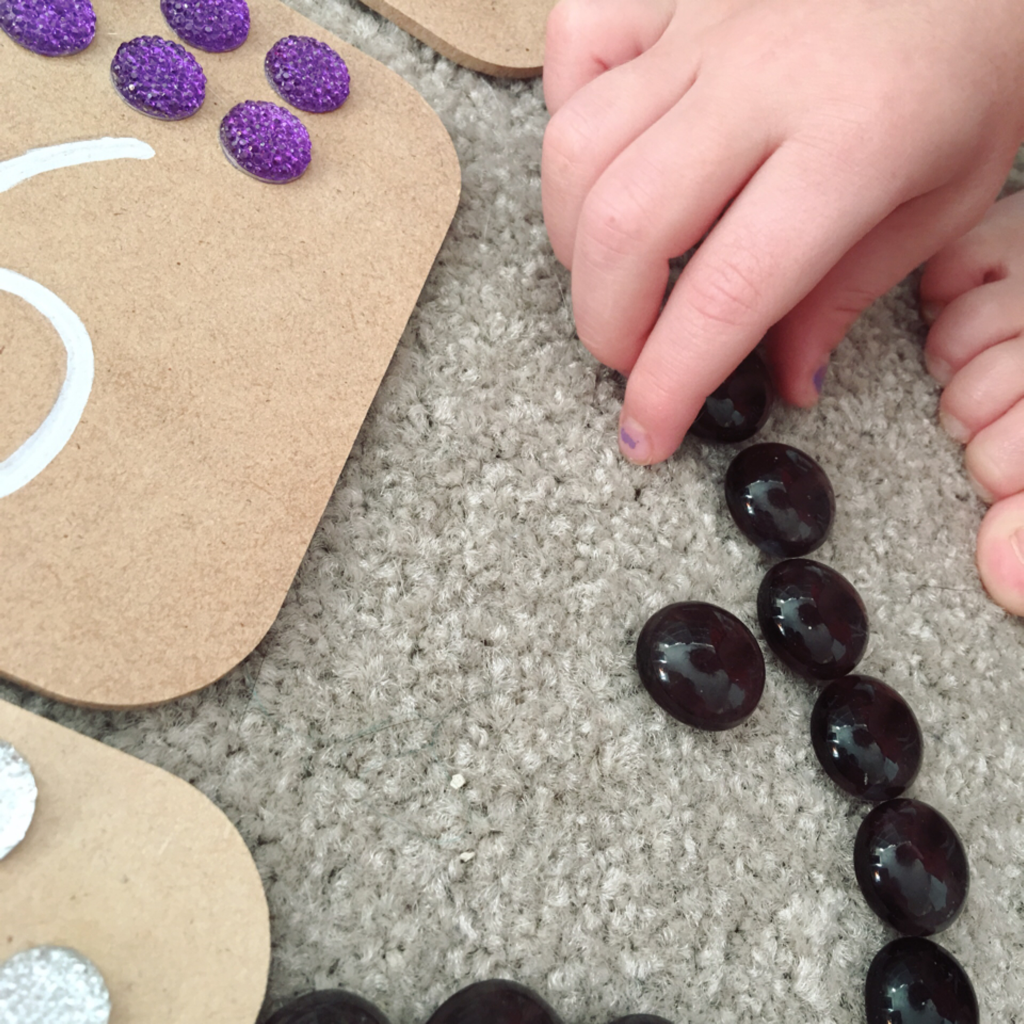 I’ve tried to get A to use a pair of tongs to pick up the pebbles but be hates that sort of activity. I don’t really blame him because there are easier ways of picking up small things. This is one area of Montessori Practical life where we fail! I see all these great activities where kids use different types of tweezers or tongs to complete the tasks bu I know that A would not do them. Oh well, follow the child!
0 Comments
 Making a set of touch boards have been in my to do list for a while. I should have had them done ages ago so that when A was keen about touching surfaces I could have had them ready to go. Oh well, I’m sure he’ll still be interested in it just for the newness factor, and as he is still a very tactile person I think he will like them.  To make these I bought a pack of various grade sandpaper for less then $5. It came with a few sheets of each grit, but since I had used the sandpaper for school projects, I was missing a few. In the end I only had enough for four levels of grit rather then the five in a real set. I wanted to make sure I also had enough for the next step in this materials, the touch tablets. 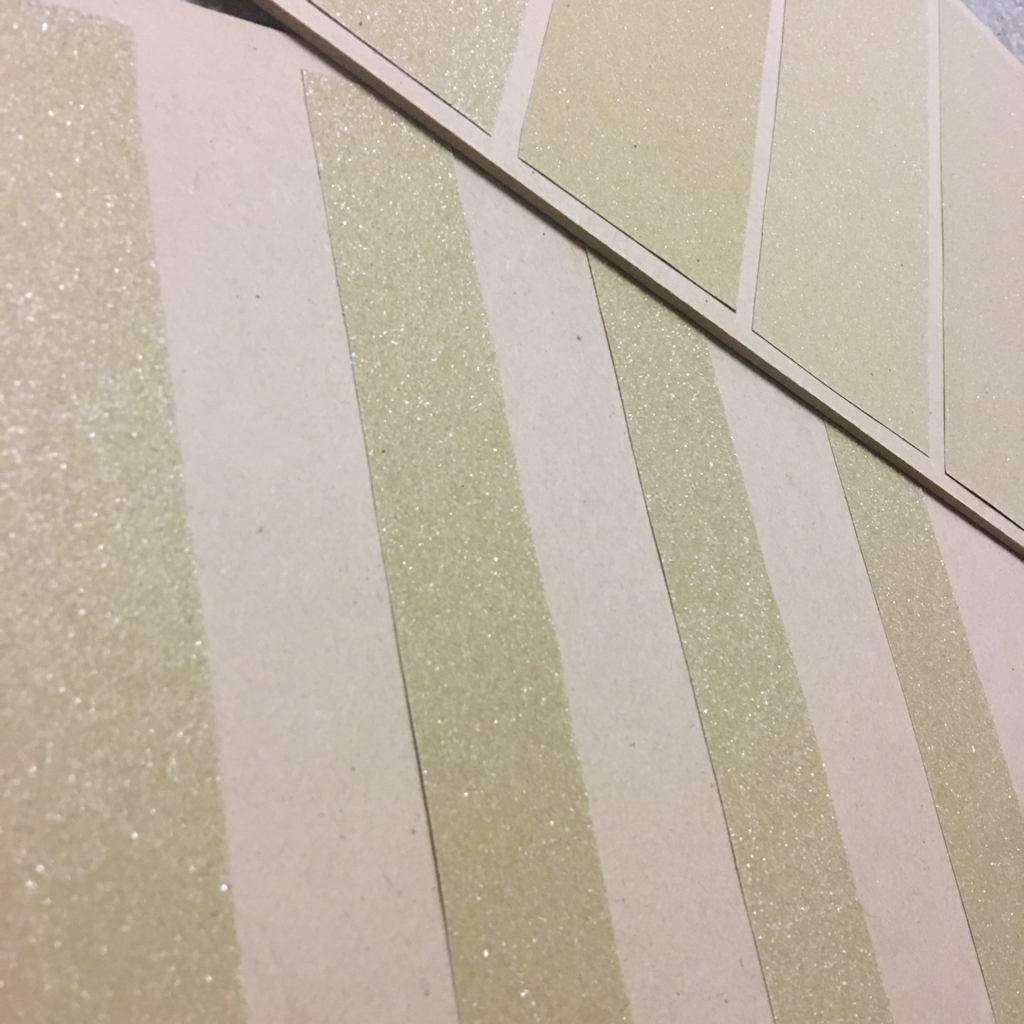 Since I live in the middle of nowhere I relied on eBay for some MDF craft boards - these are placemats. They are a little larger then the actual touch boards you can buy, but for $6.89 total I am not complaining. 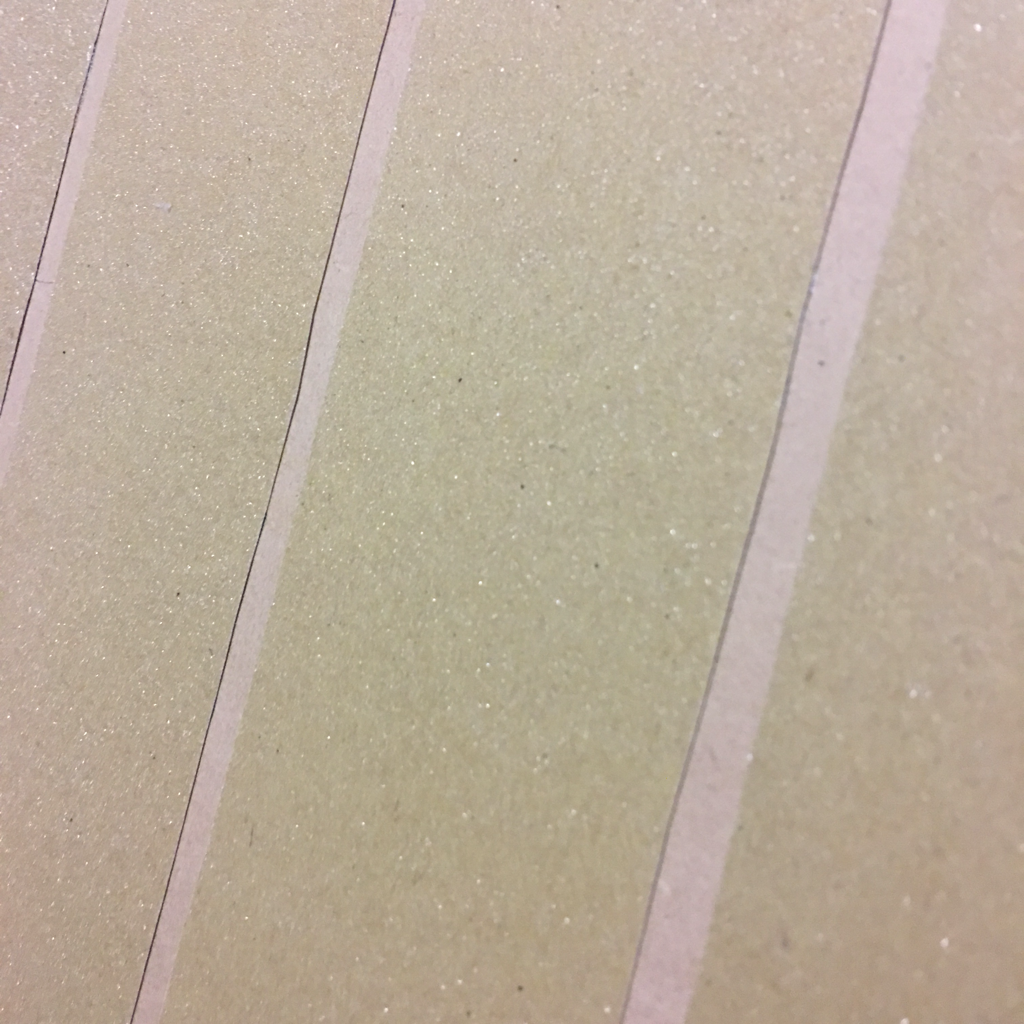 I looked at some photos of various touch boards and used this page from Info Montessori to help me plan mine out. In all honesty it took me longer to find a pair of scissors (seriously we have a brownie who hides scissors and crochet hooks in our house) than it took to work out how to make these. 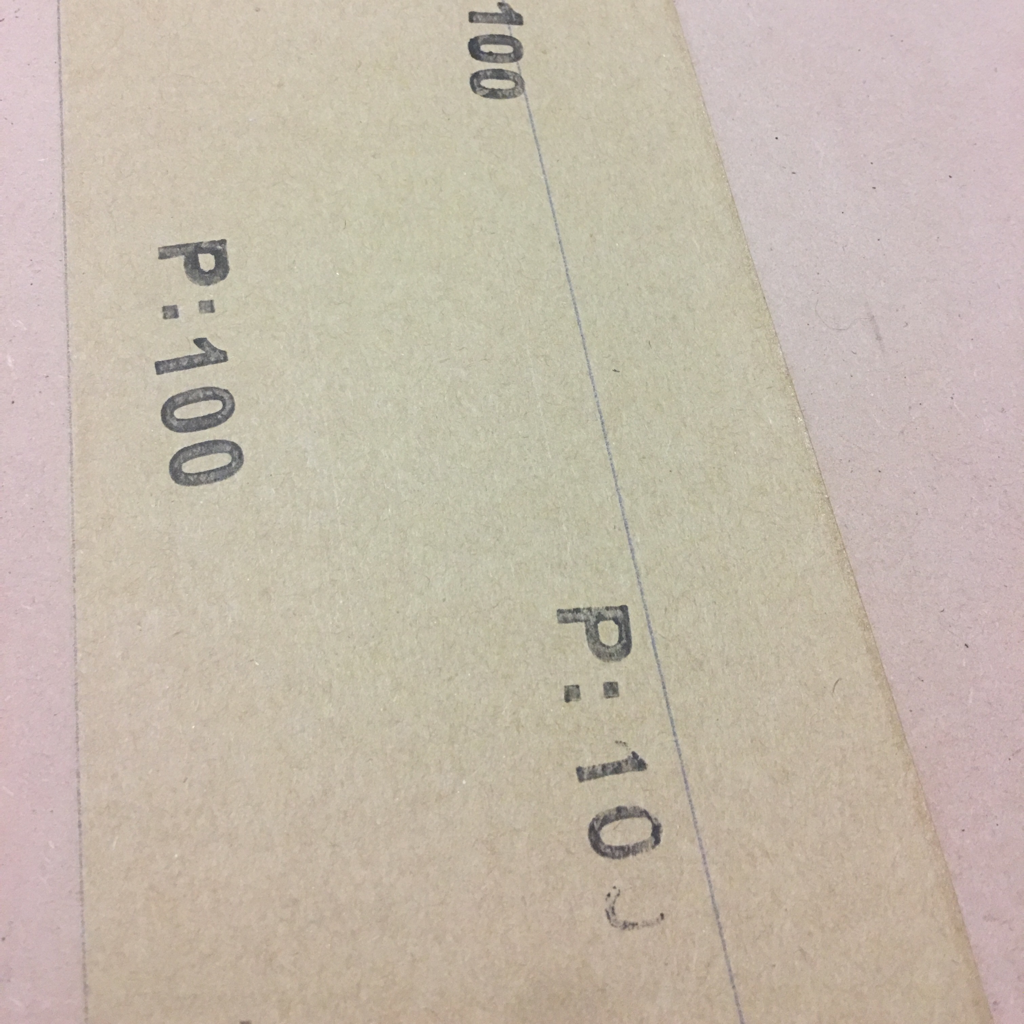 For the first board, I divided the board’s length in half and cut a piece of sandpaper to match. This was from my toughest grit. For the second board, I cut strips of sandpaper the width of my ruler. I trimmed the strips down to size to fit the width of the board. This was all out of my toughest grit. For the third board, I cut strips of sandpaper twice the width of my ruler, one of each grit. I then trimmed a little bit off one side and an end so that they could fit better. 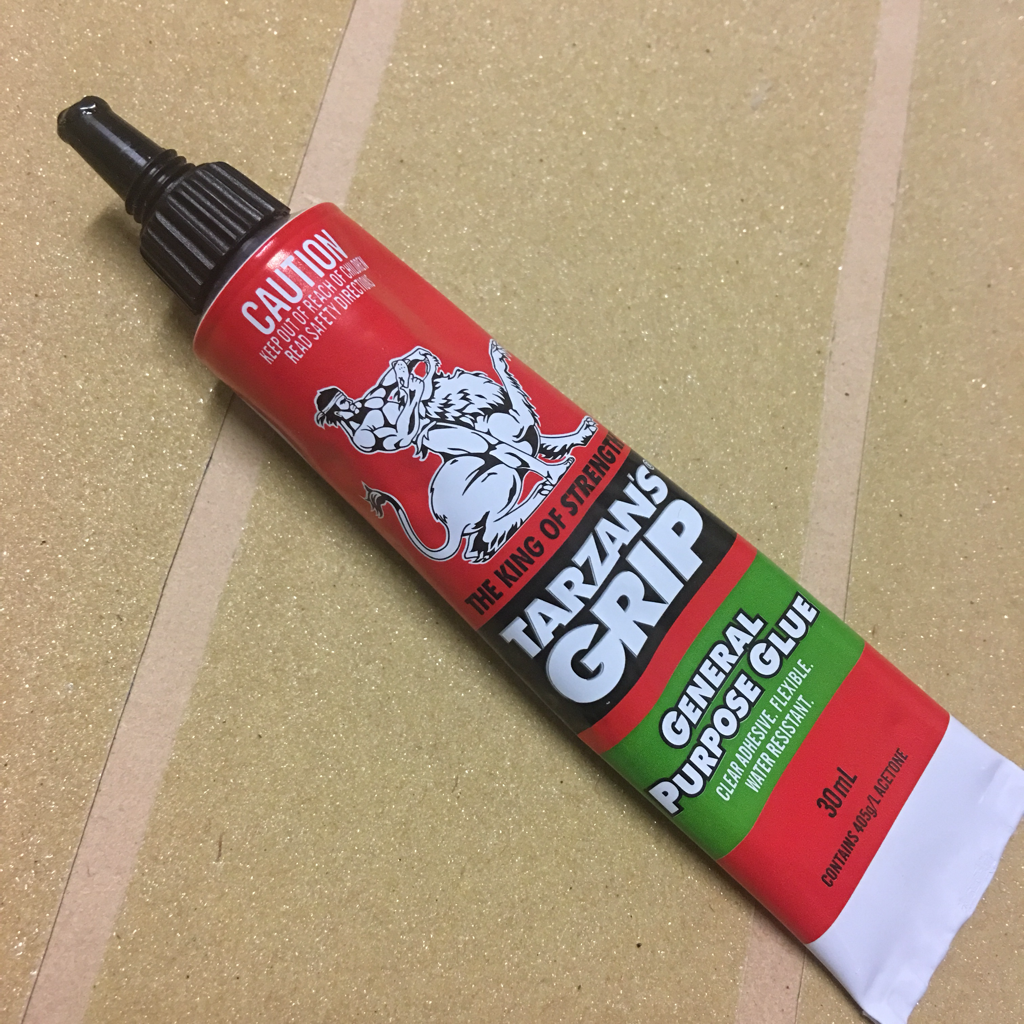 To glue it in I used my favourite glue, ‘Tarzan’s Grip’. I tried to run it along the edges so that the edges wouldn’t peel up when used by little fingers.
I think they look great!  This isn’t a long post, but since we just picked two marigolds from our garden our little display looked extra cute! 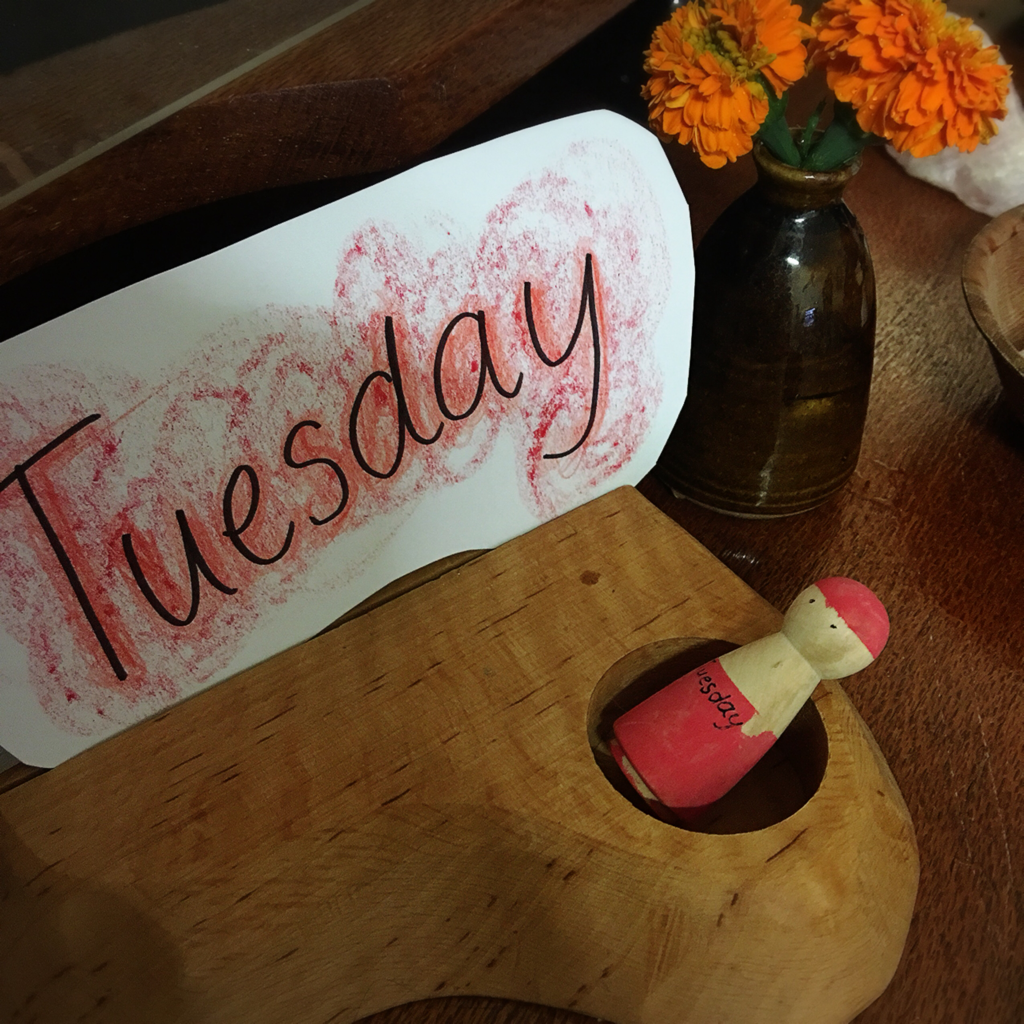 Our ‘days of the week’ gnomes were painted by us a while ago, but A seems really interested in knowing what the day is at the moment. Before this they have been played with, and they look a little worse for wear but that’s what makes them extra special. 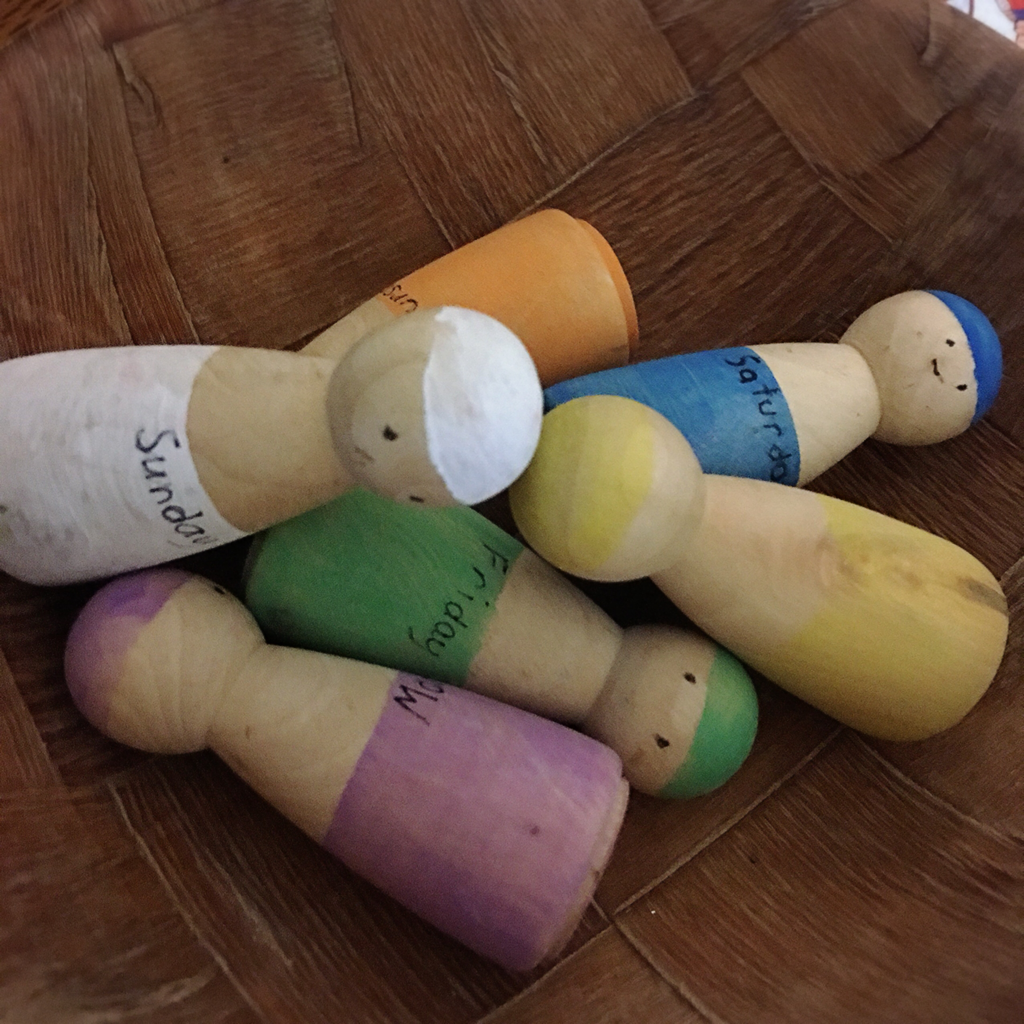 I love this aspect of Waldorf education. Each day of the week has it’s own colour, so it’s really helping A understand the weekly rhythm.
I bought the holder a couple of years ago from Dragonfly Toys from here.  I’m a teacher, and I’m a laminating lover. I own two laminators, one now lives at school and the other at home. Don’t make the rookie mistake like I did and buy just an A4 laminator. Treat yourself and get an A3 one because it will do A4 easier without having to line anything up plus you can also make some larger posters. Anyhow... Back to the topic. Montessori 3 part cards. We’ve been using cards for a long time now, but I didn’t really put a lot of effort into making them beyond printing, laminating, and the cutting out. The reason for this is that A loved them a little too much. So they would end up in his mouth, in his bowl of cereal, folded up in his little clenched hand, tucked away in secret places... you get the idea. 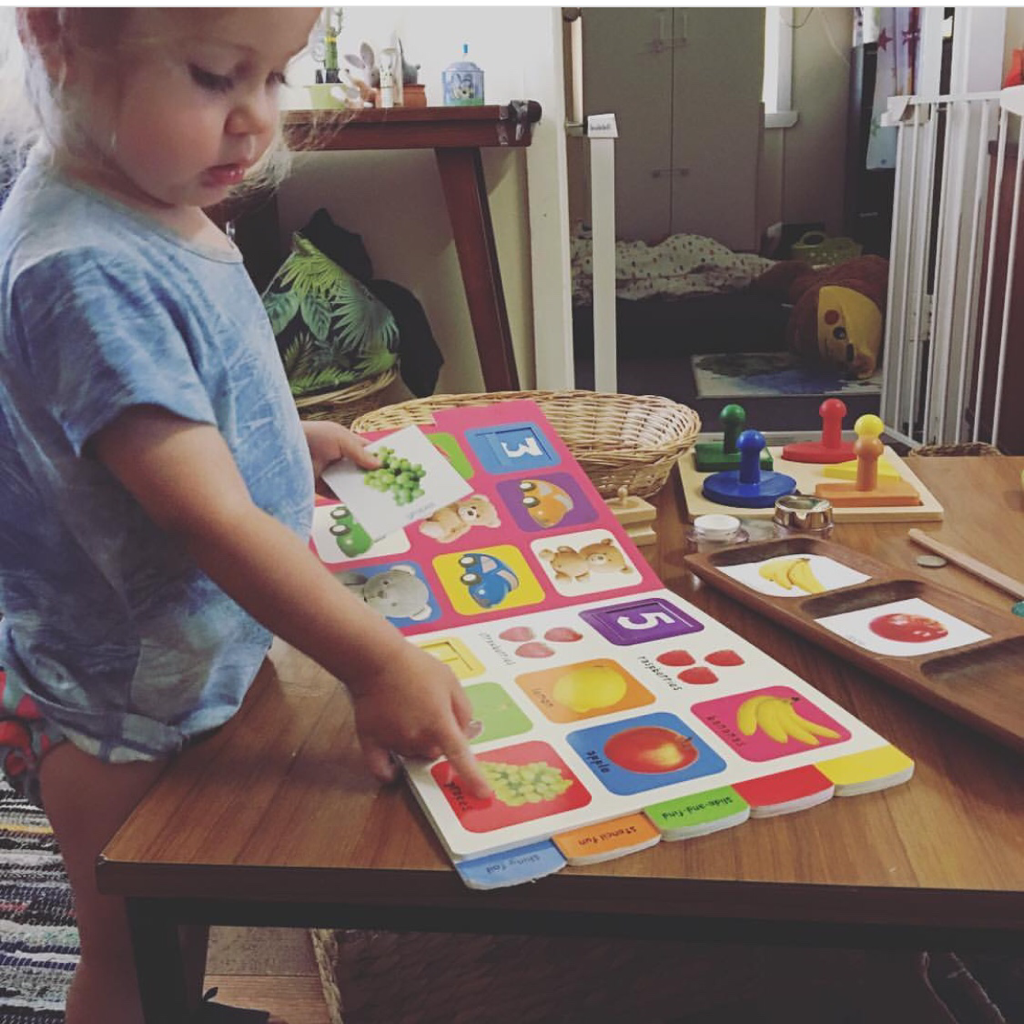 These were the first cards we used. The link to the shop where I bought them is at the bottom of this post. At the time he wanted to know all about fruit so I just followed his lead. A still loves fruit and when we can we buy unusual fruit for him to try. Today we were talking about blueberries. Back to the topic. I continue to use cards that parallel A’s interests. I prefer to use the Singapore Maths approach of concrete-pictorial-abstract. For me that means starting with realistic figurines or the real object, then moving to photographs or realistic beautiful illustrations. We haven’t gotten to abstract yet. I like to find concrete model of the items - I like Safari Toobs, Schleich, and other similar animal figurines. I usually buy mine from Minizoo. 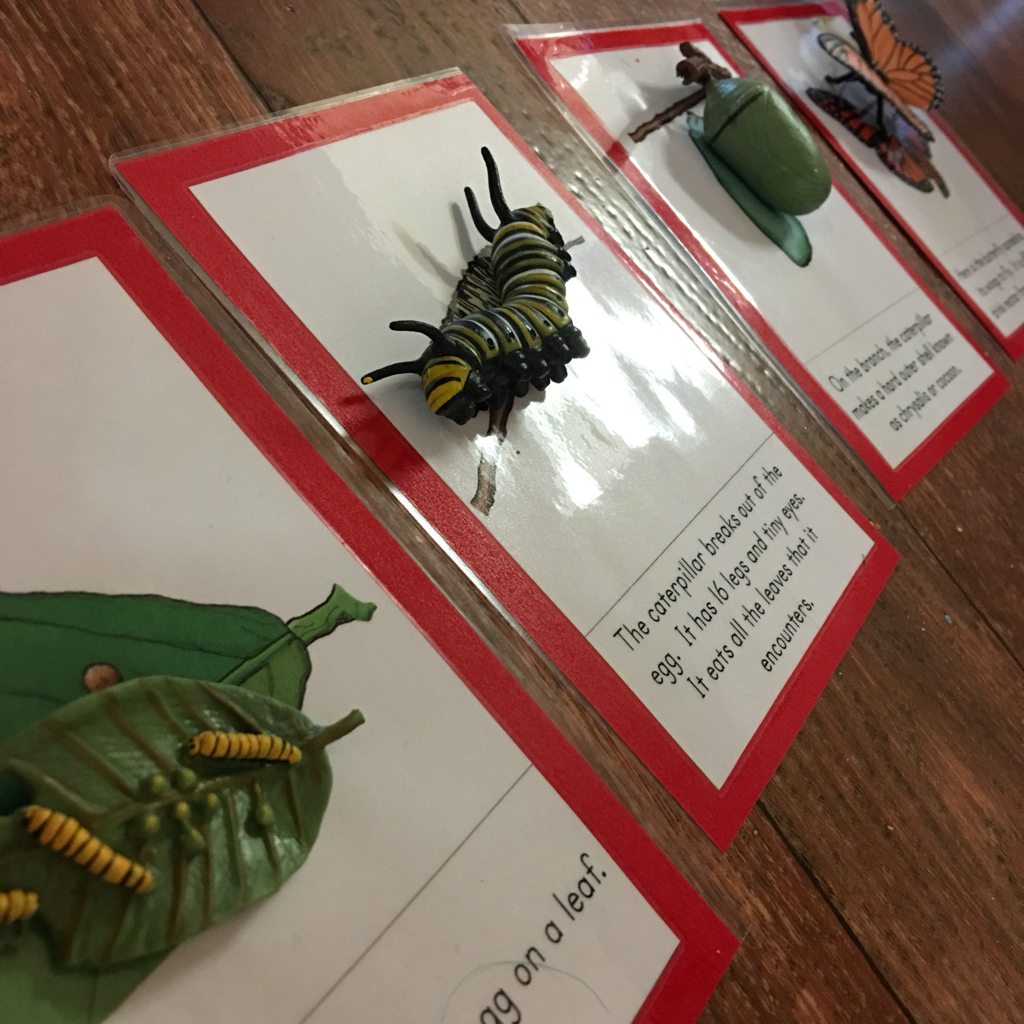 I then do a interest search for Montessori cards on the topic. There are heaps of places to find cards. I’m happy to pay cards because it saves me time. If I can’t find them I’ll make them mainly using Wikipedia photos. I’ll add some links at the end of places I buy from 😊 I own a colour laser printer, it’s getting old but it still holds up well, even though I have trouble getting it to work on the network half the time. 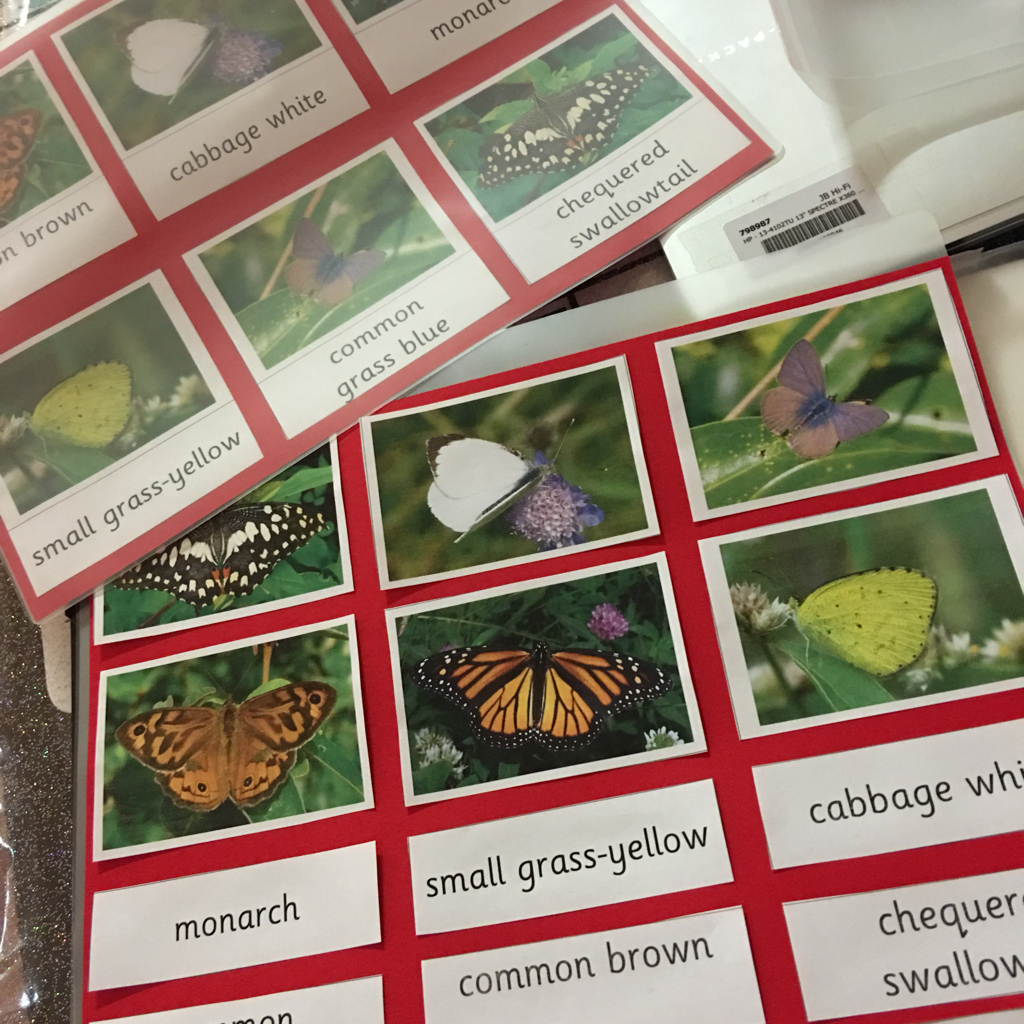 I made these cards, they are common Australia butterflies. 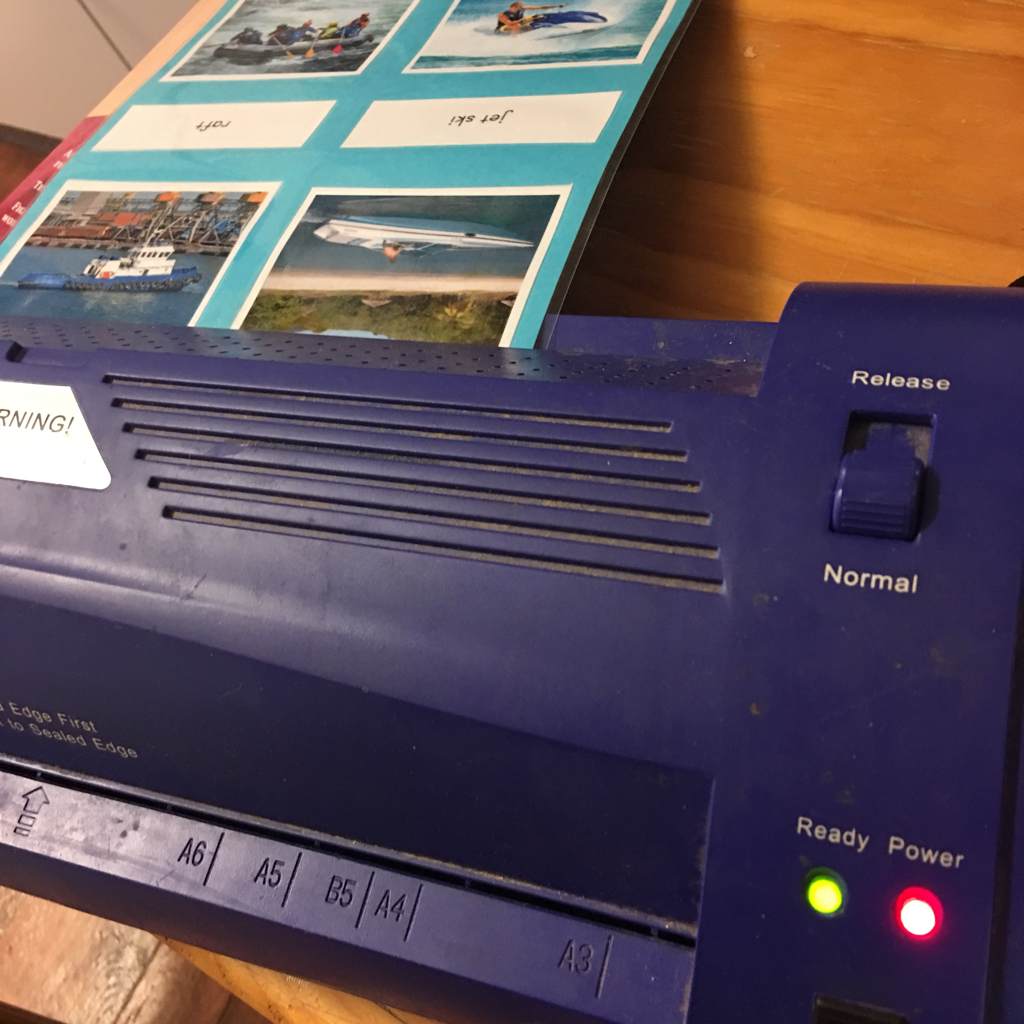 Now that we doing this Montessori thing with a little more fidelity I have started backing the cards in the correct colour and then laminating. I still cut straight from the paper and don’t leave a plastic boarder around my cards.  This is an issue because I’m so clumsy. If your cards get wet the paper will suck up the liquid under the laminating. See this is what happens you spill your drink all over them. Also be sure to glue your photos down properly onto the backing paper because your laminator can still chew it up as it goes through the rollers  It takes me a few days to get through a card set because I do them while A is playing ‘independently’. He can get to see the cards and takes an interest in them, but it’s not until I get out the models that it really captures his attention. 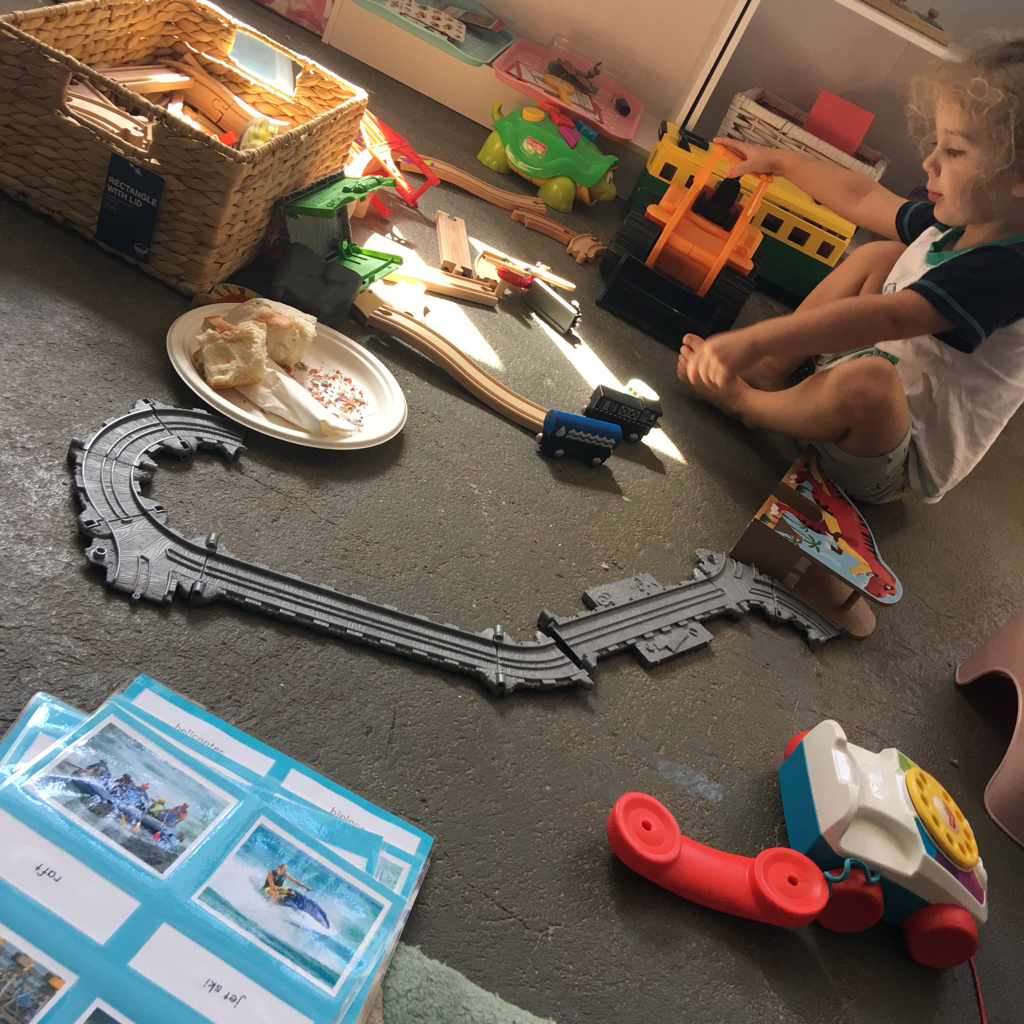 Links:
Pinay Homeschooler Shop Montessori for Everyone Montessori Printshop The fruit cards came from Montessori for Everyone The water transport cards and butterfly life cycle cards came from Pinay Homeschooler Shop  I have been wanting to create a Montessori alphabet/language object collection for some time. Like, since I first about heard about Montessori years ago. I love dolls and miniatures so this was going to be right up my street. . 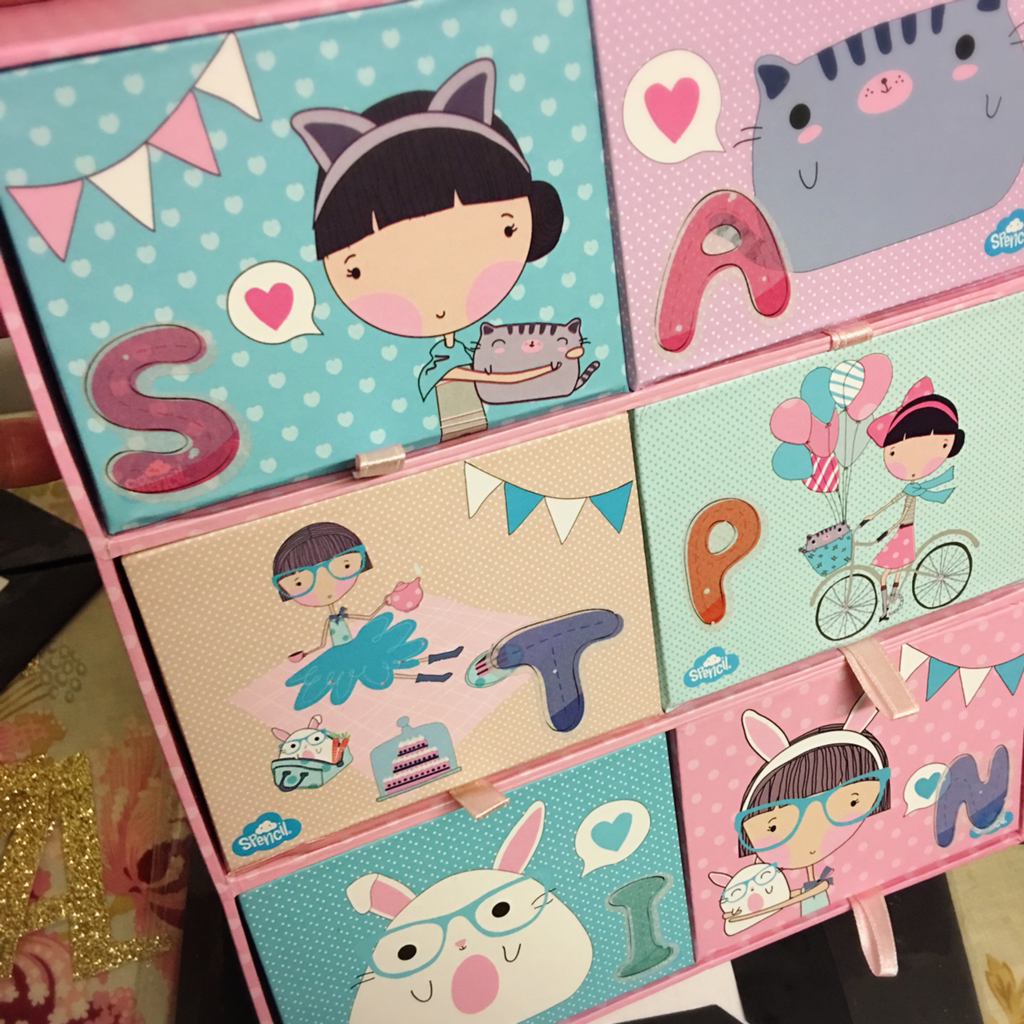 I would buy the odd thing here and there but didn’t really have much of a plan other then some Pinterest pins. I was going to use hardware boxes like I have seen elsewhere, but I know that if I used them I would drop them while the lid was open and the objects would fly everywhere. I know this because I have been a beaded jewellery maker... I still find random beads  For my birthday a friend gave me this very cute set of cardboard drawers and A decided that he liked them a lot. So for now that is what we are using. I stuck some stickers on the front of the drawers to label them. We are focusing on the letters SATPIN. A’s name is made up using some of those letters plus L. So I’ll be doing L as well. But what got my wriggle on is that A can already tell me the letters of his first name. Today he named those letters using the magnets on his fridge which spelt out his name. And he told me that he had another A in his name and pointed it out 😱 so I’m going to have to pick my game up. 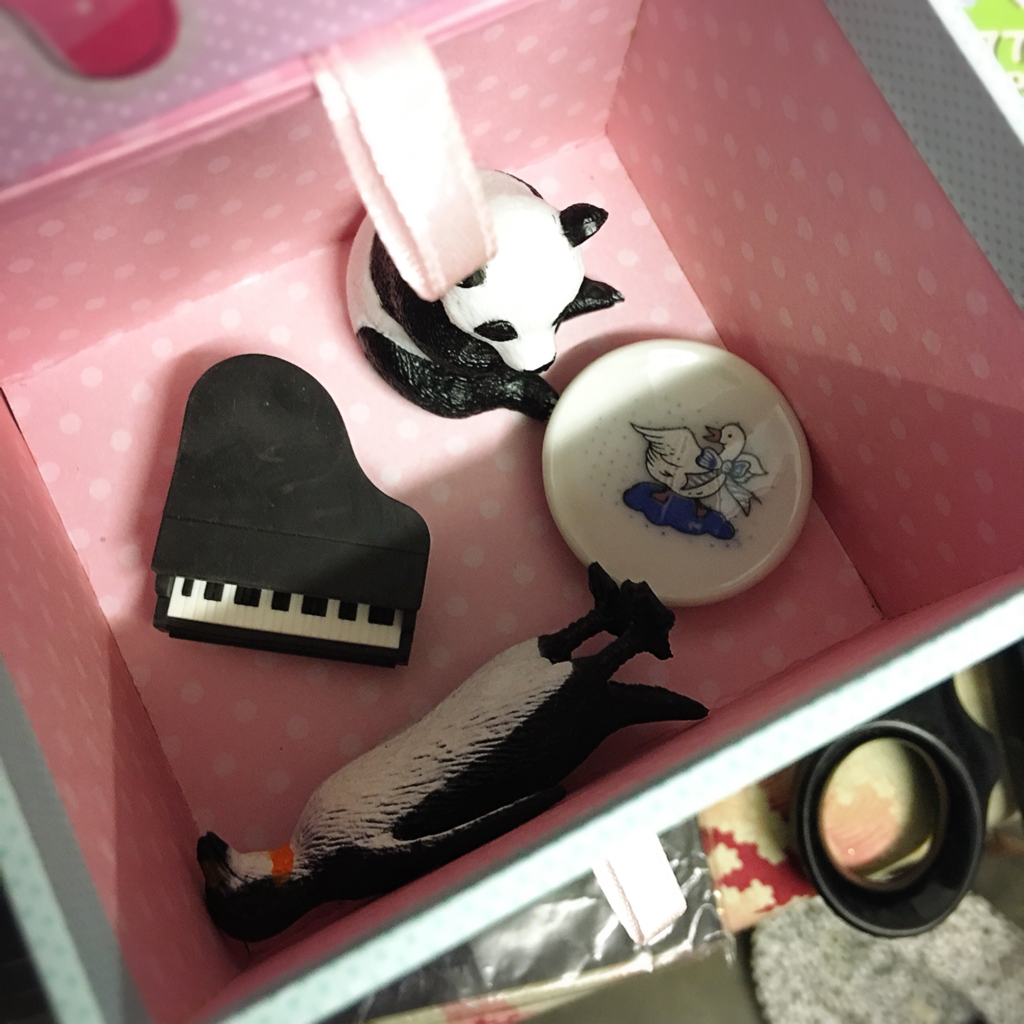 I also really want to use the SSP Monster Mapping which our school uses in the Early Years which is fun and exciting and works.  The rest of the drawers are empty - so I’m going to have to get hunting! I’ve got things I can use, like my Re-ment miniatures, but I’ll keep them put away until he is just a little bit older.
|
AuthorHi, I'm Pamela. A nail crazy lady with green hair. I live in outback Queensland with my toddler and my husband. I love books, writing and crafting. For more info about me go to my 'About' page. Archives
March 2018
Categories
All
|

 RSS Feed
